Overview
The Custom Fields section allows you to create and manage additional fields that can be used across your cases and tasks. This feature enables you to customize your data collection and organization according to your specific needs.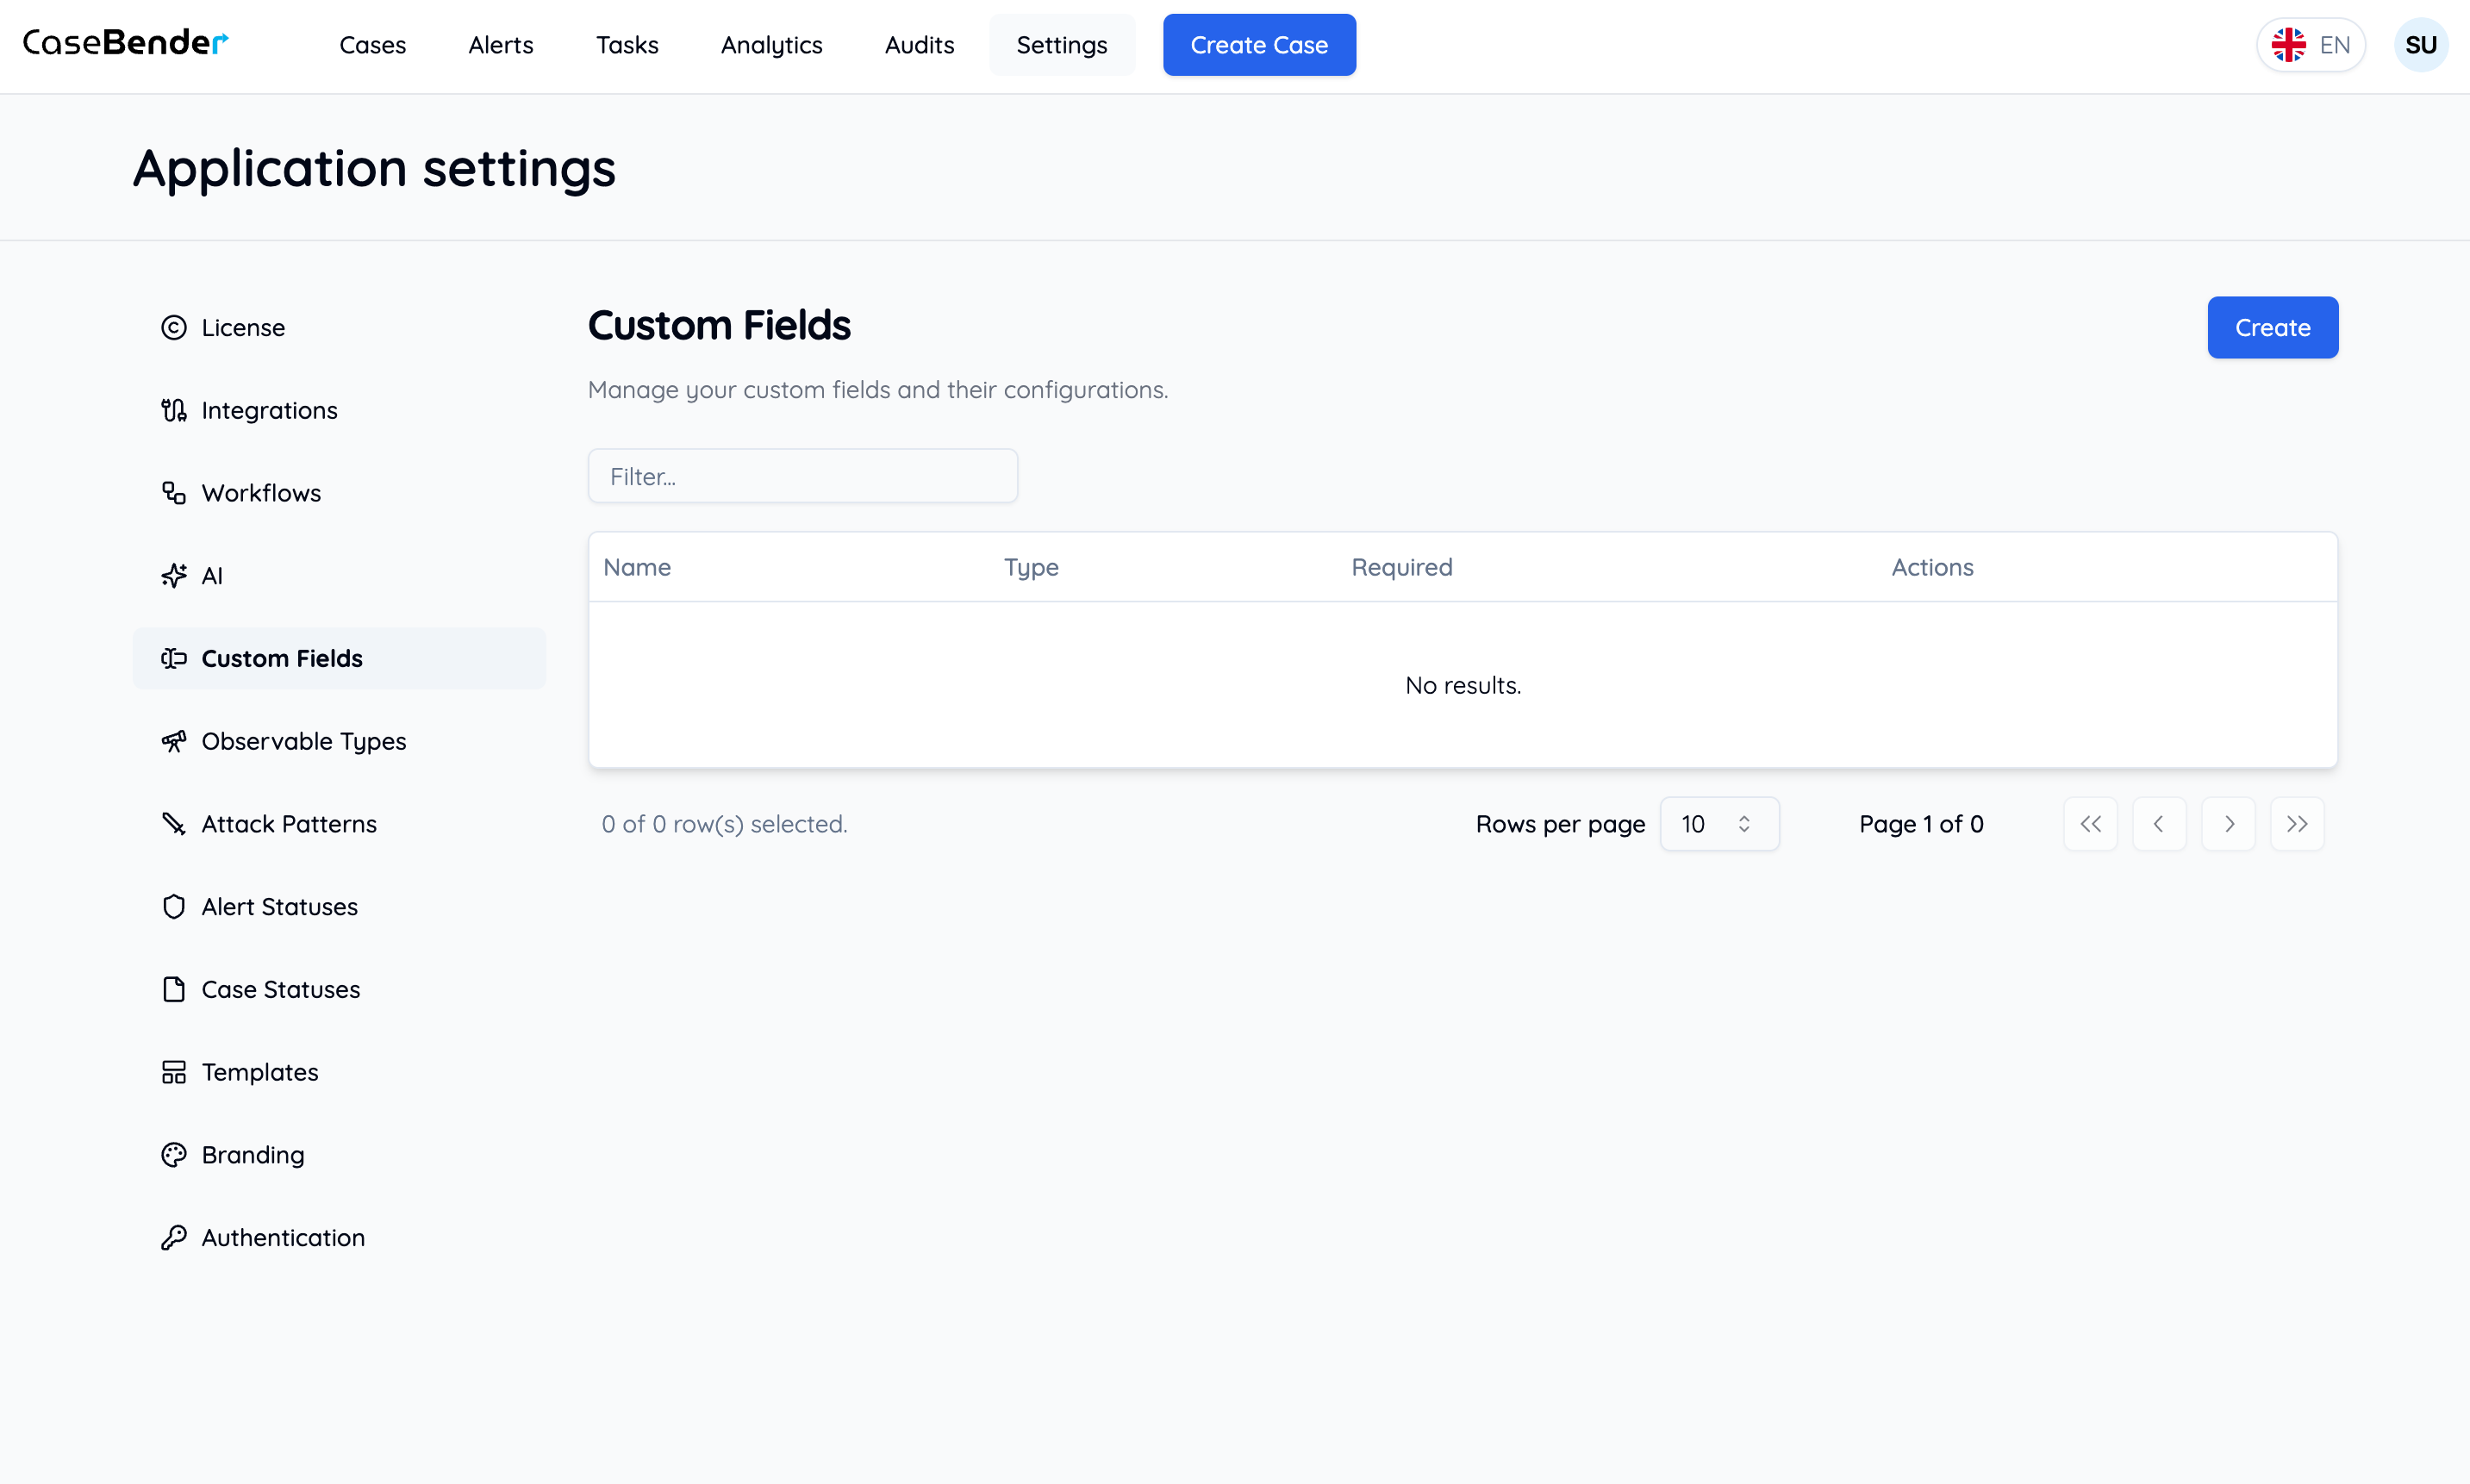
Creating Custom Fields
Step 1: Initialize Creation
Click the “Create” button to start creating a new custom field: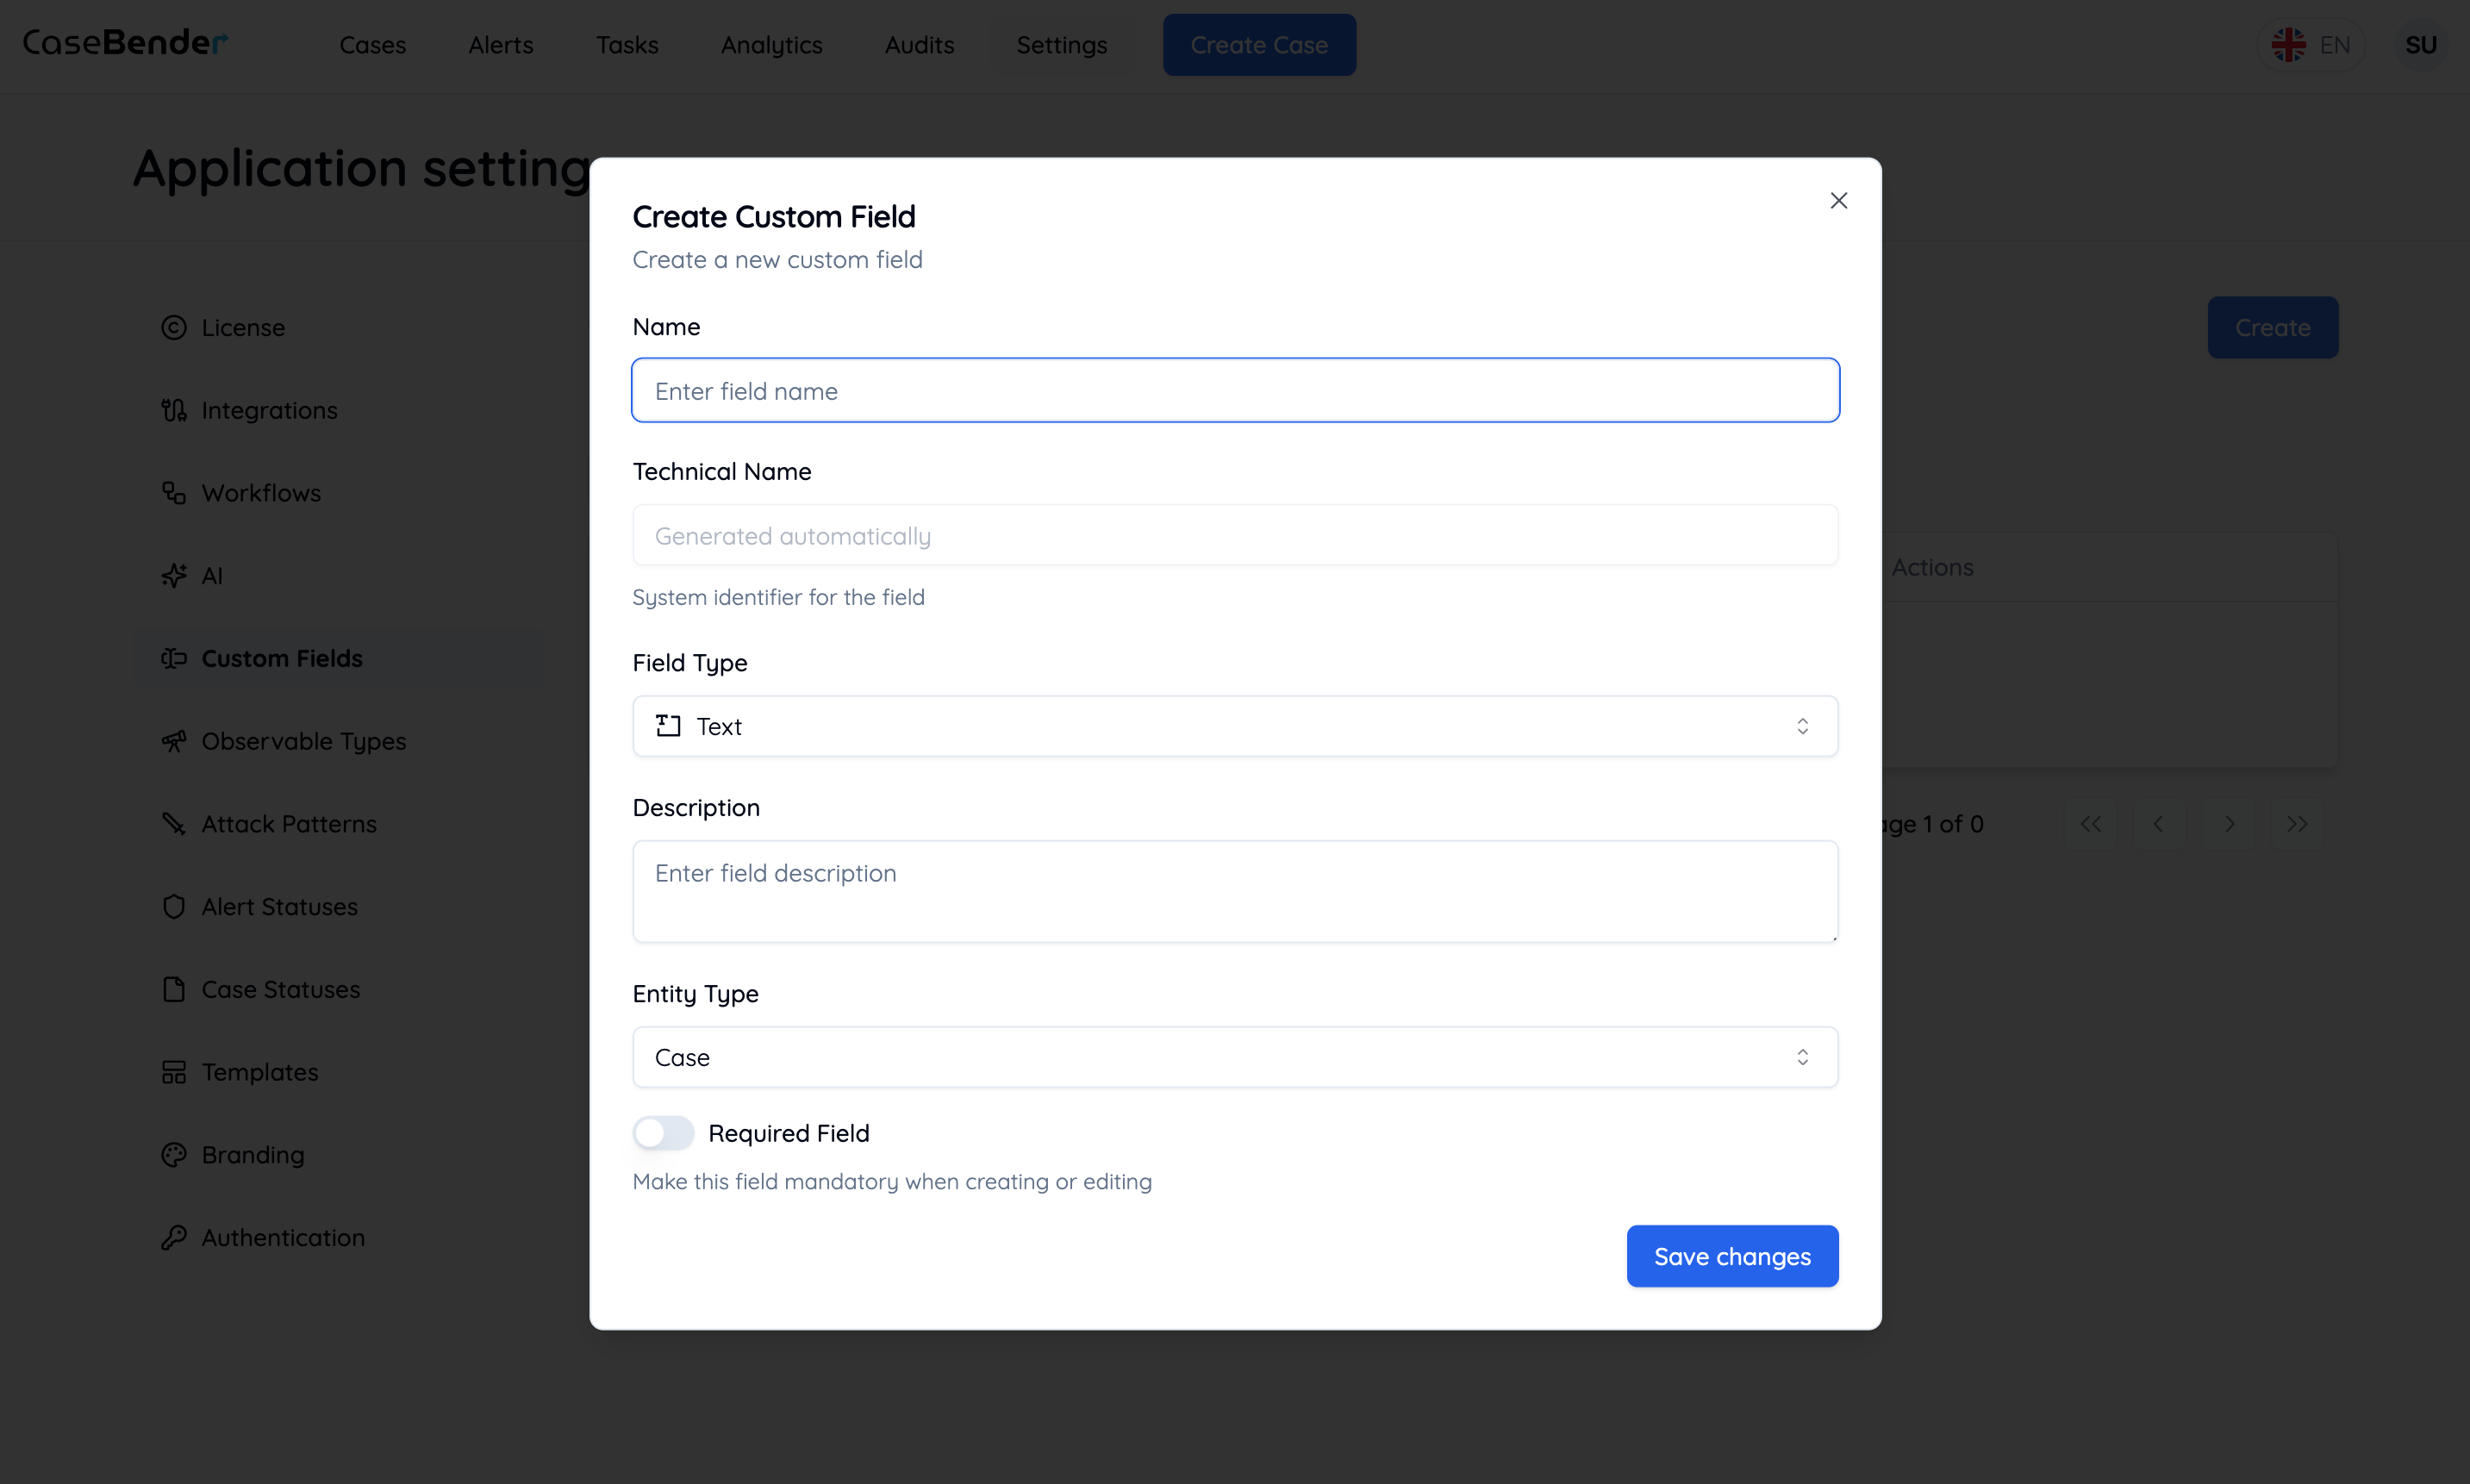
- Field name
- Description
- Category
- Required status
- Visibility settings
Step 2: Select Field Type
Choose the appropriate field type for your data: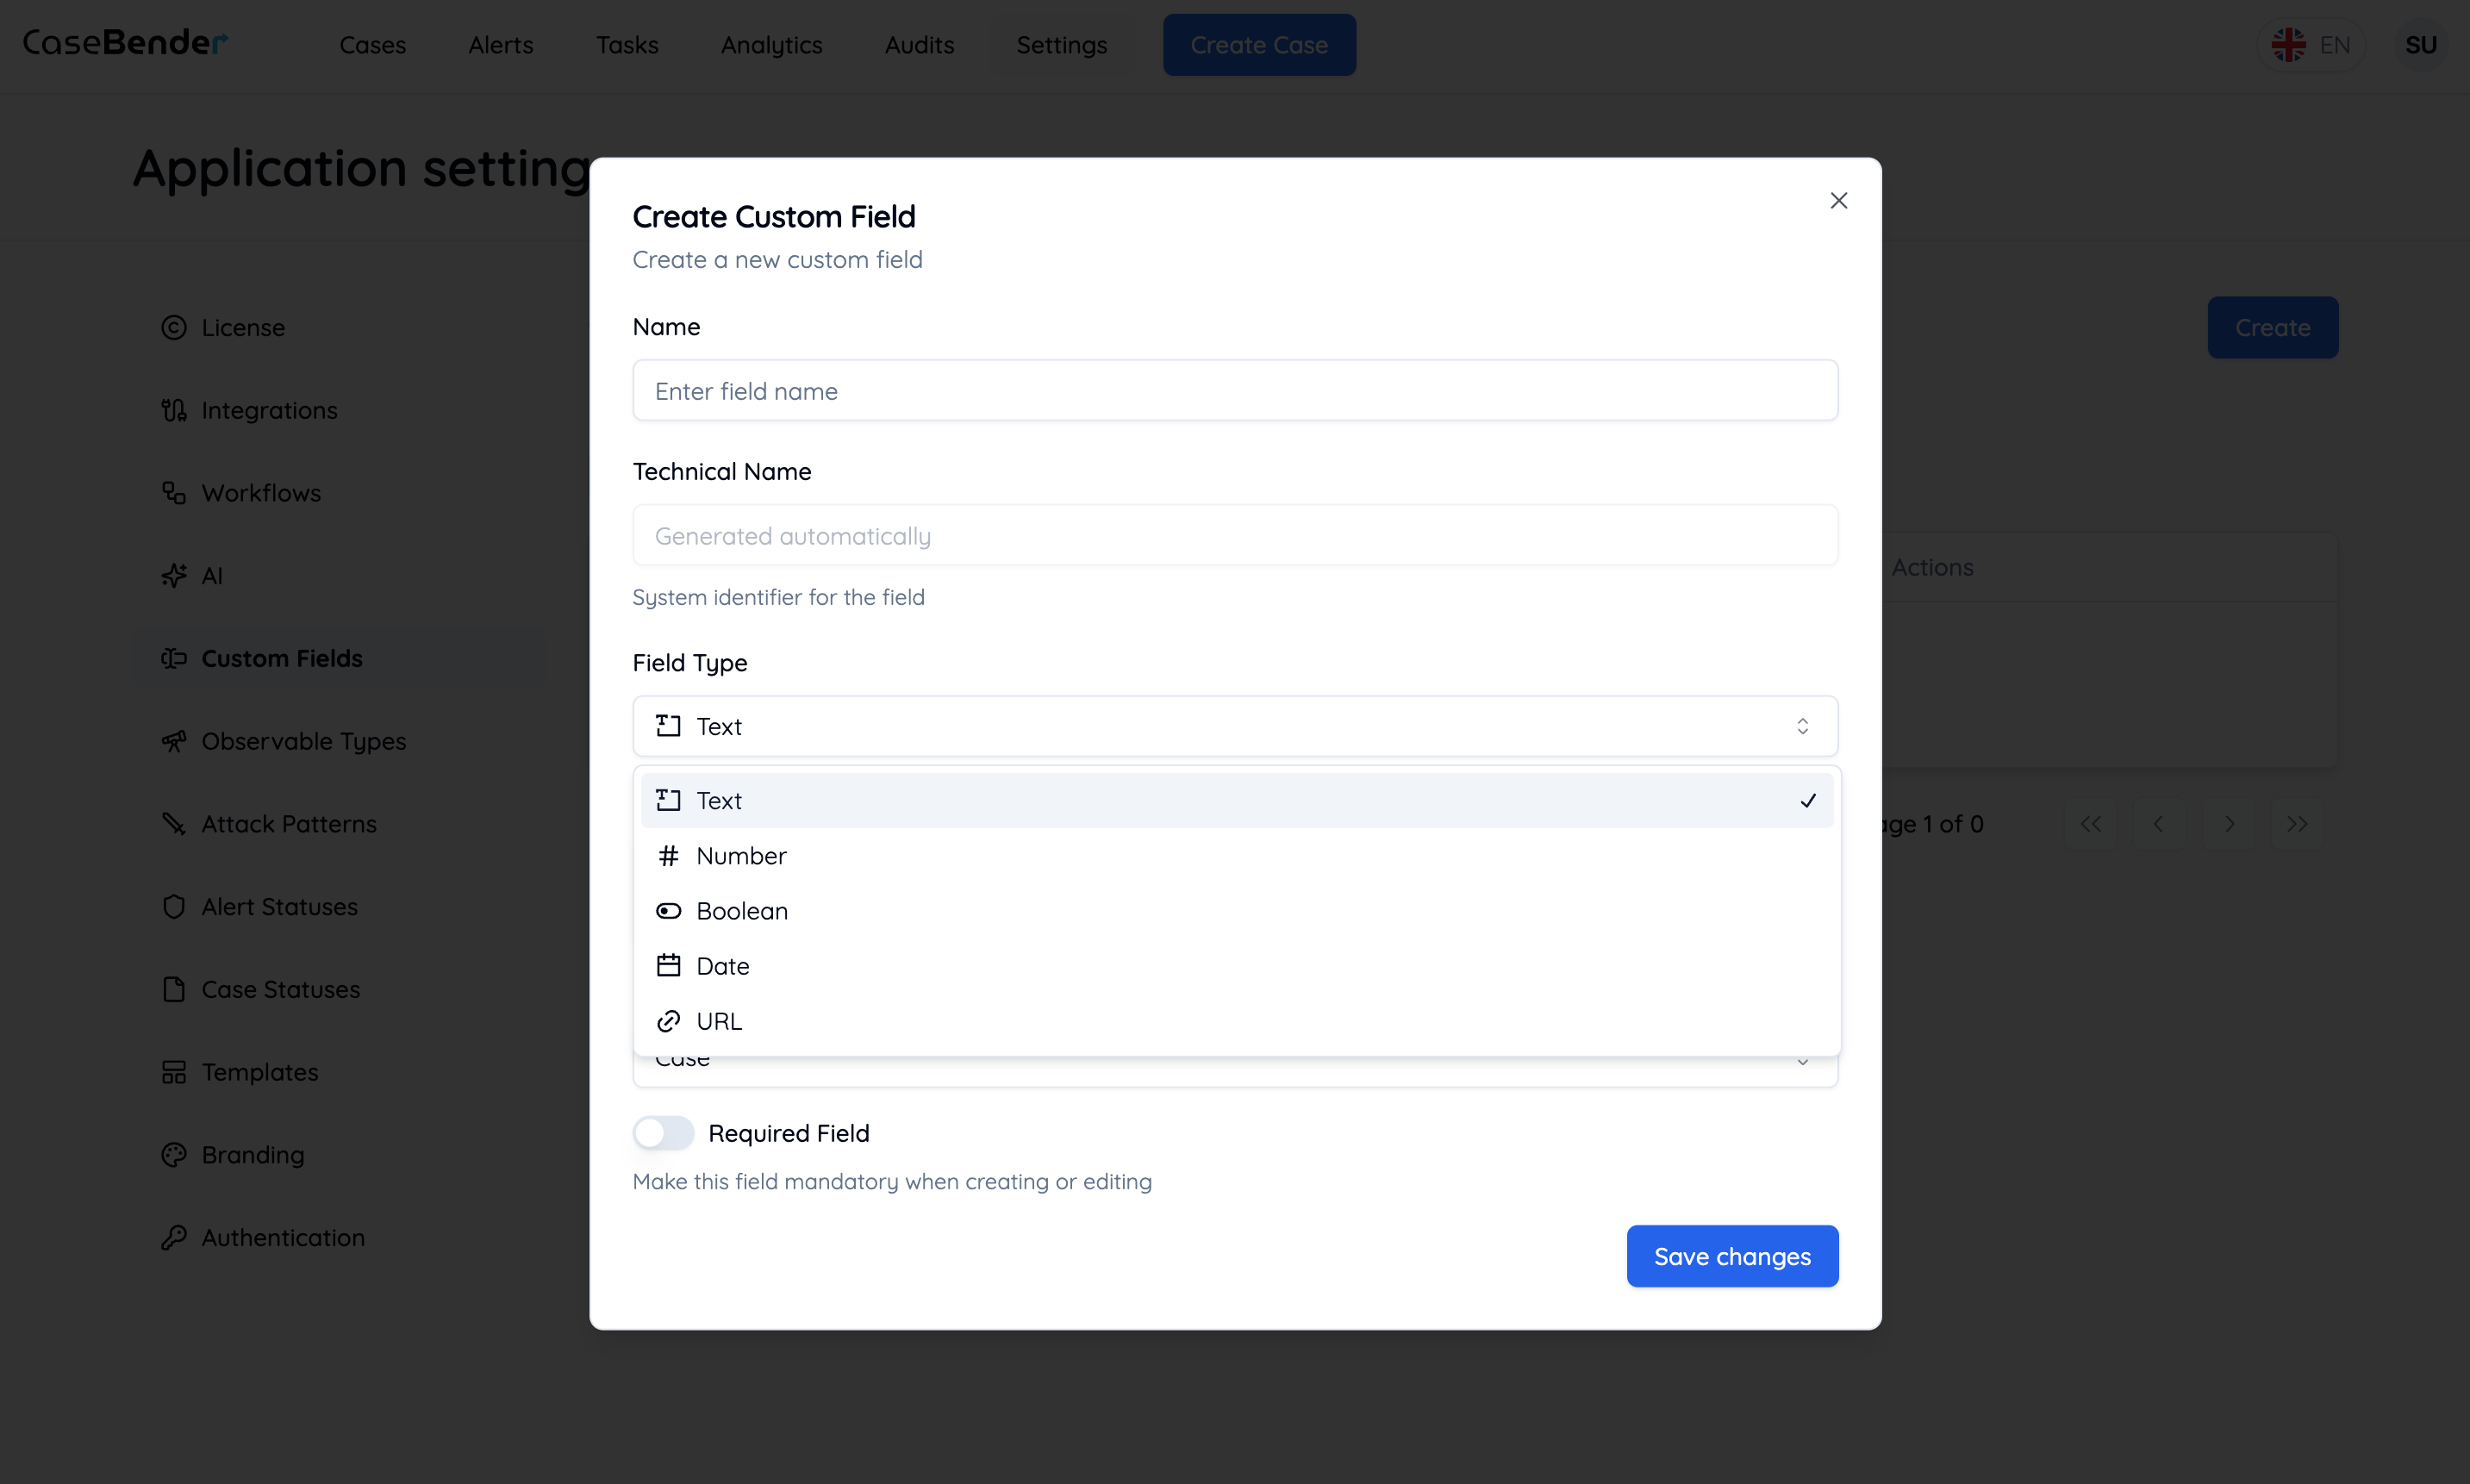
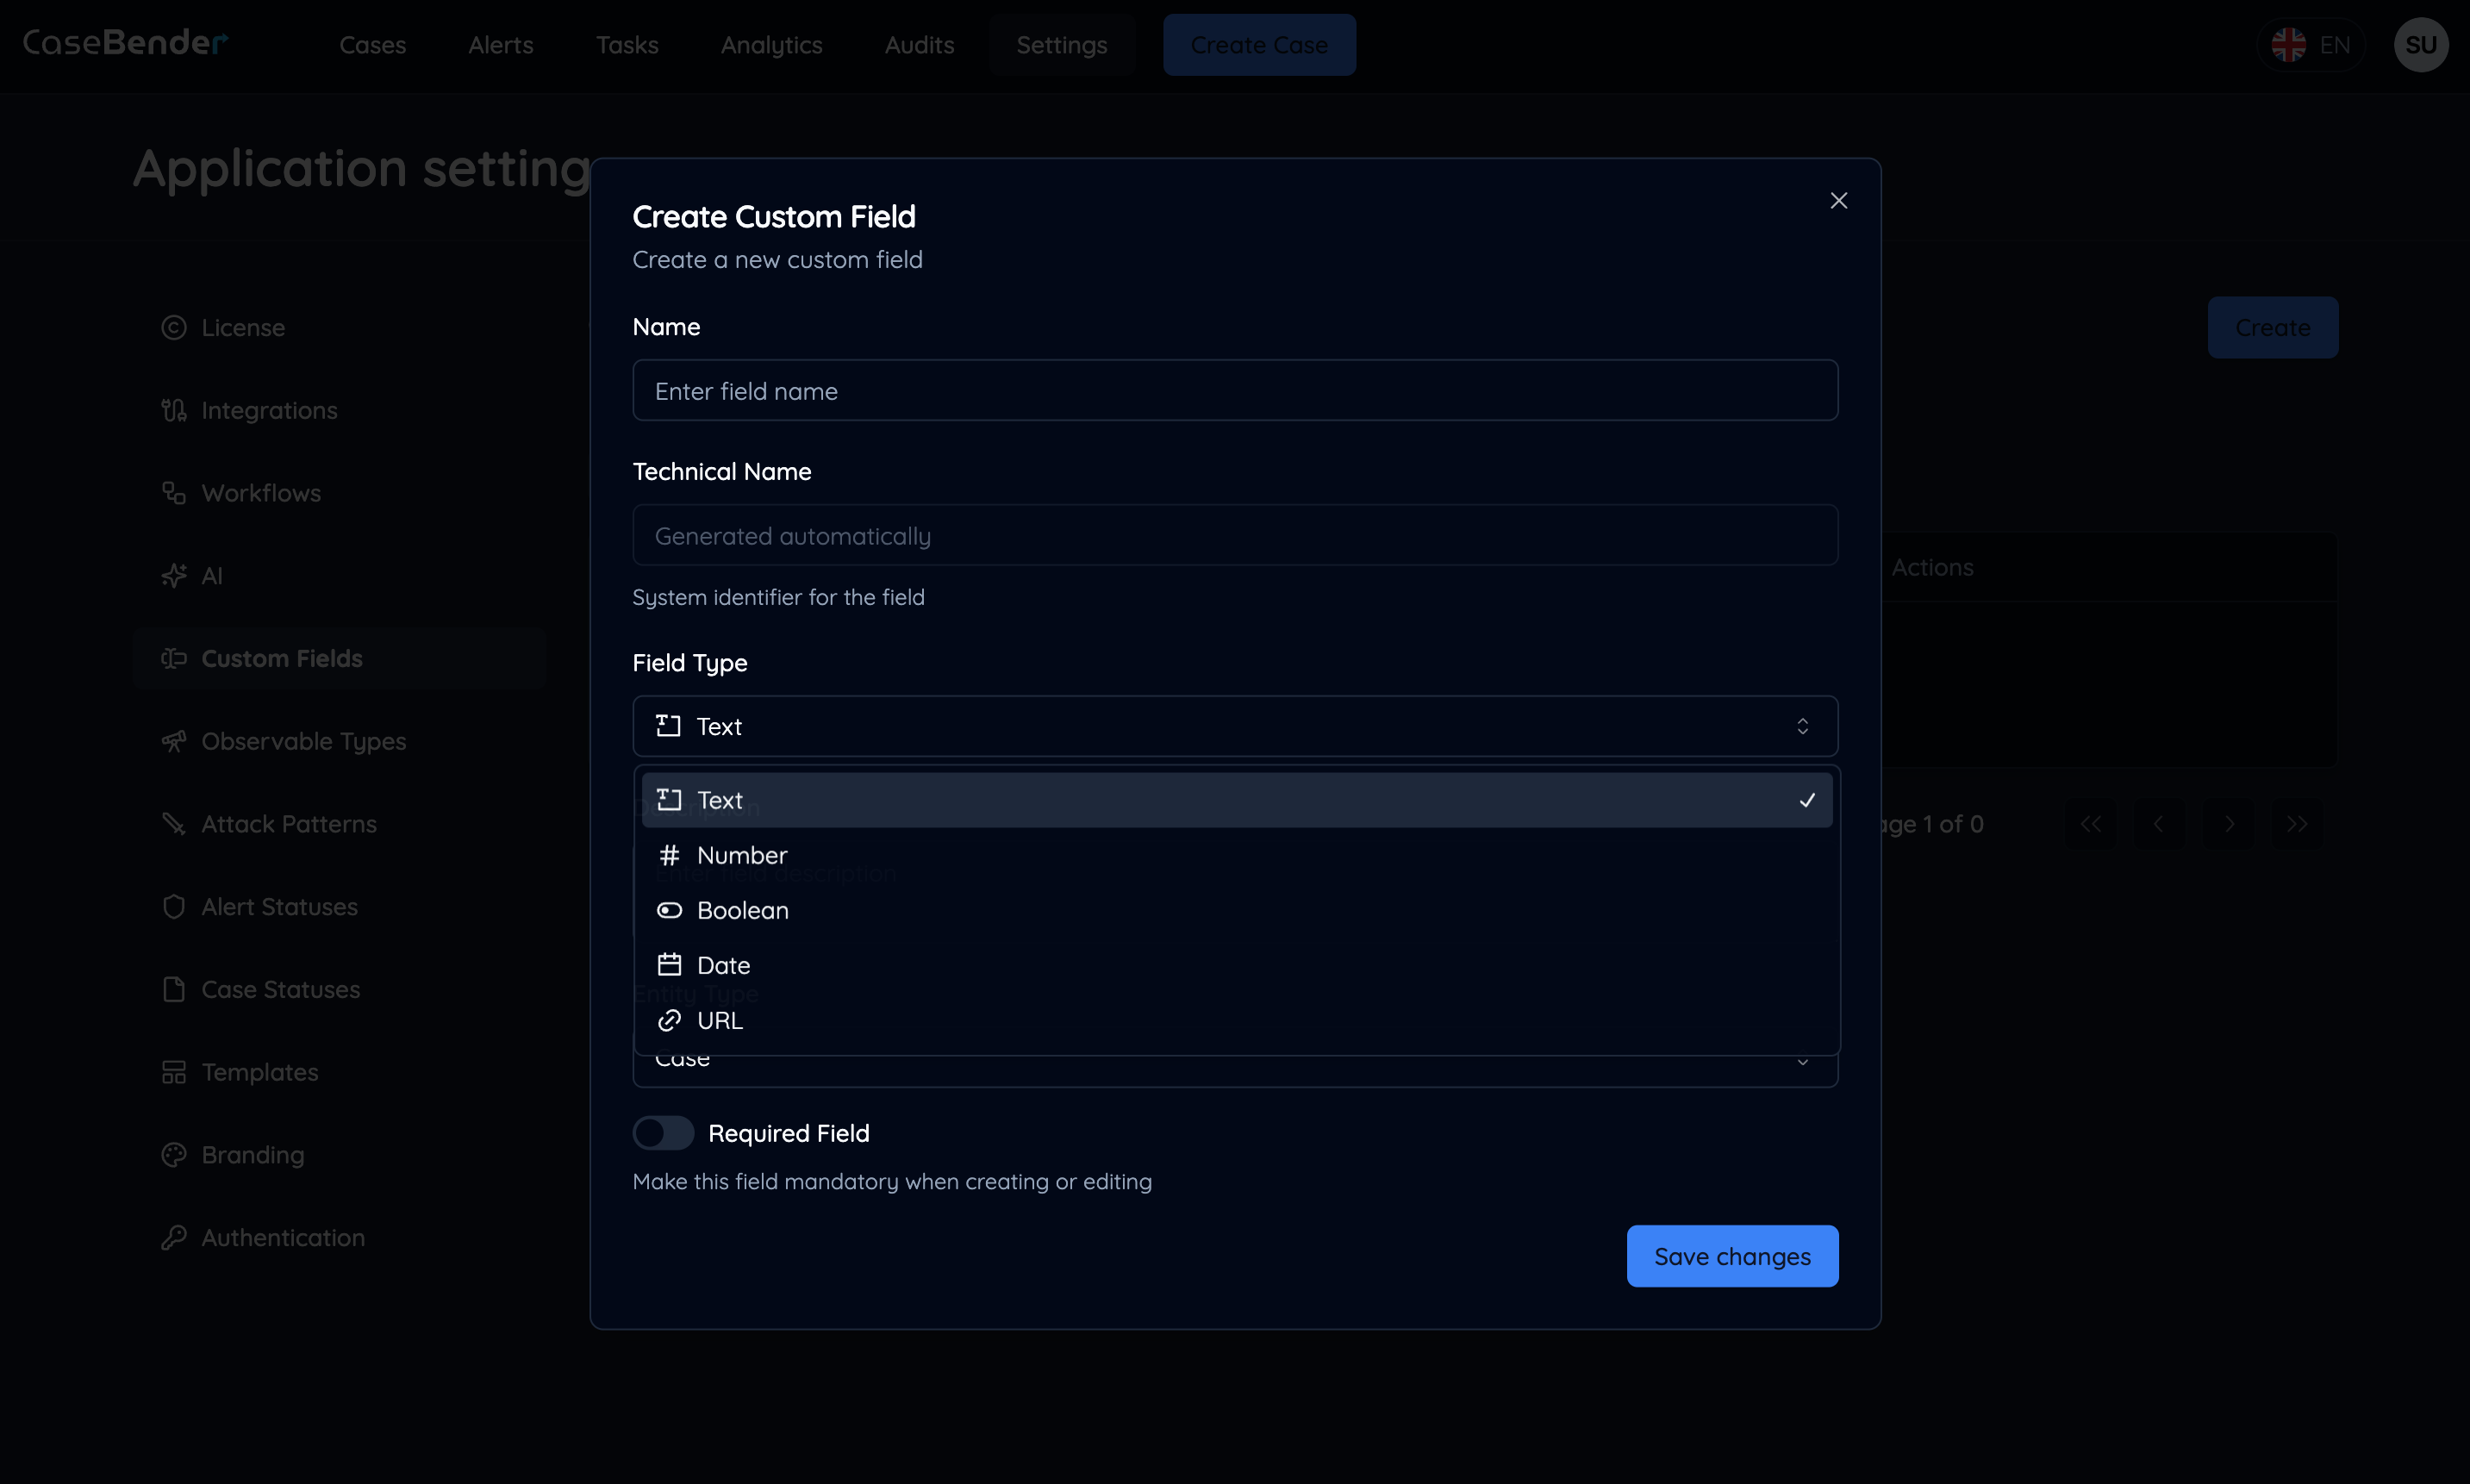
- Text (Single line)
- Text Area (Multi-line)
- Number
- Date
- Select (Single choice)
- Multi-select
- Checkbox
- Radio buttons
- URL
- Phone number
Step 3: Field Configuration Complete
After creation, the field will appear in the custom fields table: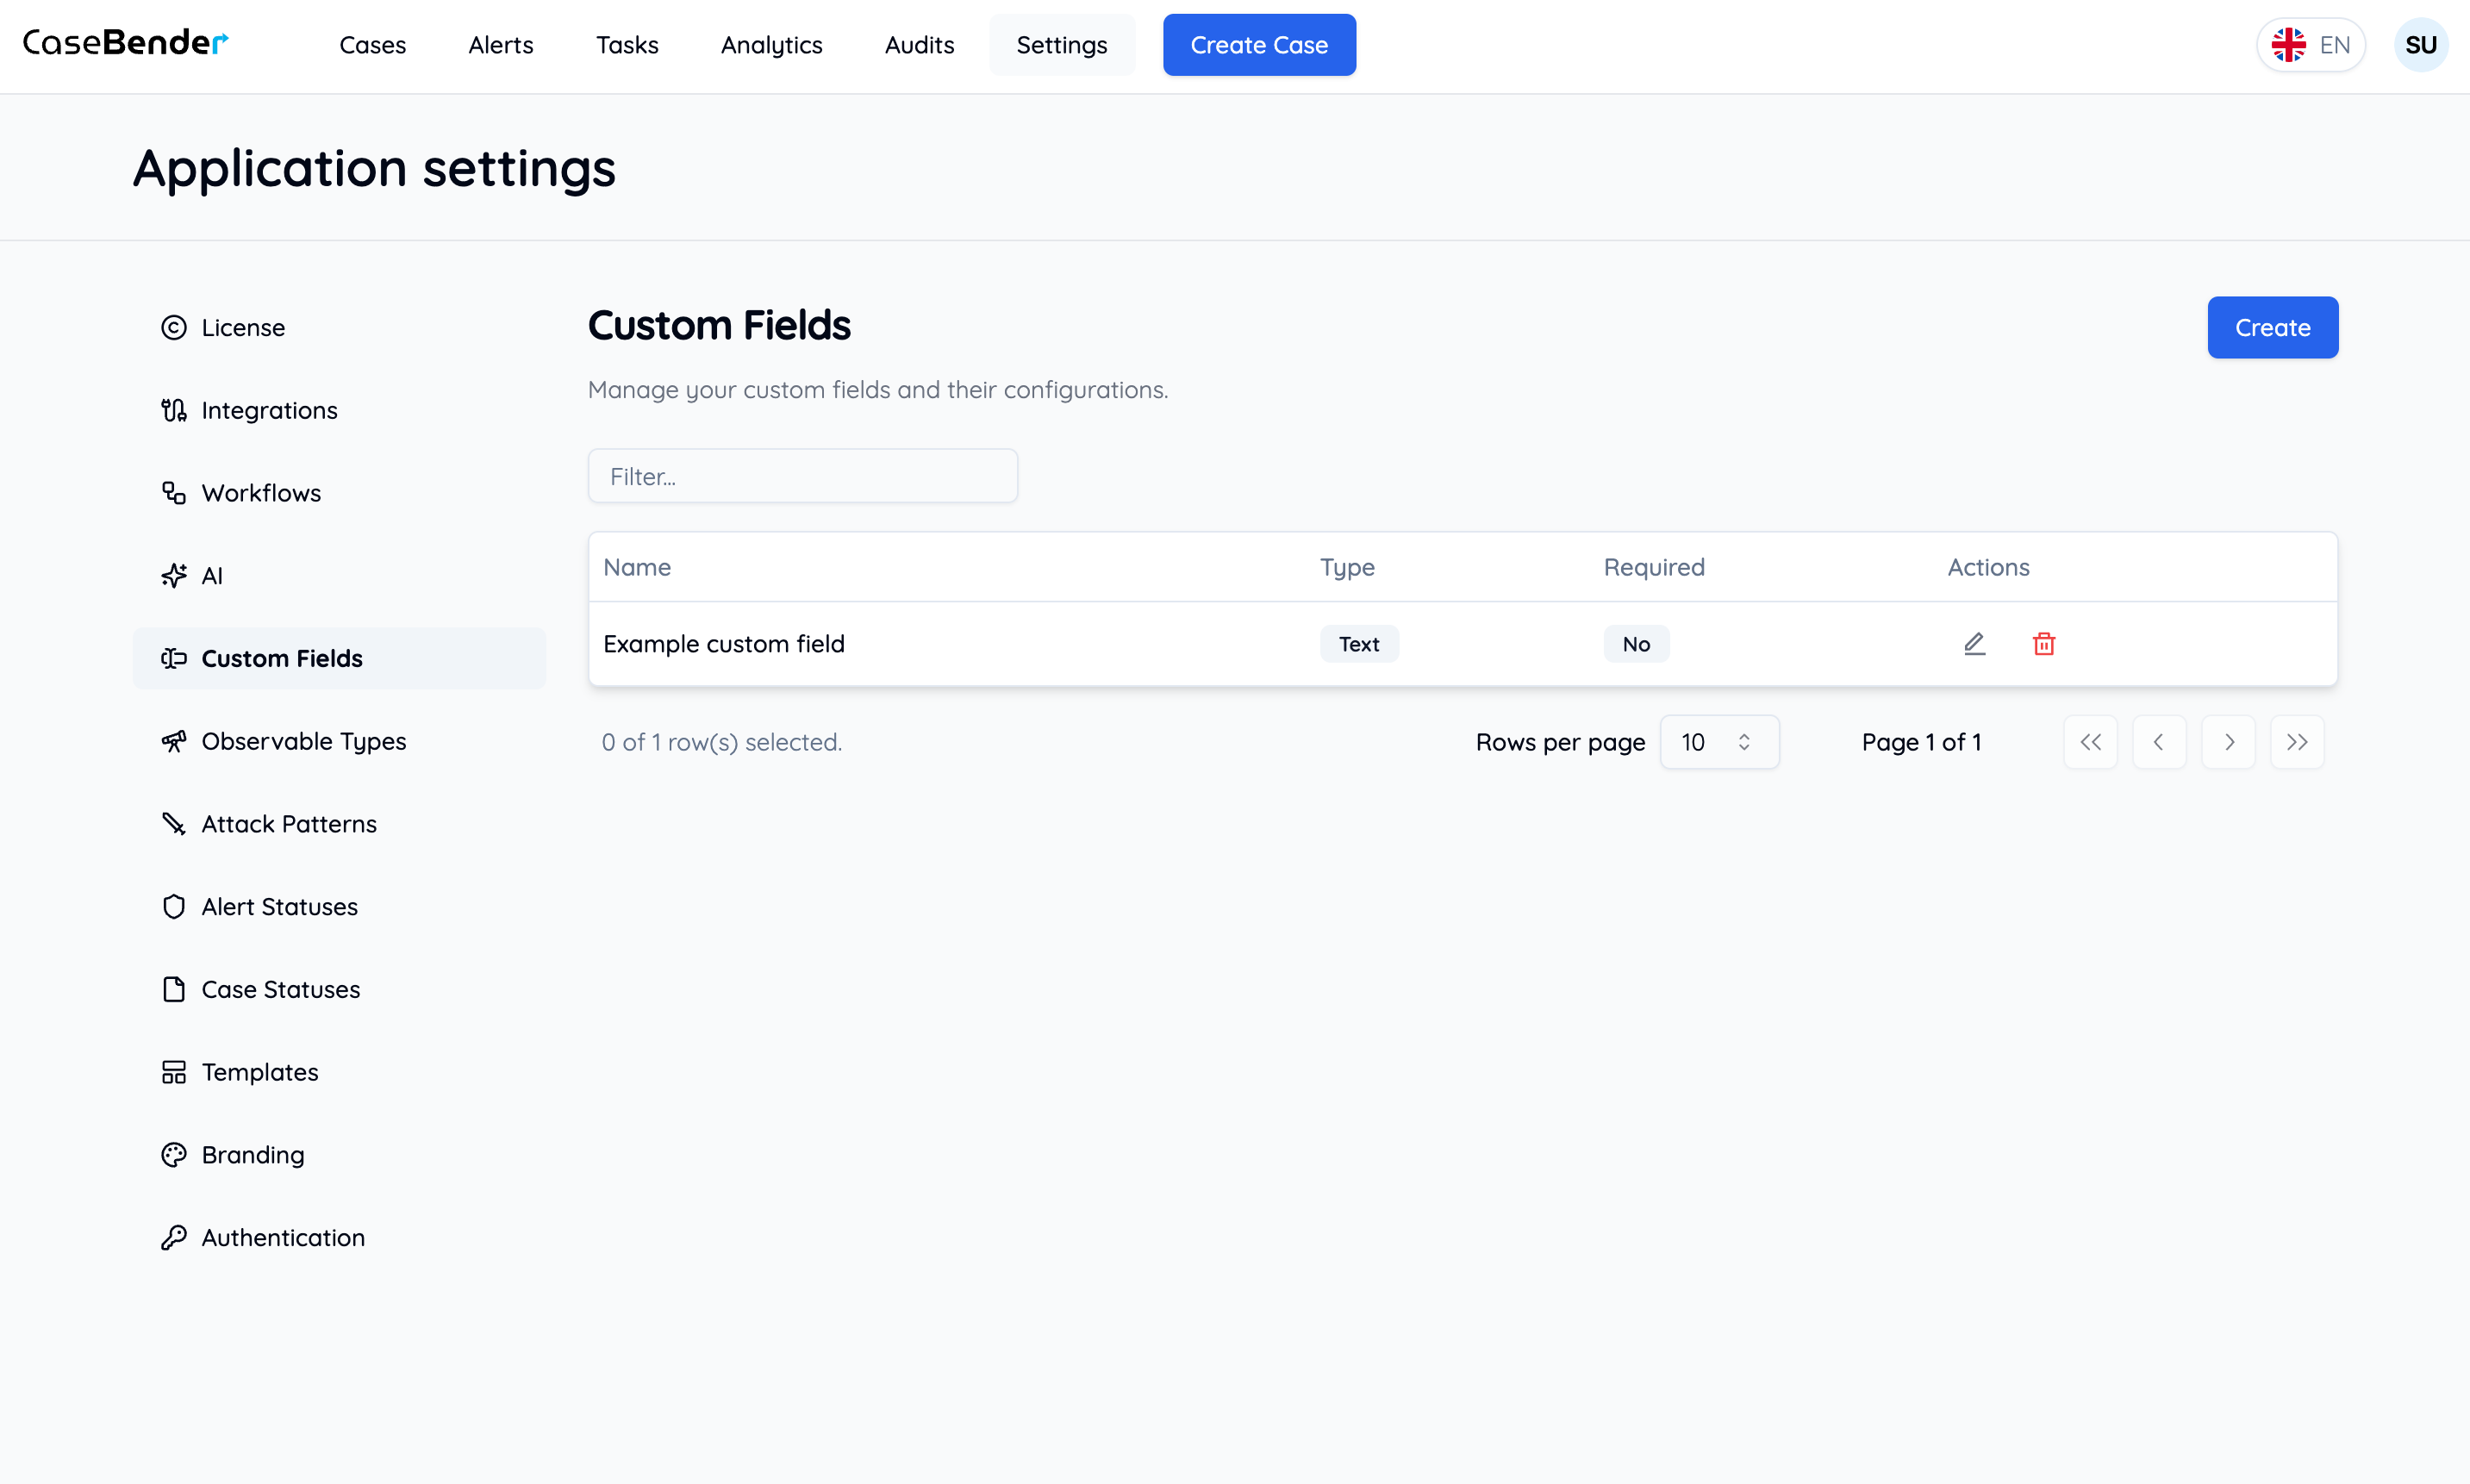

- Field name
- Type
- Category
- Required status
- Creation date
- Last modified date
- Actions
Field Types and Use Cases
Text Fields
- Single line: Short text responses
- Text area: Detailed descriptions
- Rich text: Formatted content
Numeric Fields
- Numbers: Quantities, measurements
- Currency: Financial values
- Percentage: Ratios, completion rates
Selection Fields
- Dropdown: Single choice from options
- Multi-select: Multiple choices
- Radio buttons: Exclusive choices
- Checkboxes: Yes/No options
Special Fields
- Date/Time: Temporal information
- URL: Web links
- Email: Contact information
- Phone: Contact numbers
Best Practices
Field Design
- Use clear, descriptive names
- Provide helpful descriptions
- Choose appropriate field types
- Set sensible default values
Organization
- Group related fields
- Maintain consistent naming
- Use categories effectively
- Consider field order
Validation
- Set appropriate constraints
- Define required fields
- Configure format validation
- Test field behavior
Maintenance
- Review field usage
- Update obsolete fields
- Document changes
- Monitor performance impact
Using Custom Fields
In Cases
- Add to case forms
- Use in case views
- Include in reports
- Filter and sort
In Tasks
- Task creation forms
- Task details
- Progress tracking
- Completion criteria
In Reports
- Data analysis
- Custom metrics
- Export options
- Dashboard integration