Overview
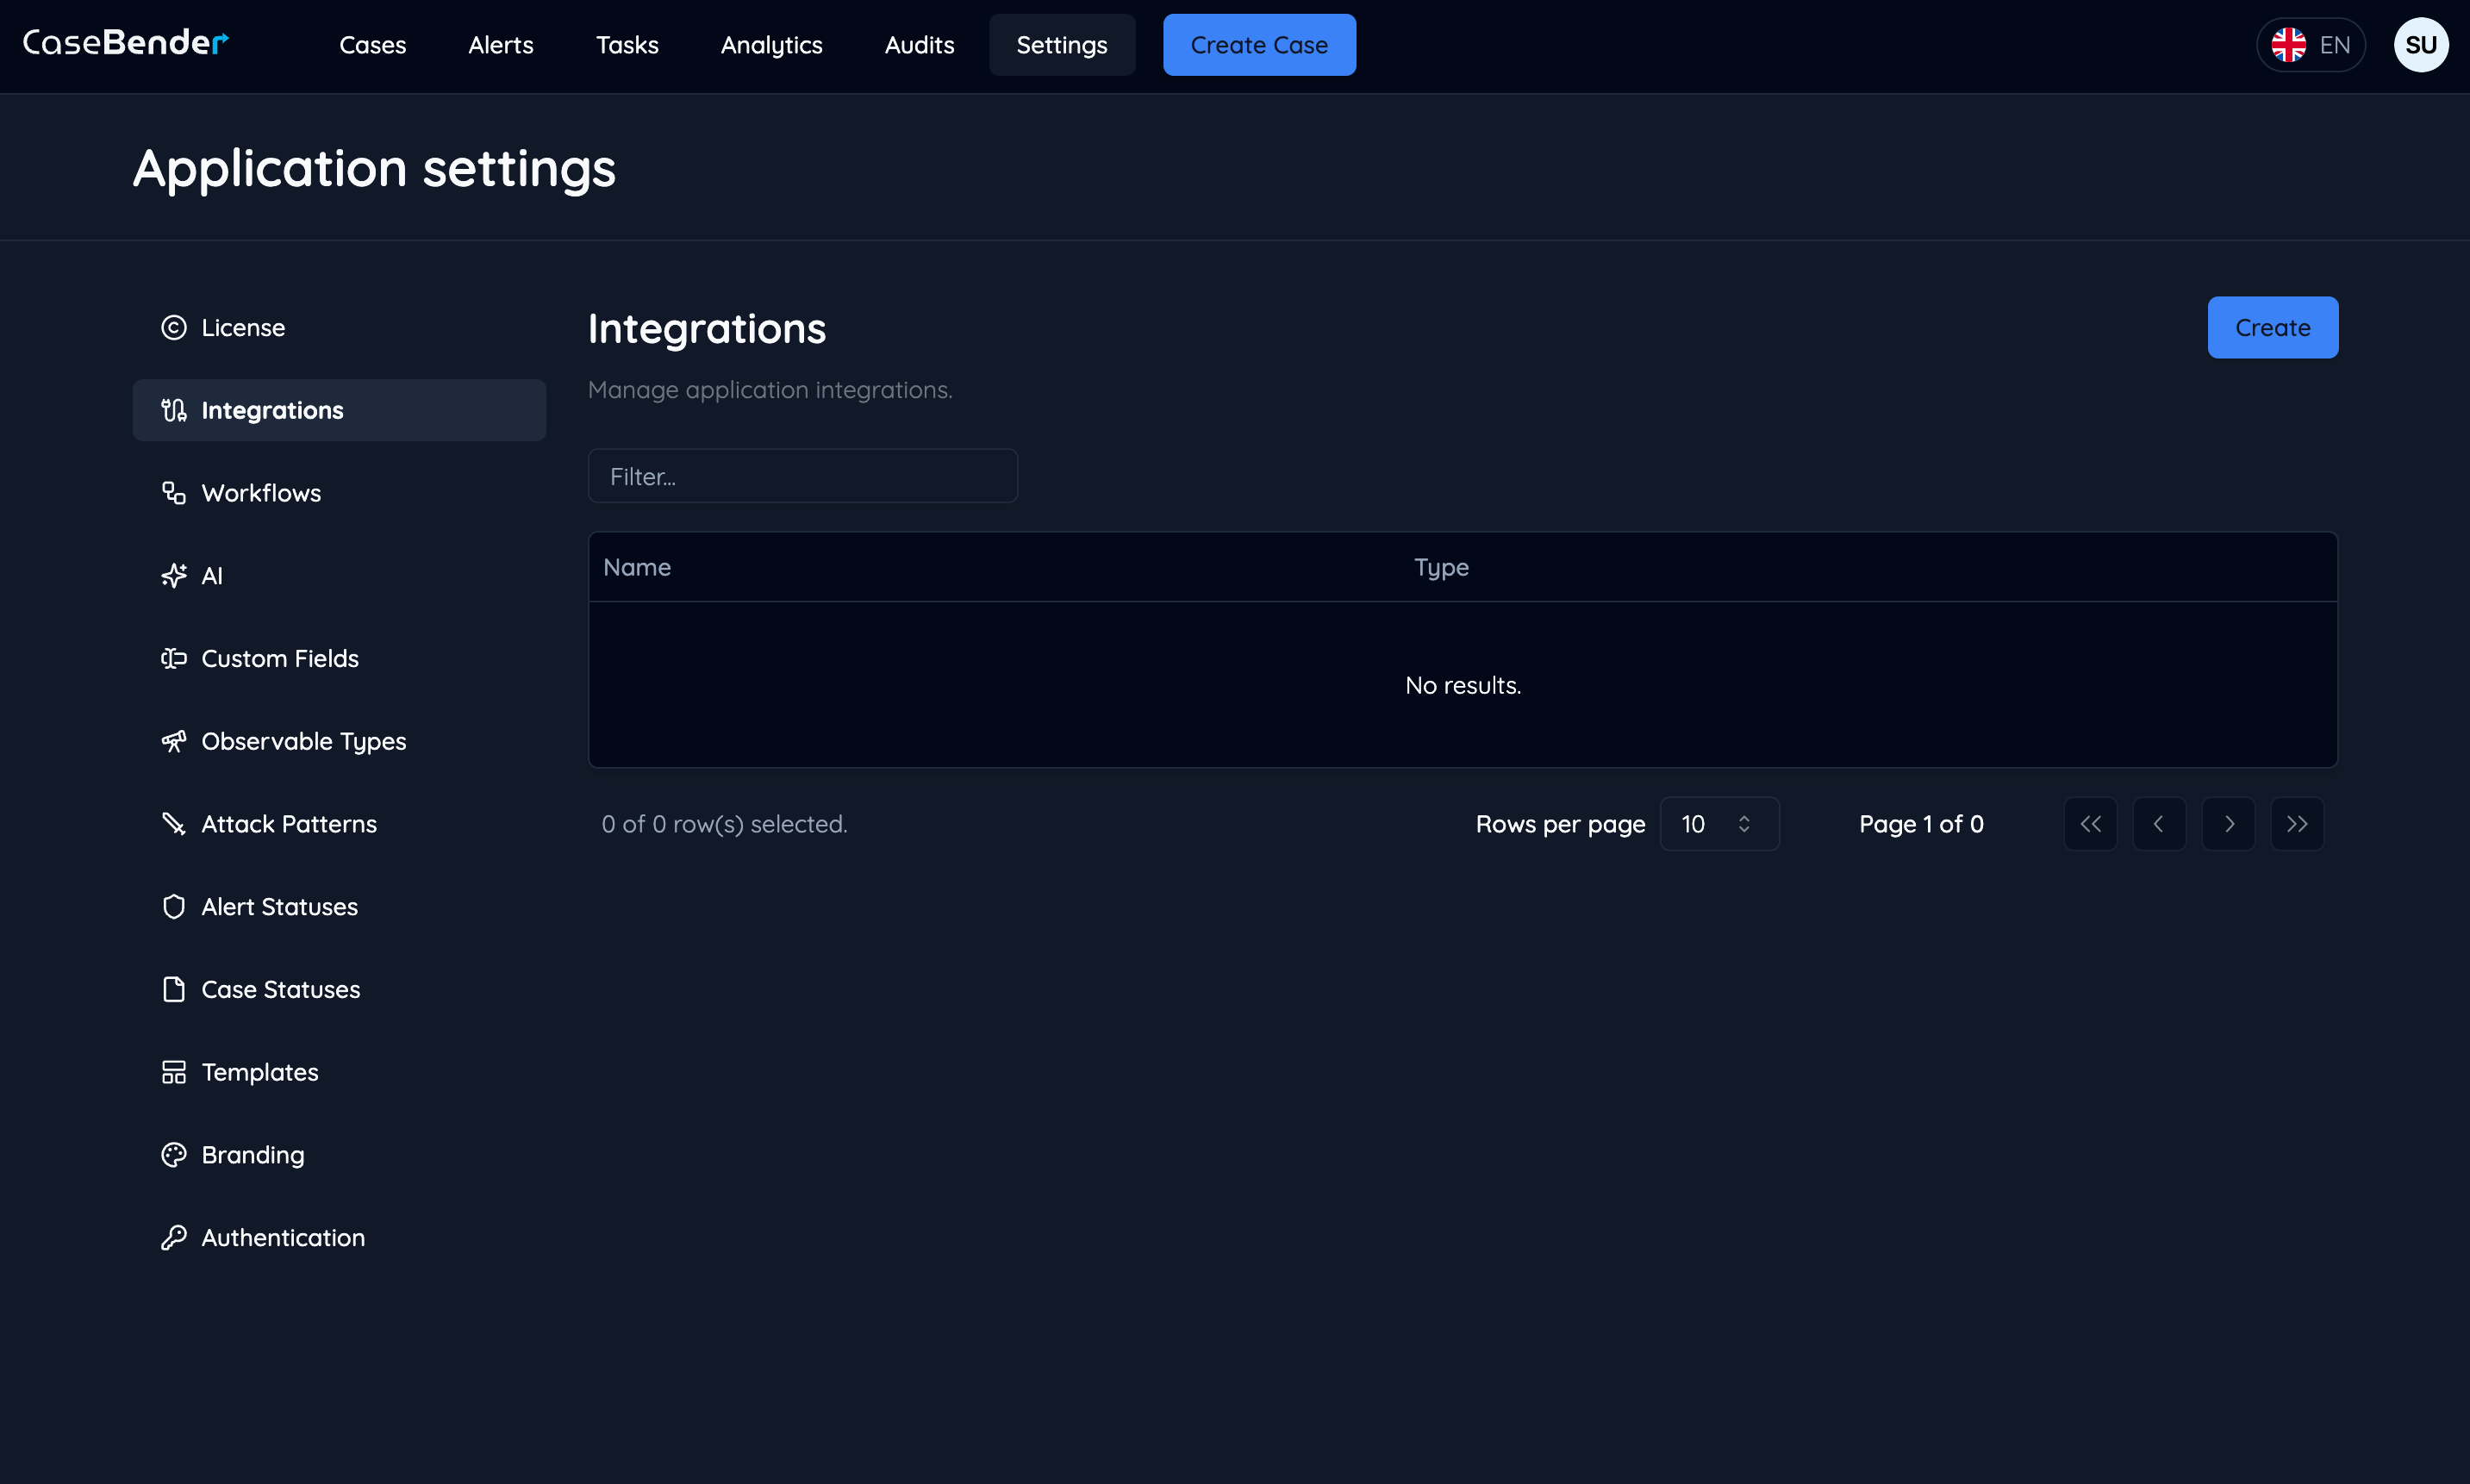
The Integration Settings section allows you to manage and create integrations with various external services to enhance your CaseBender workflow. This guide will walk you through the process of setting up new integrations.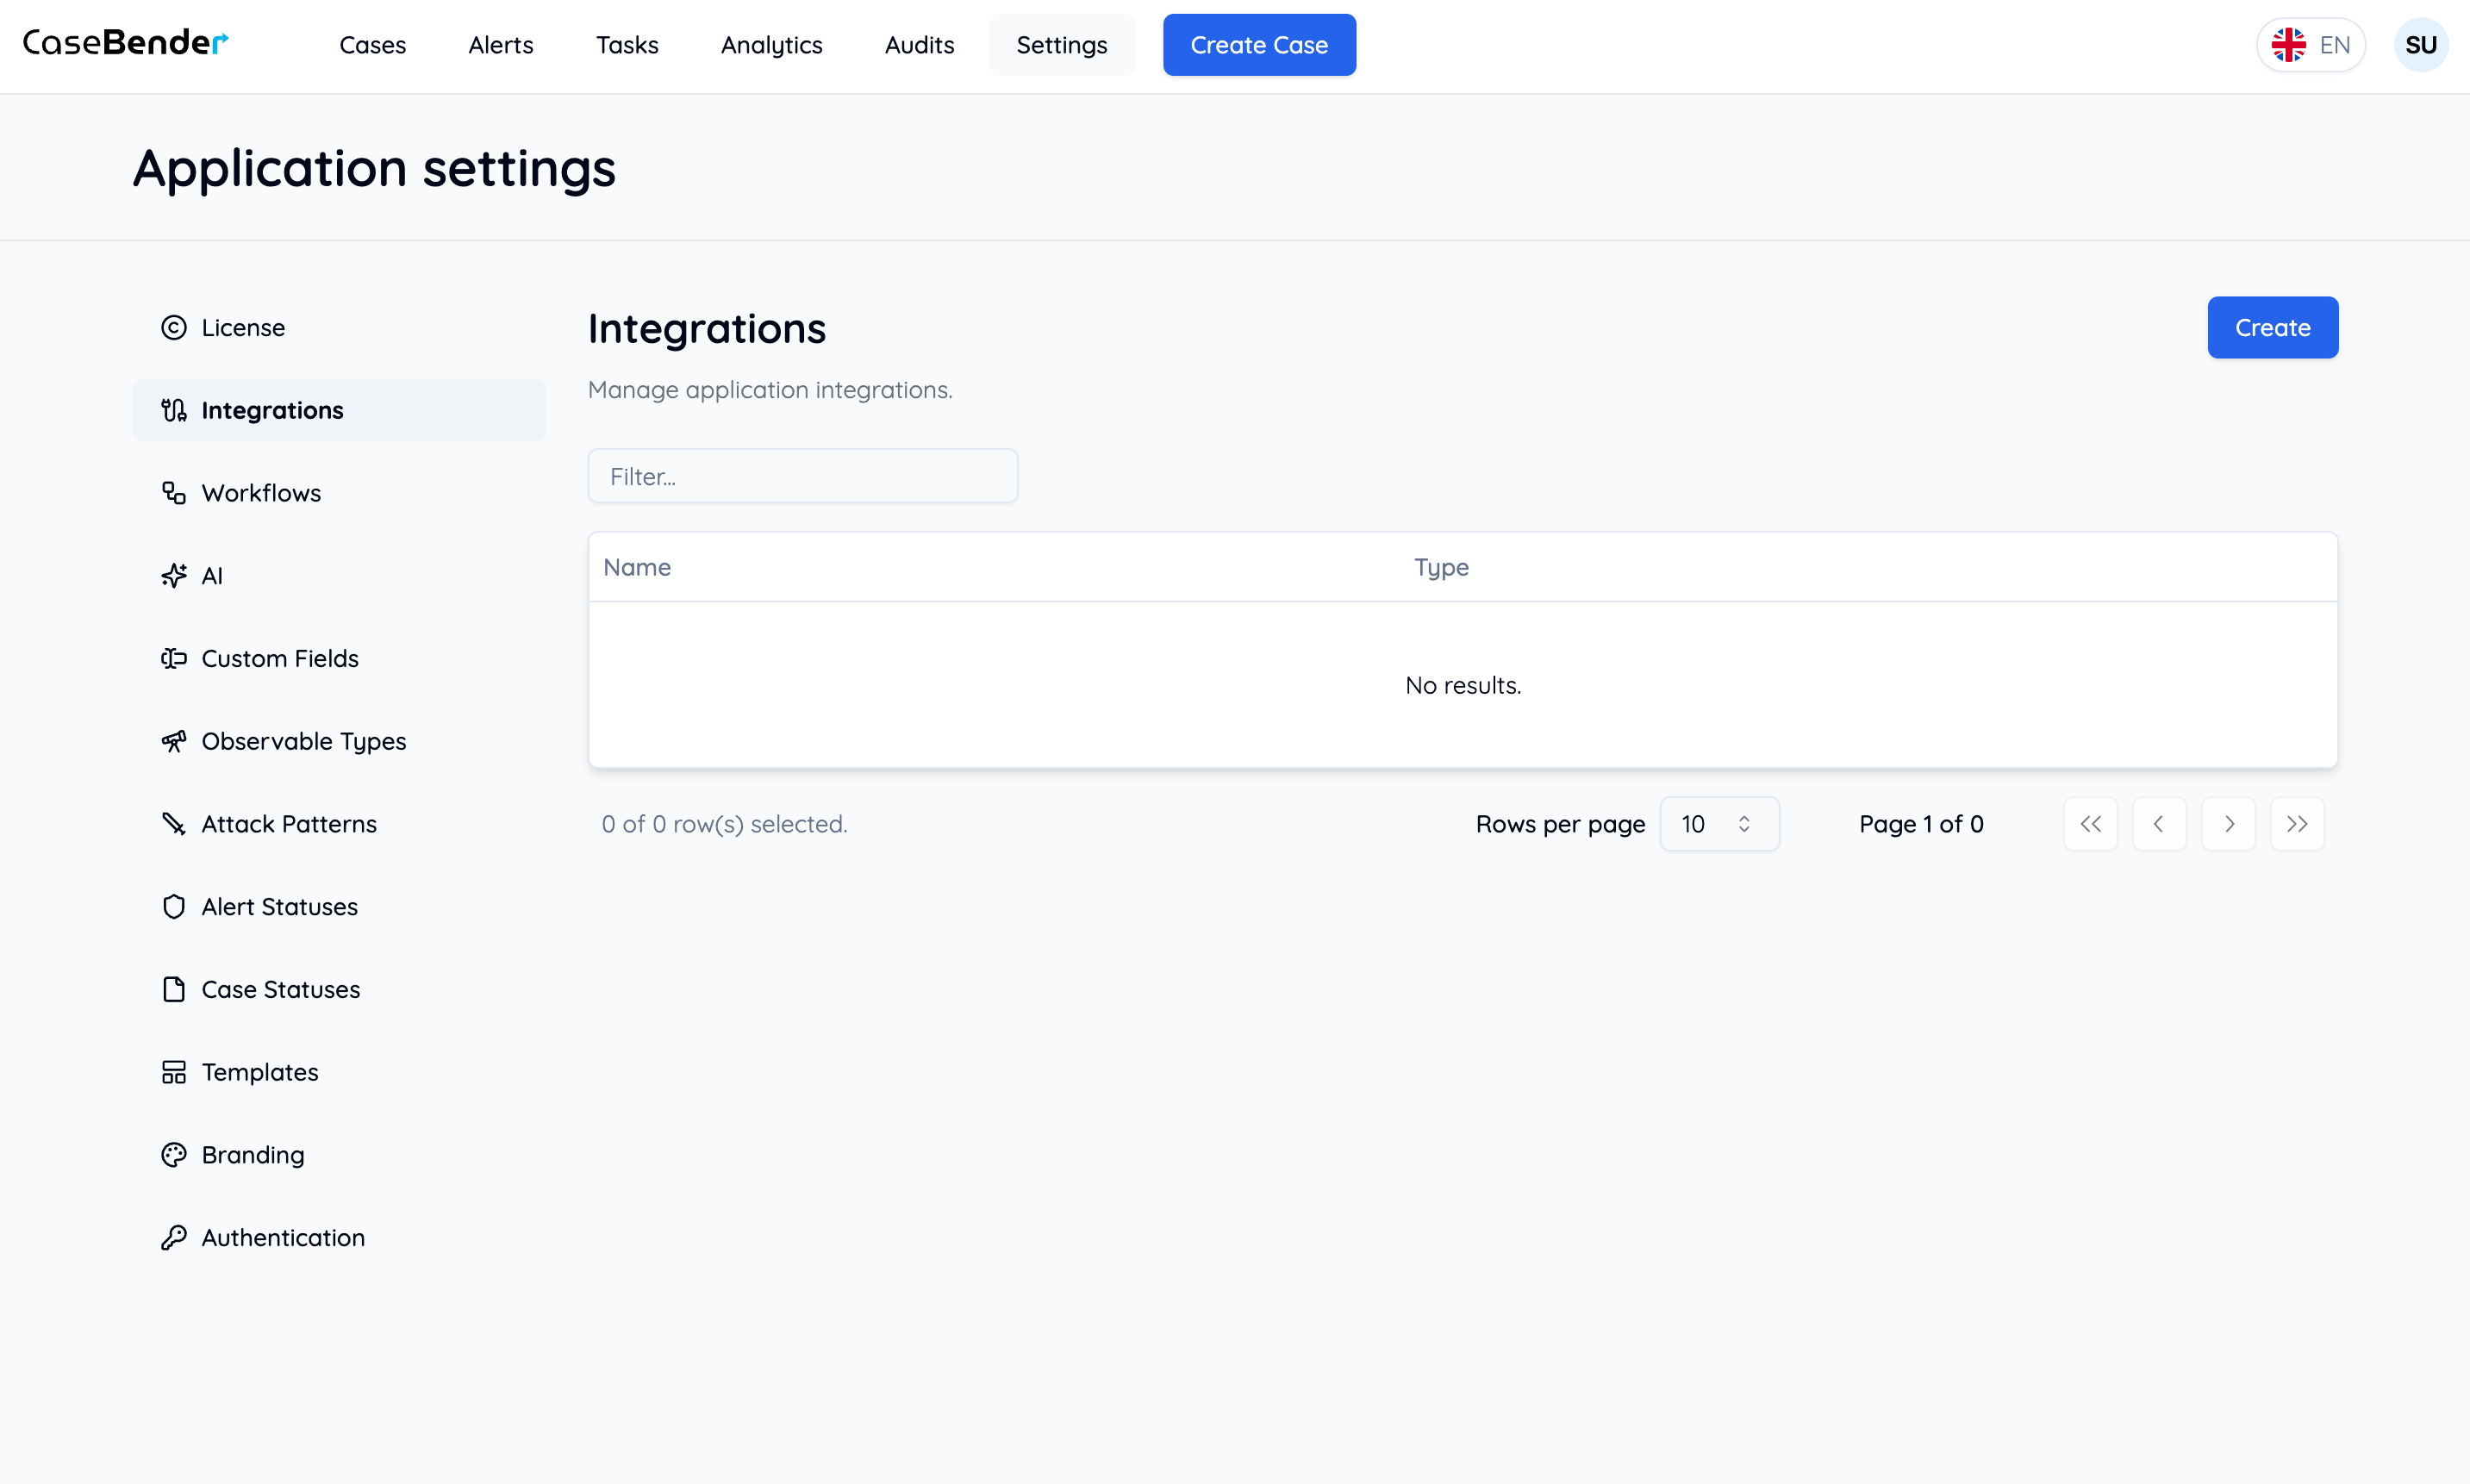
Creating a New Integration
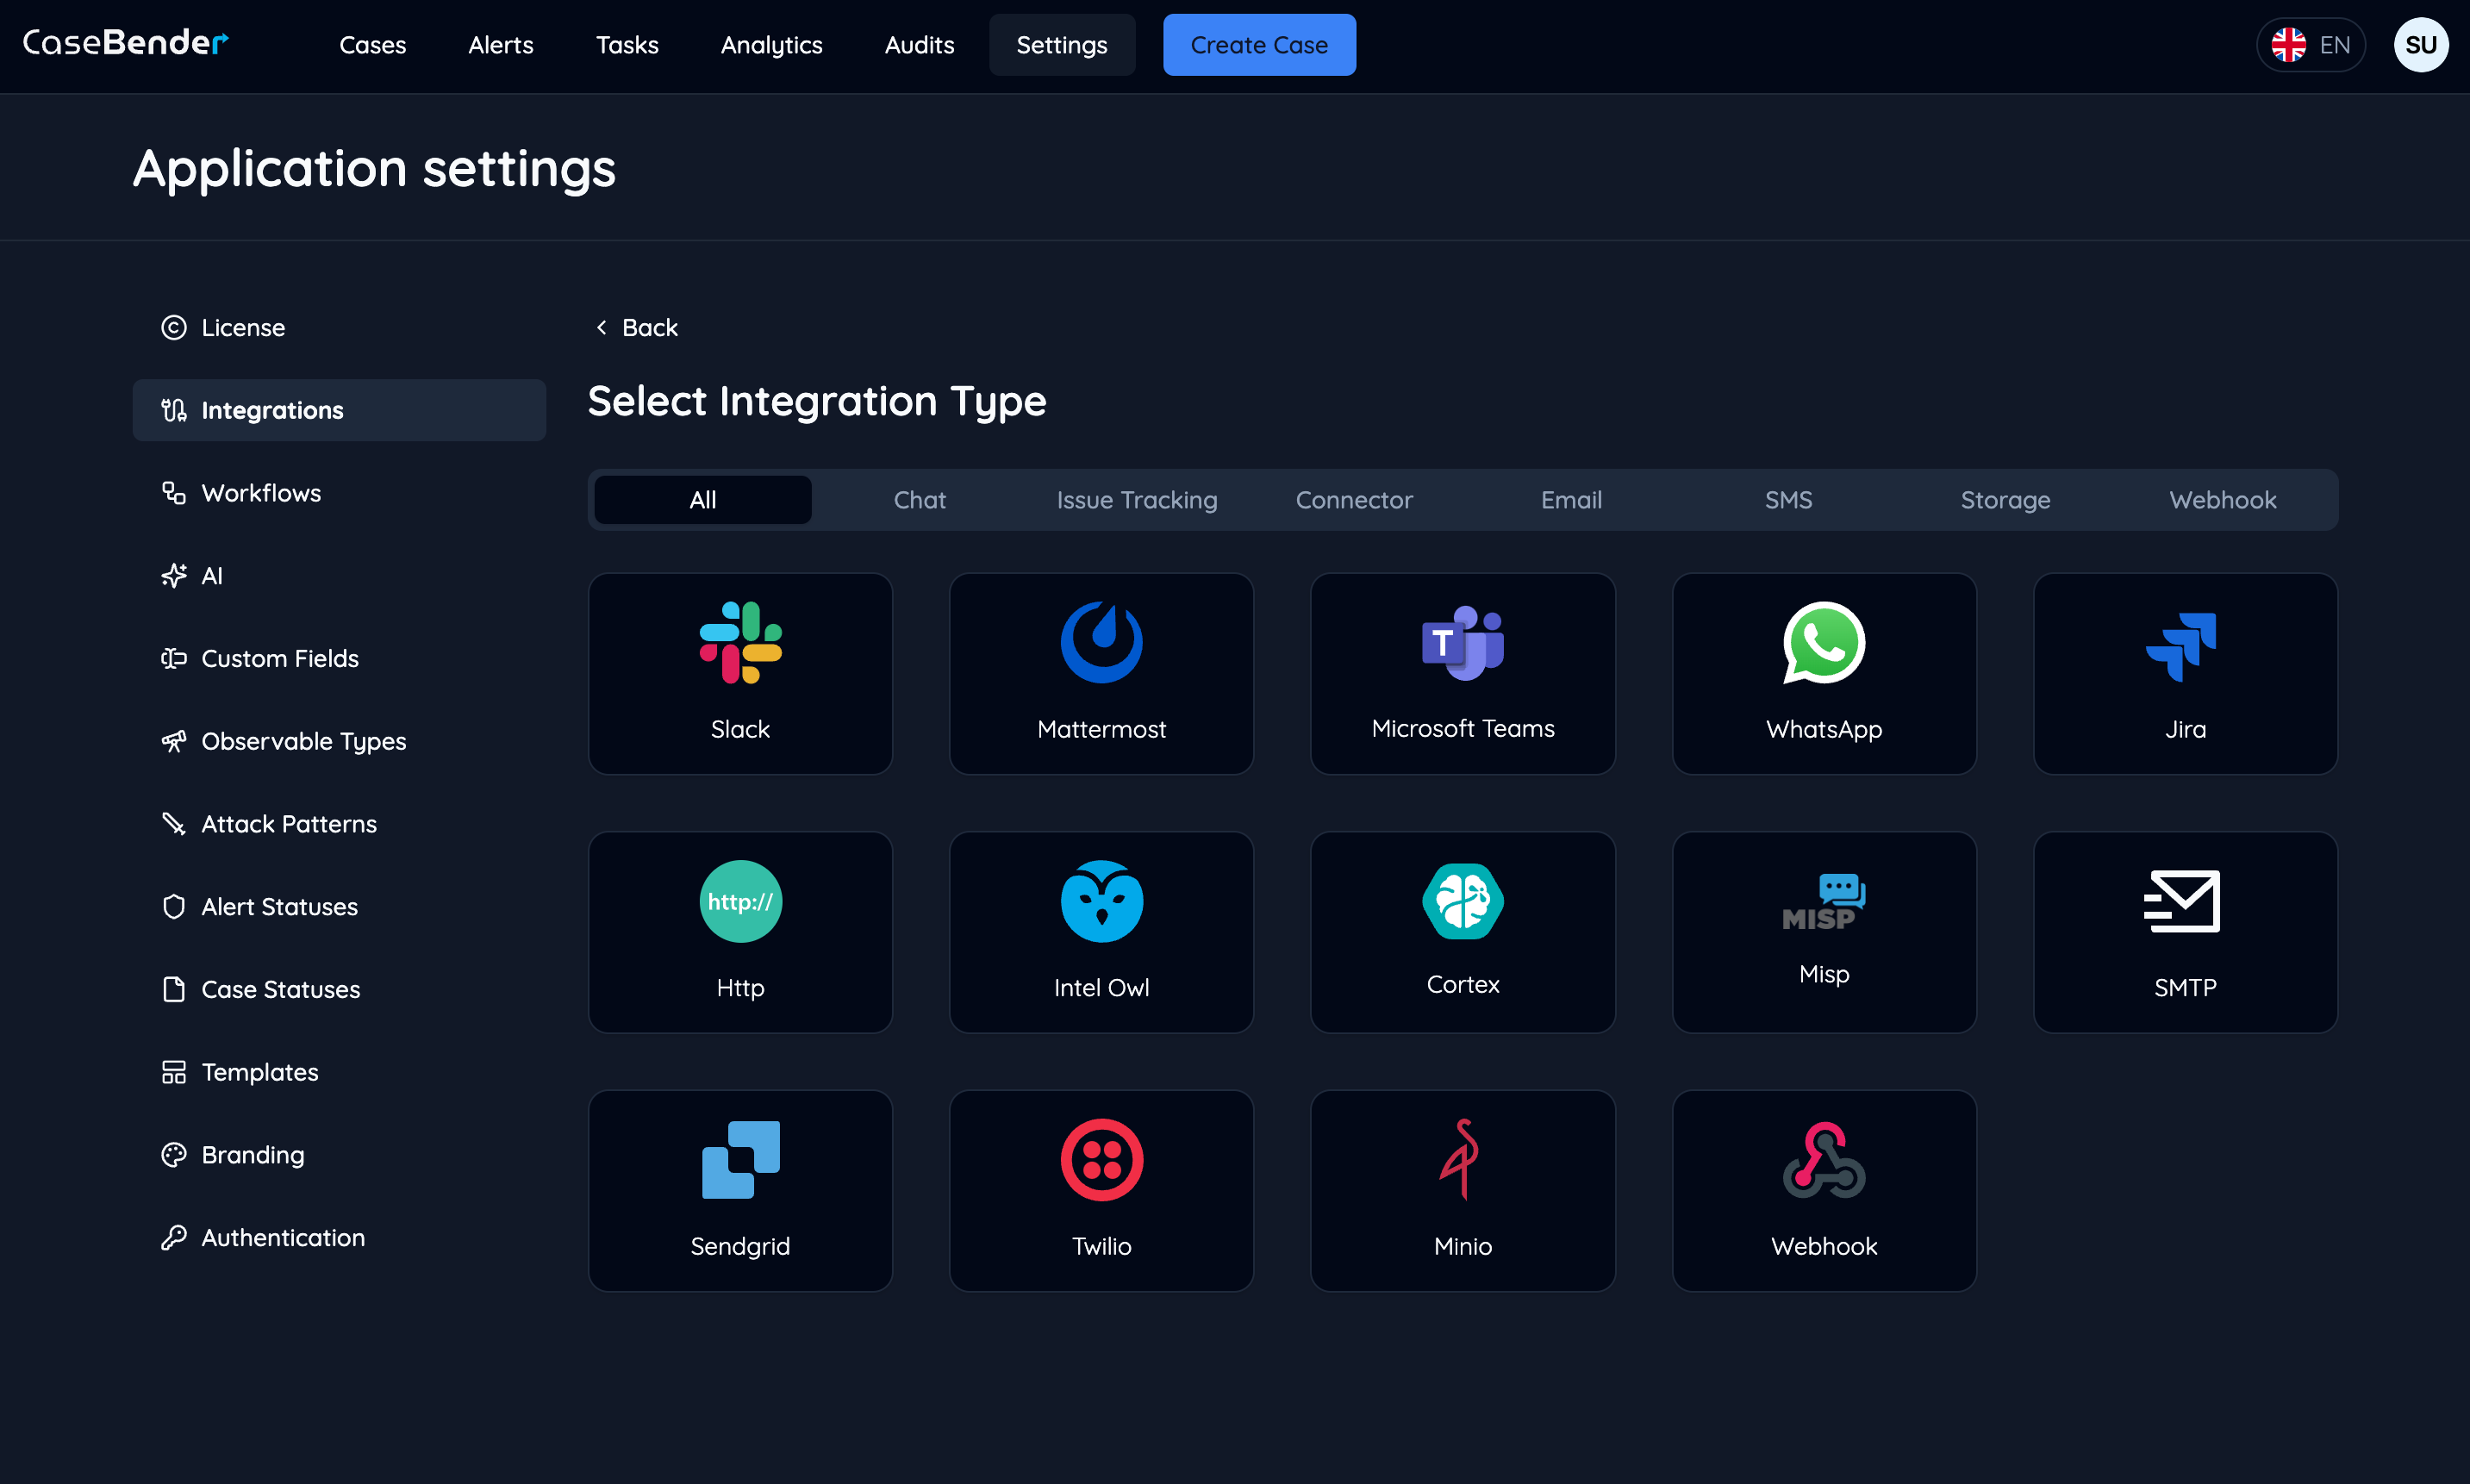
Step 1: Select Integration Type
From the dashboard, click the “Create” button to see available integration options: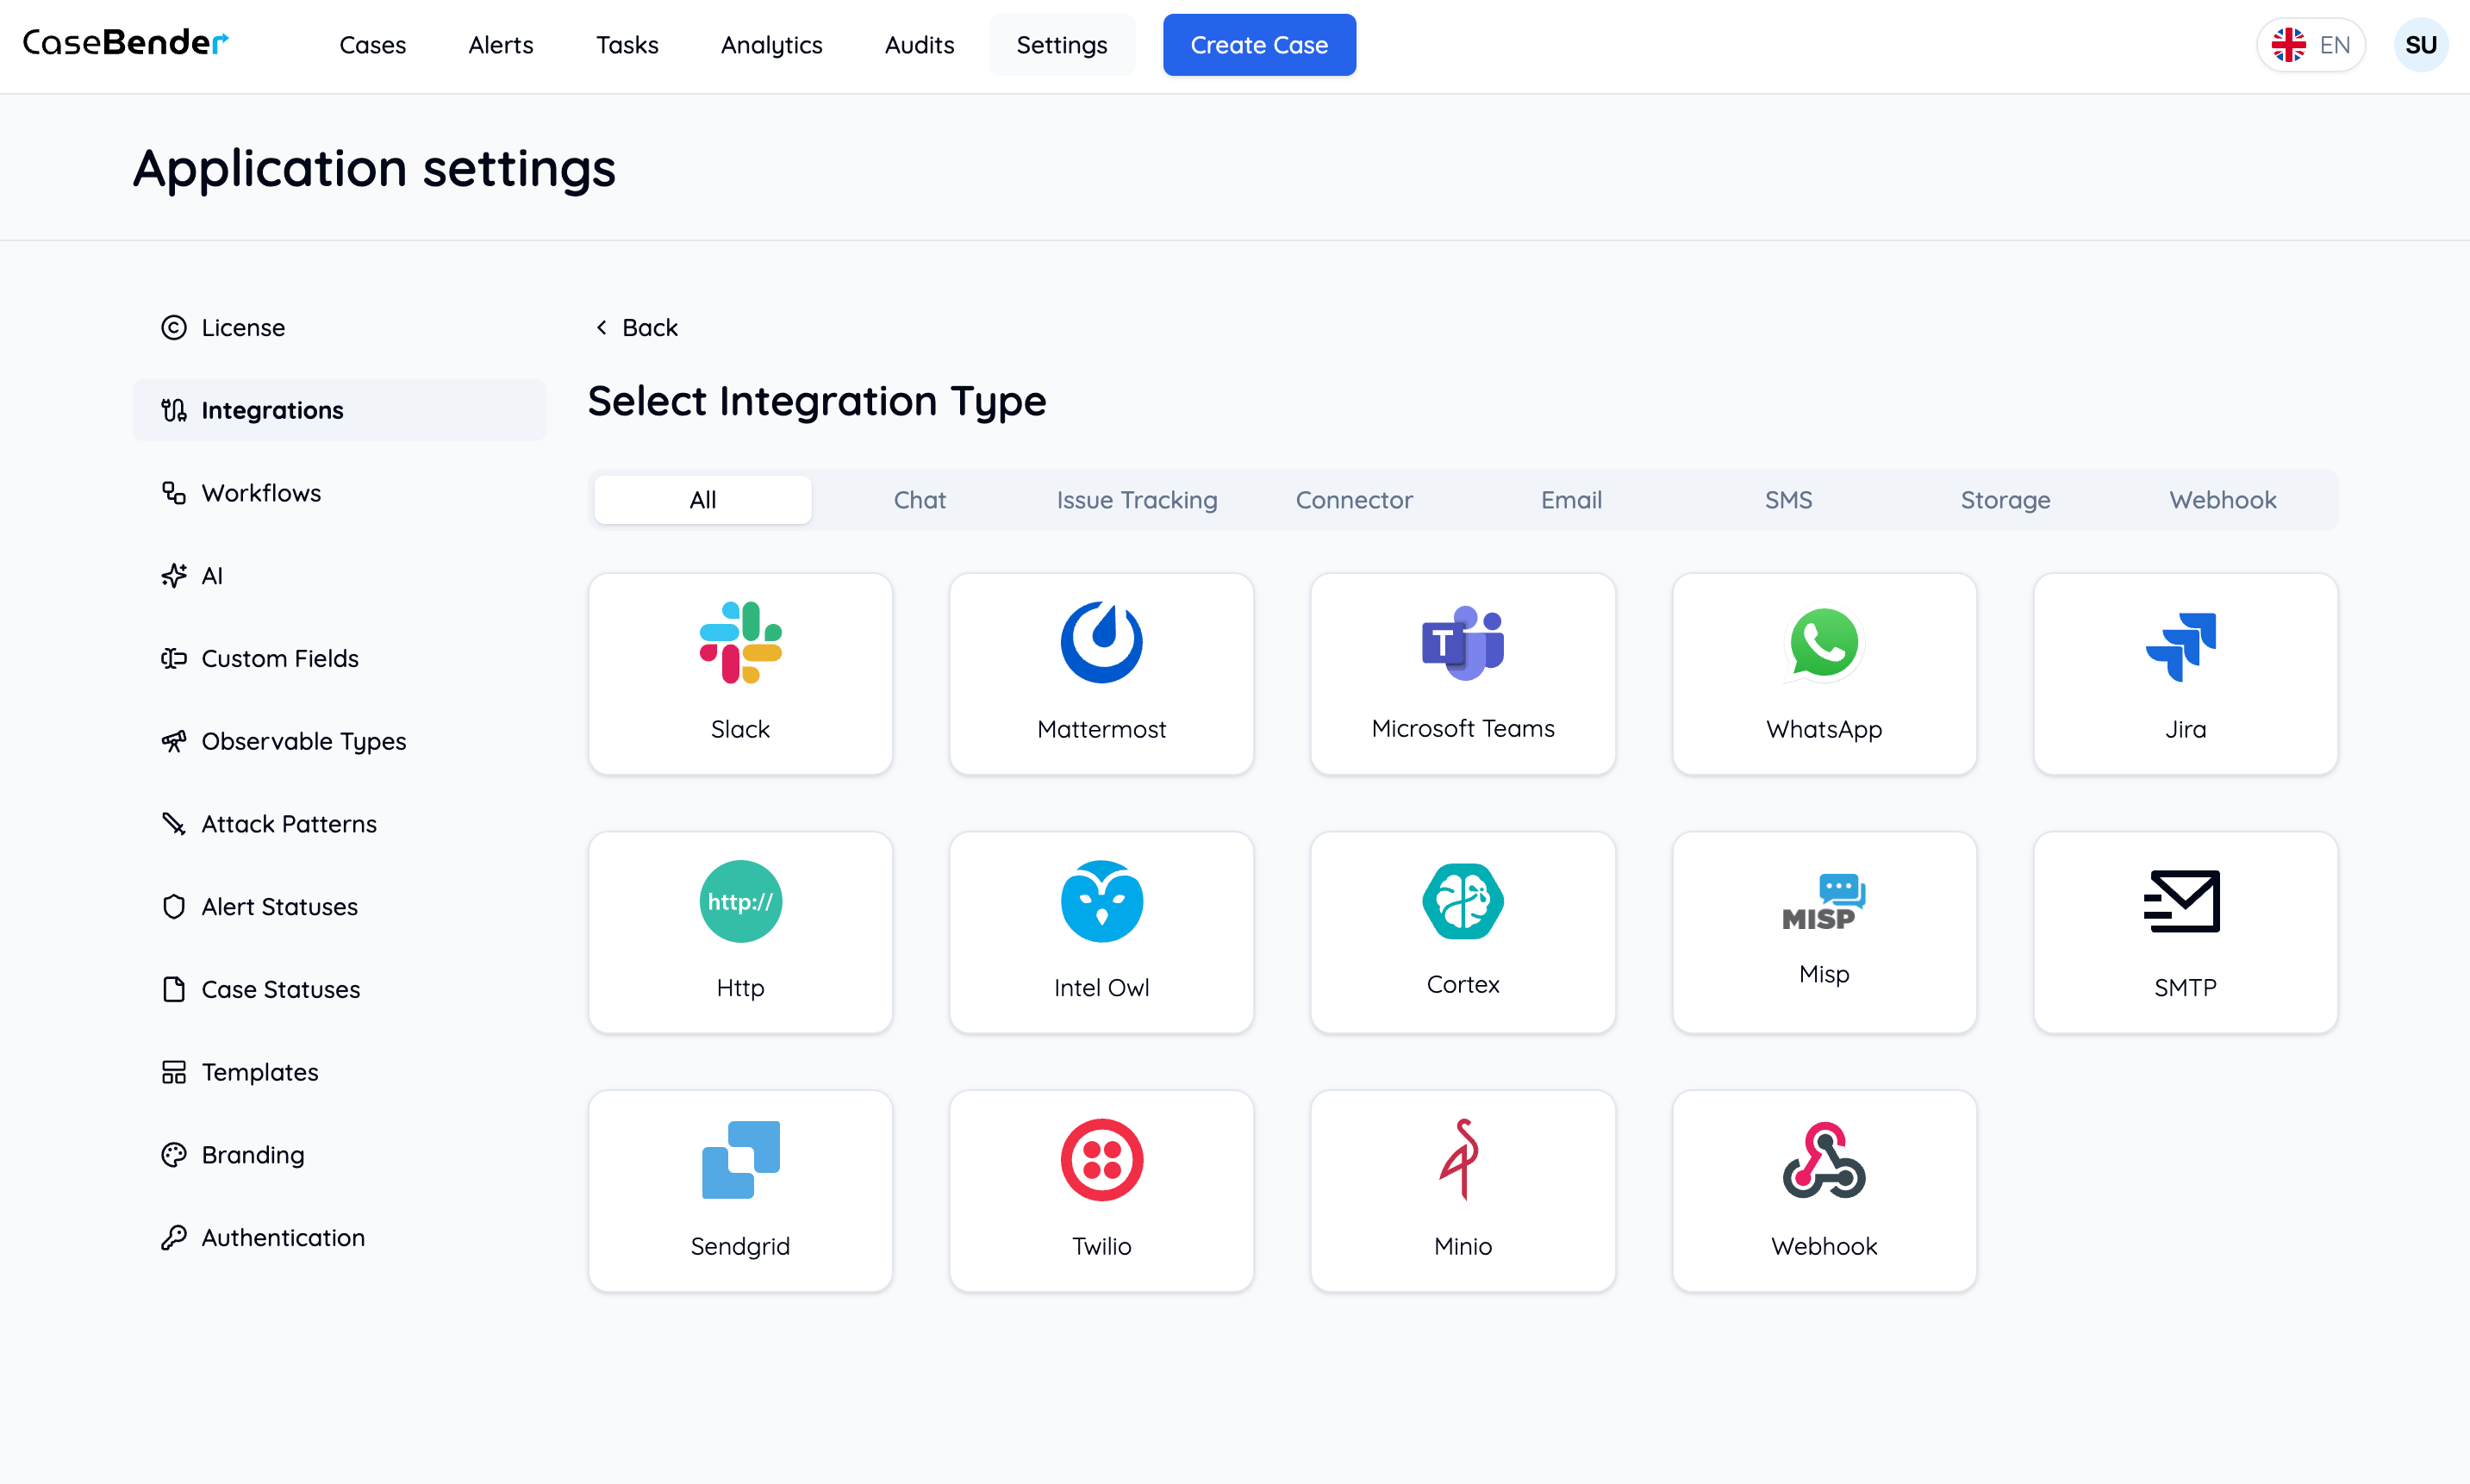
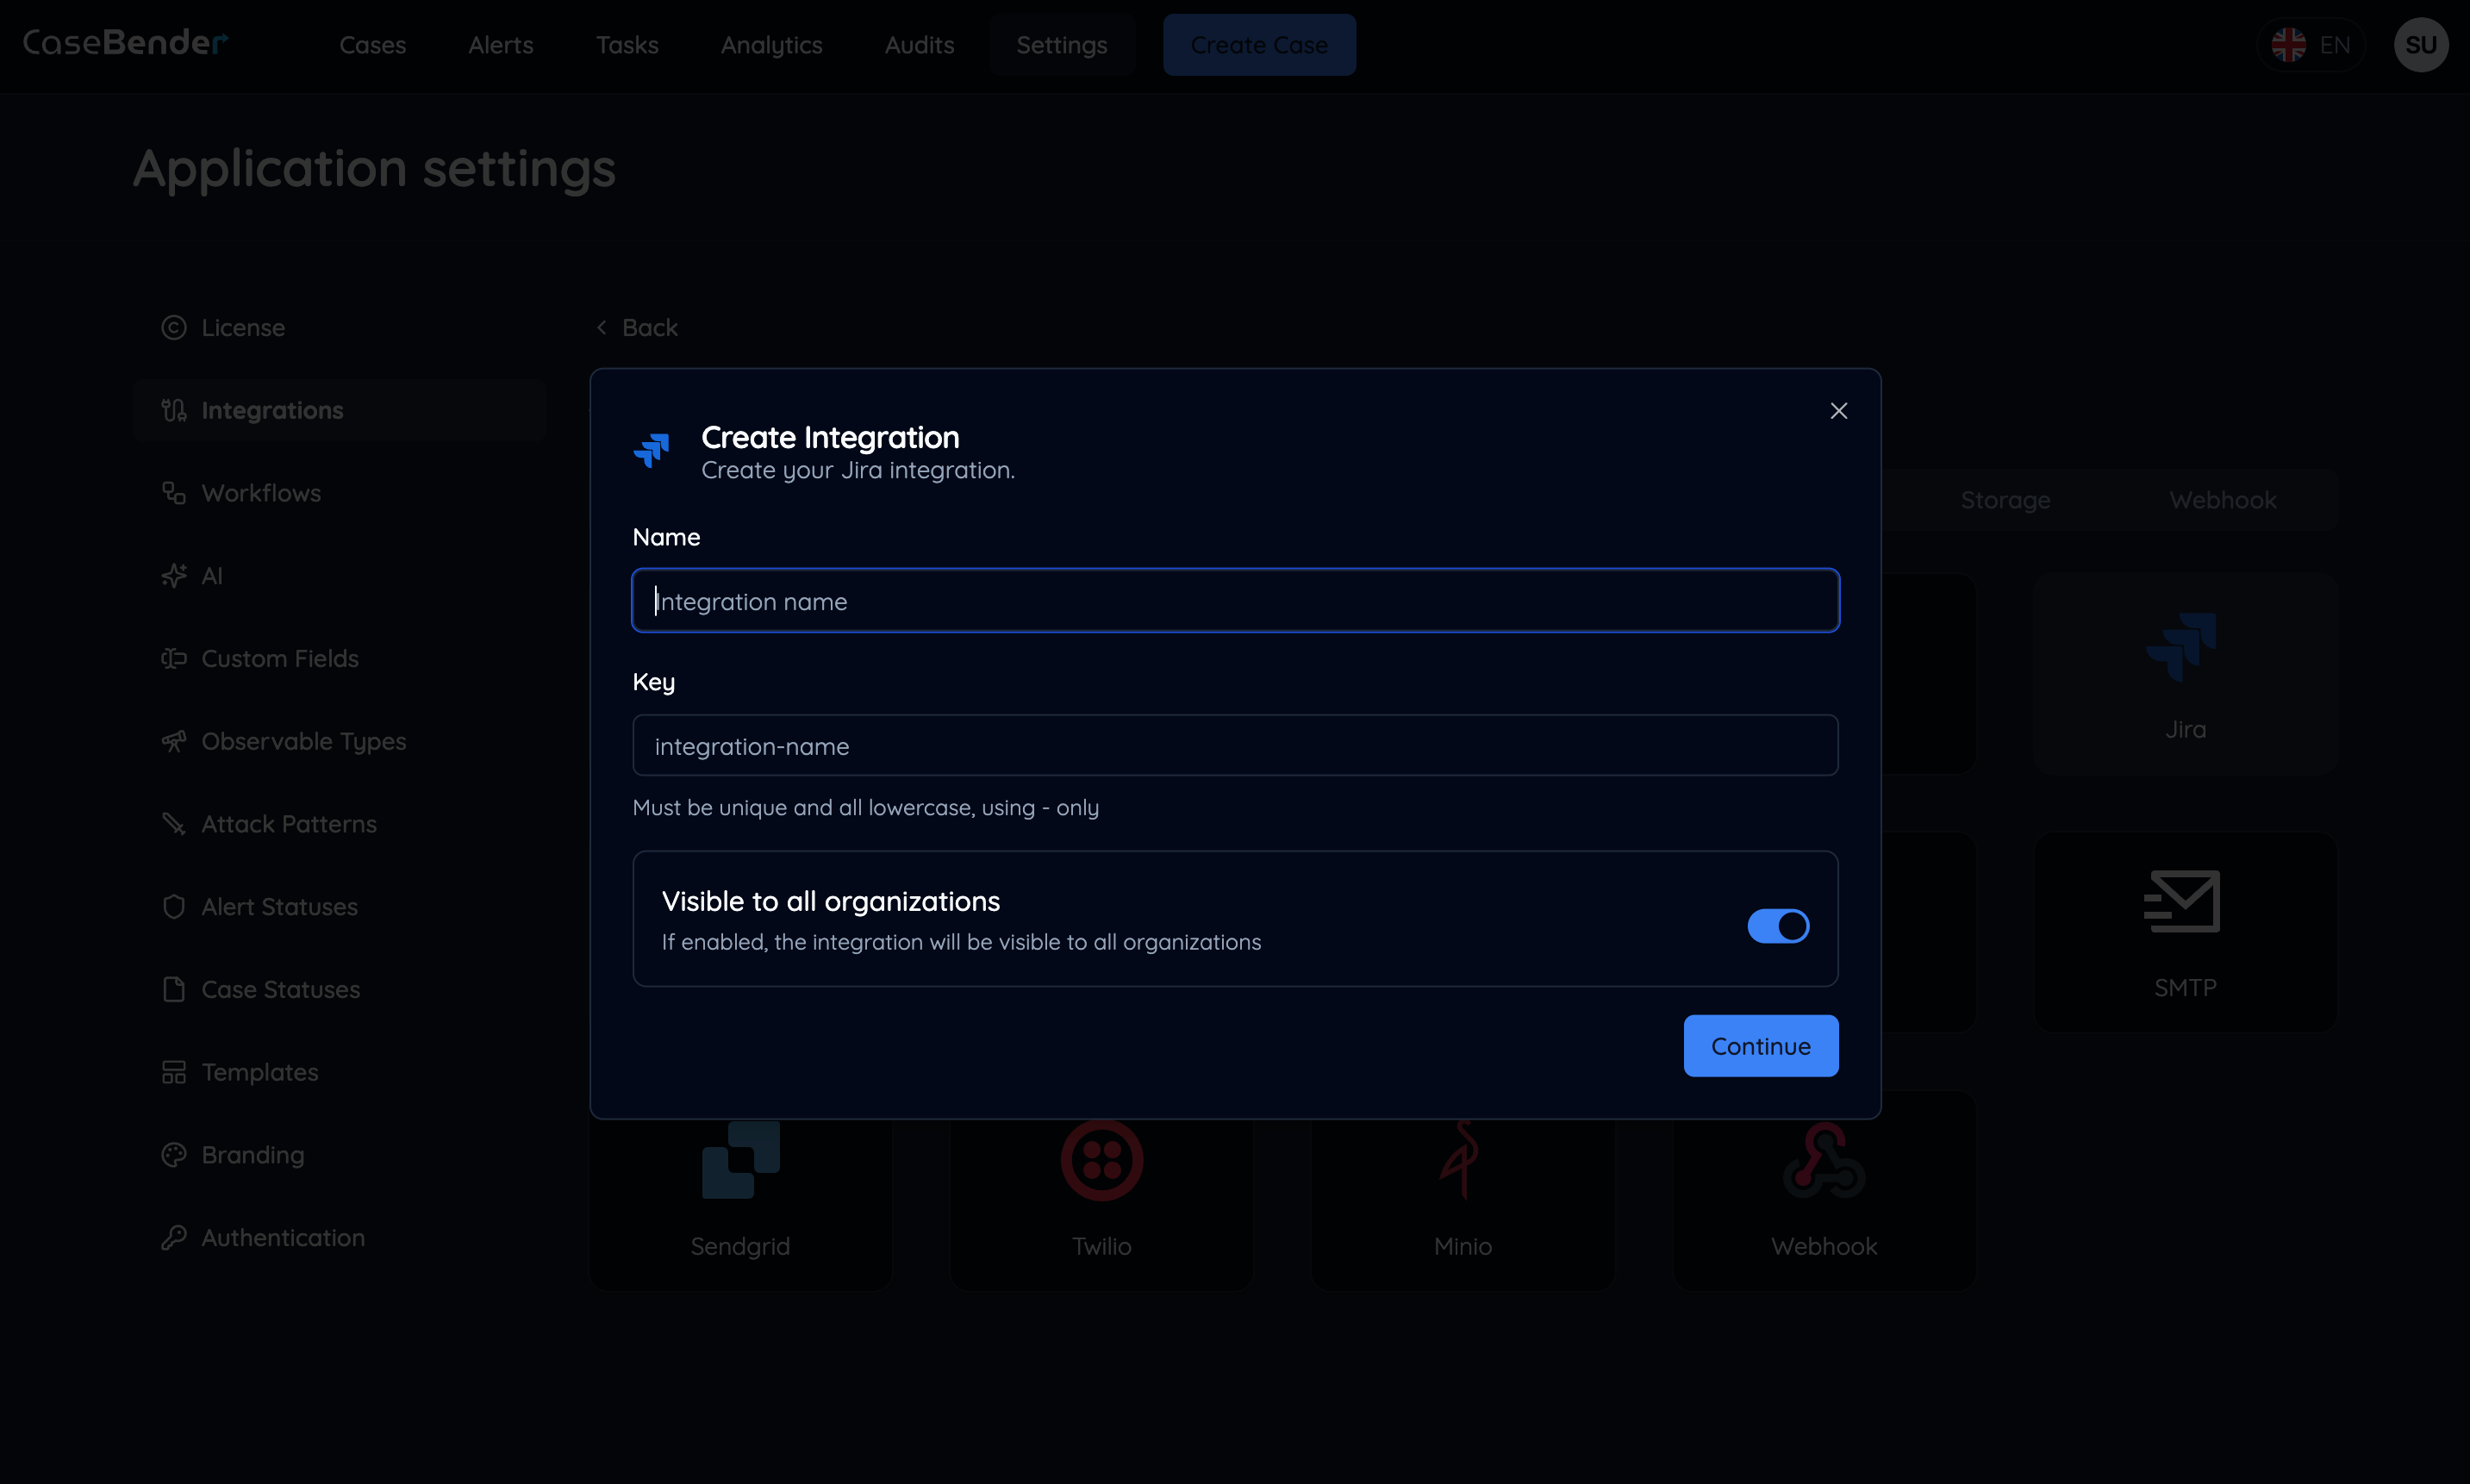
Step 2: Basic Configuration
After selecting an integration type, you’ll be presented with the integration configuration form: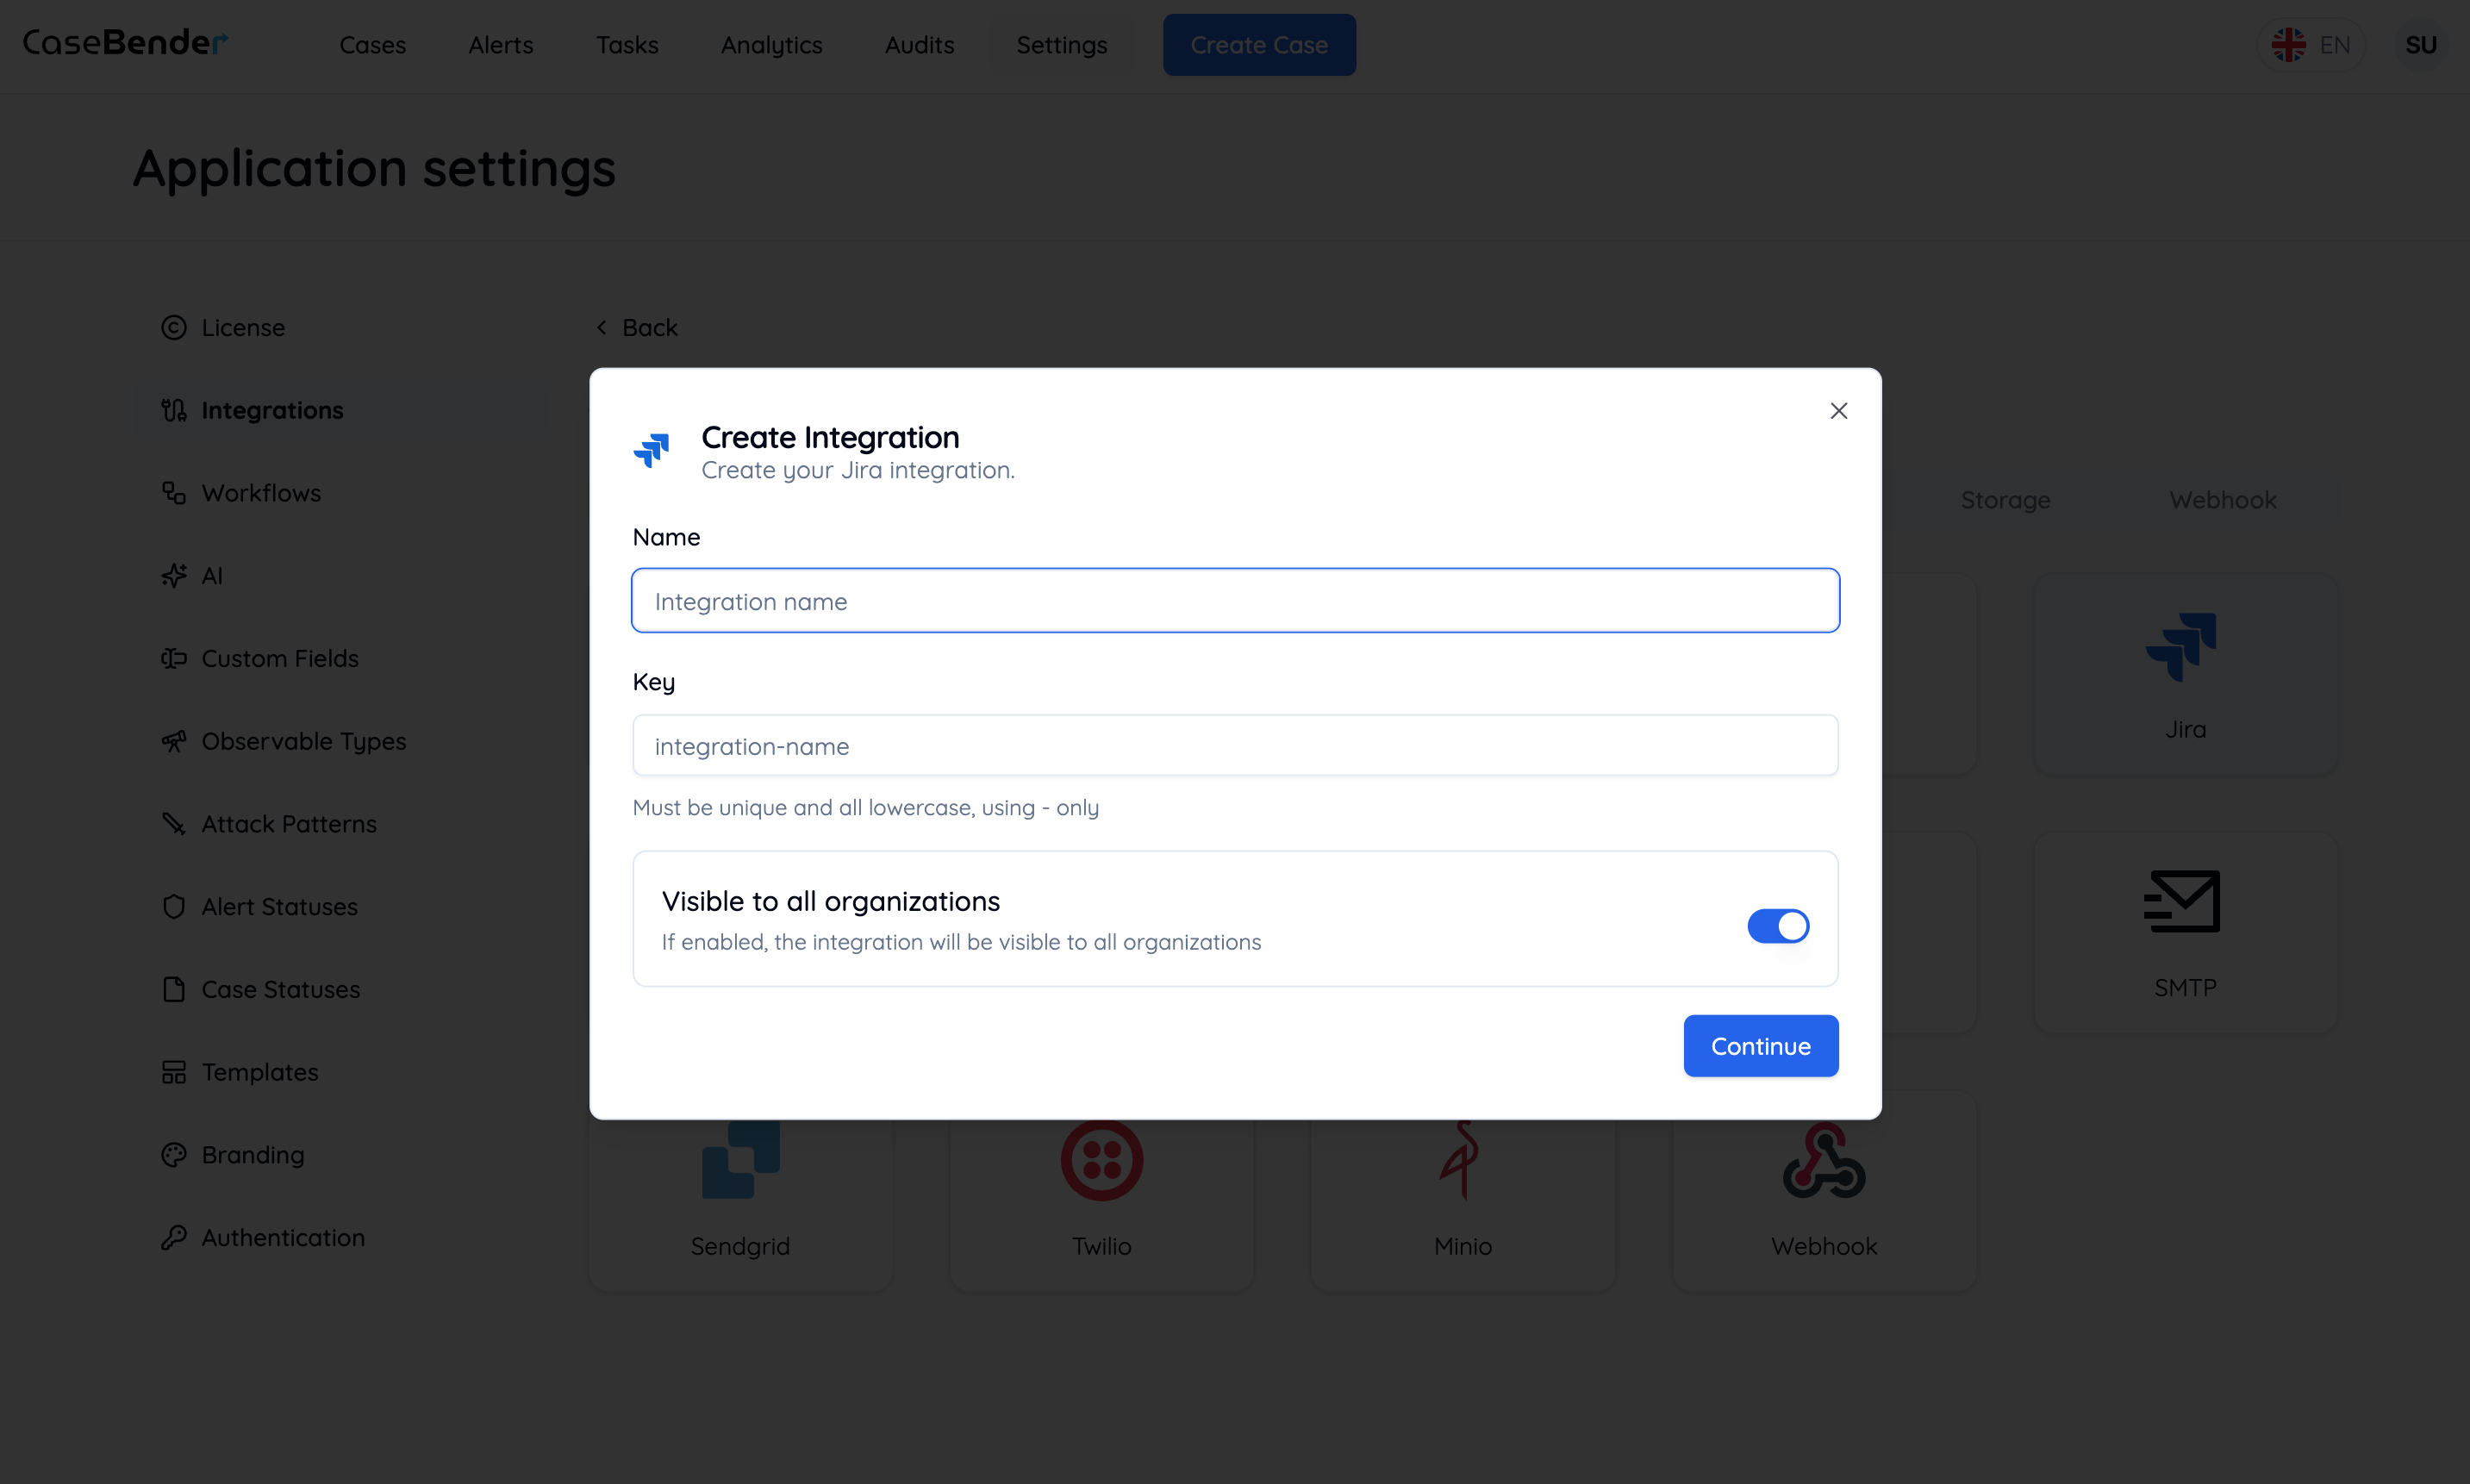
- Integration name
- Description
- Basic configuration options
- Connection details
Step 3: Advanced Settings
Configure additional settings specific to your integration type: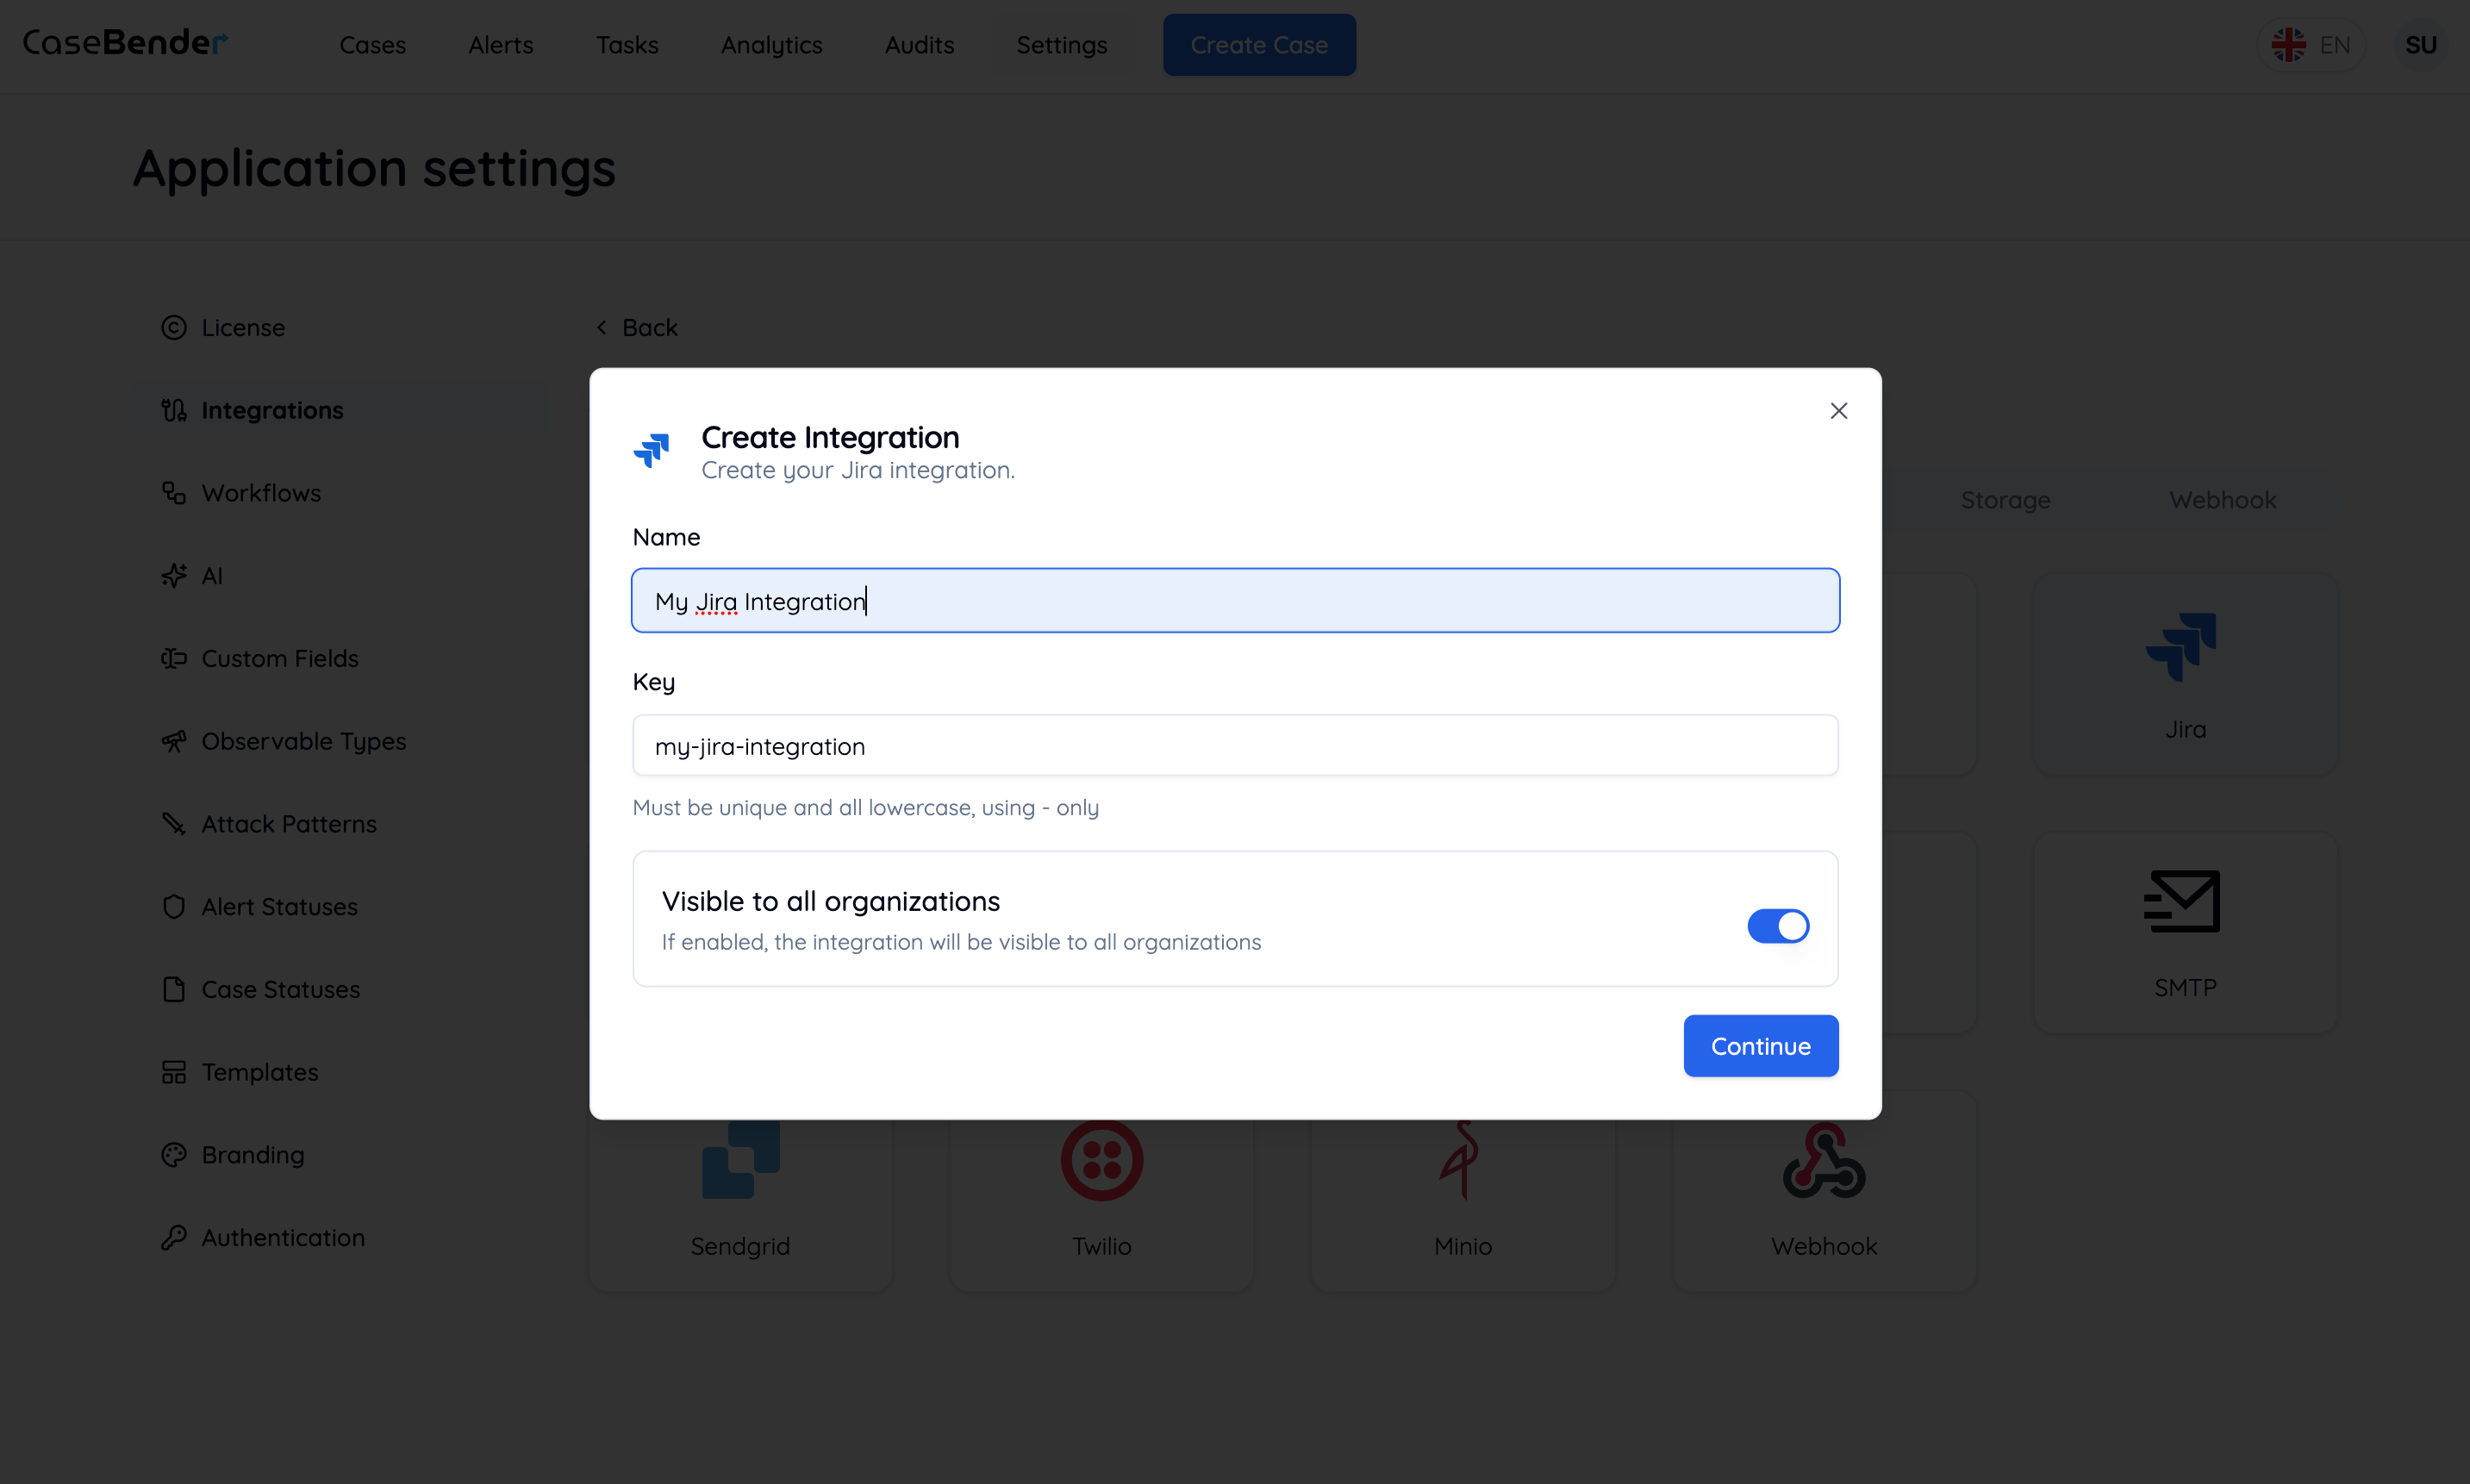
Step 4: Organization Settings
Specify which organizations can access this integration: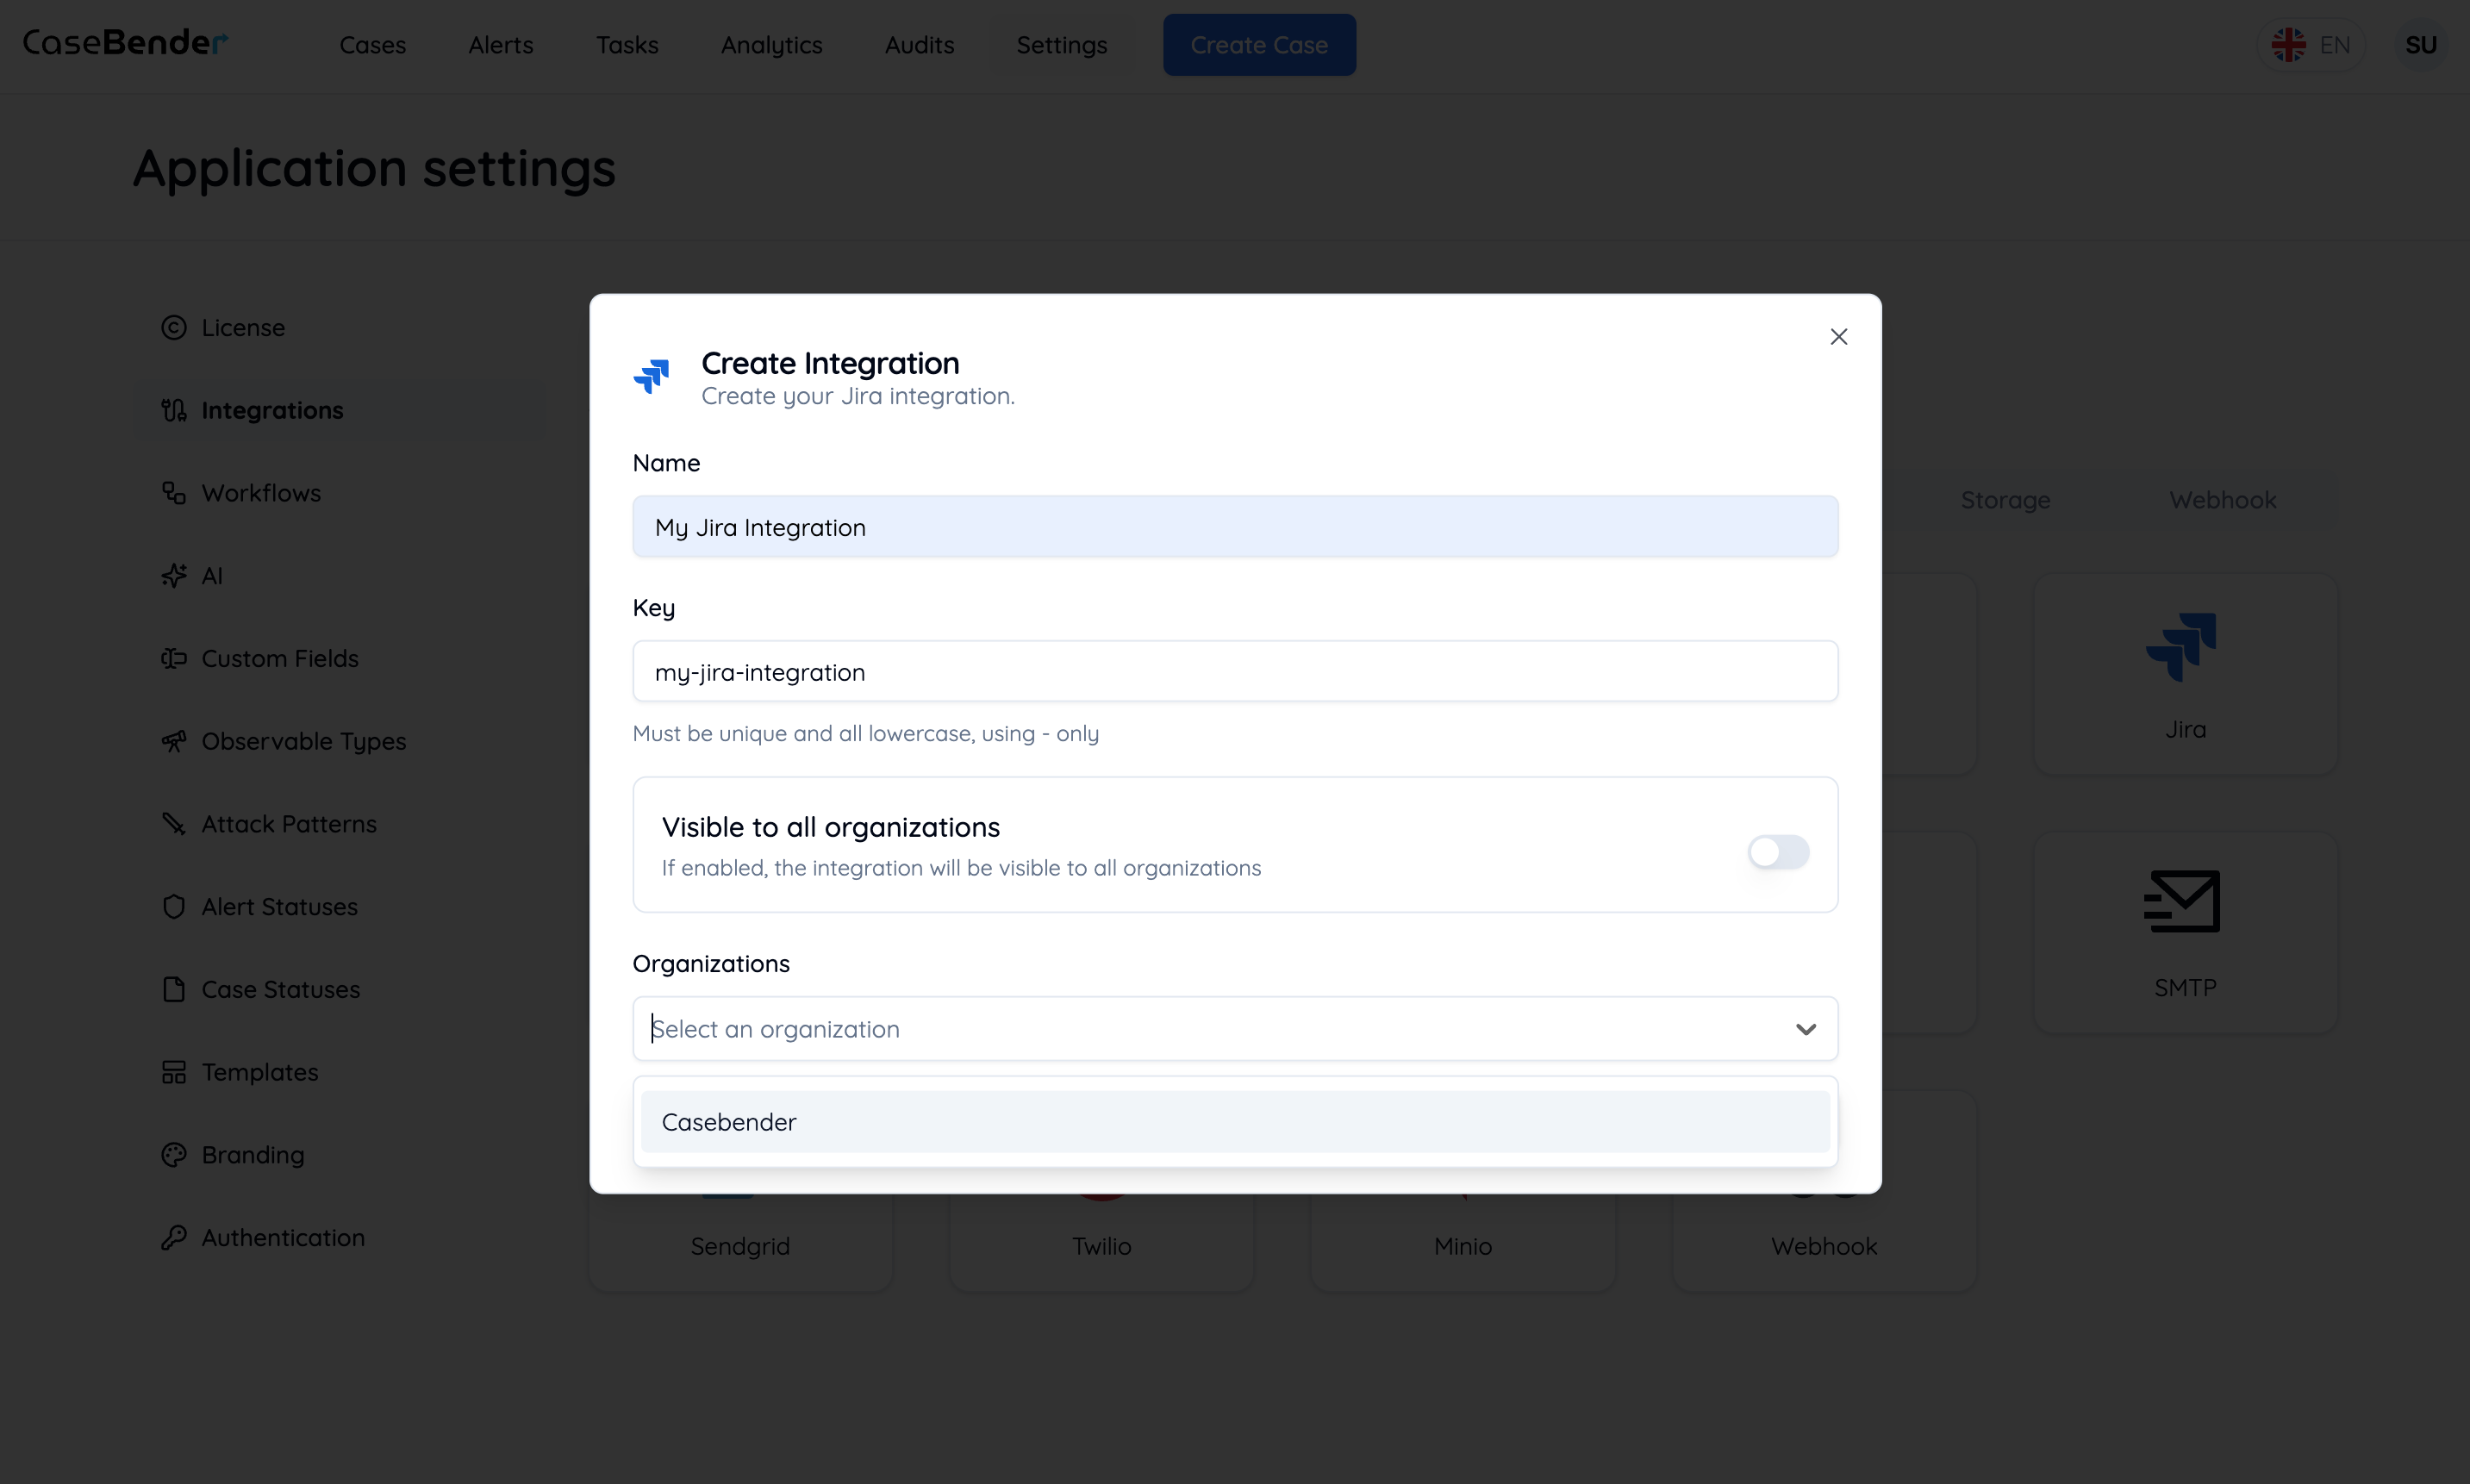
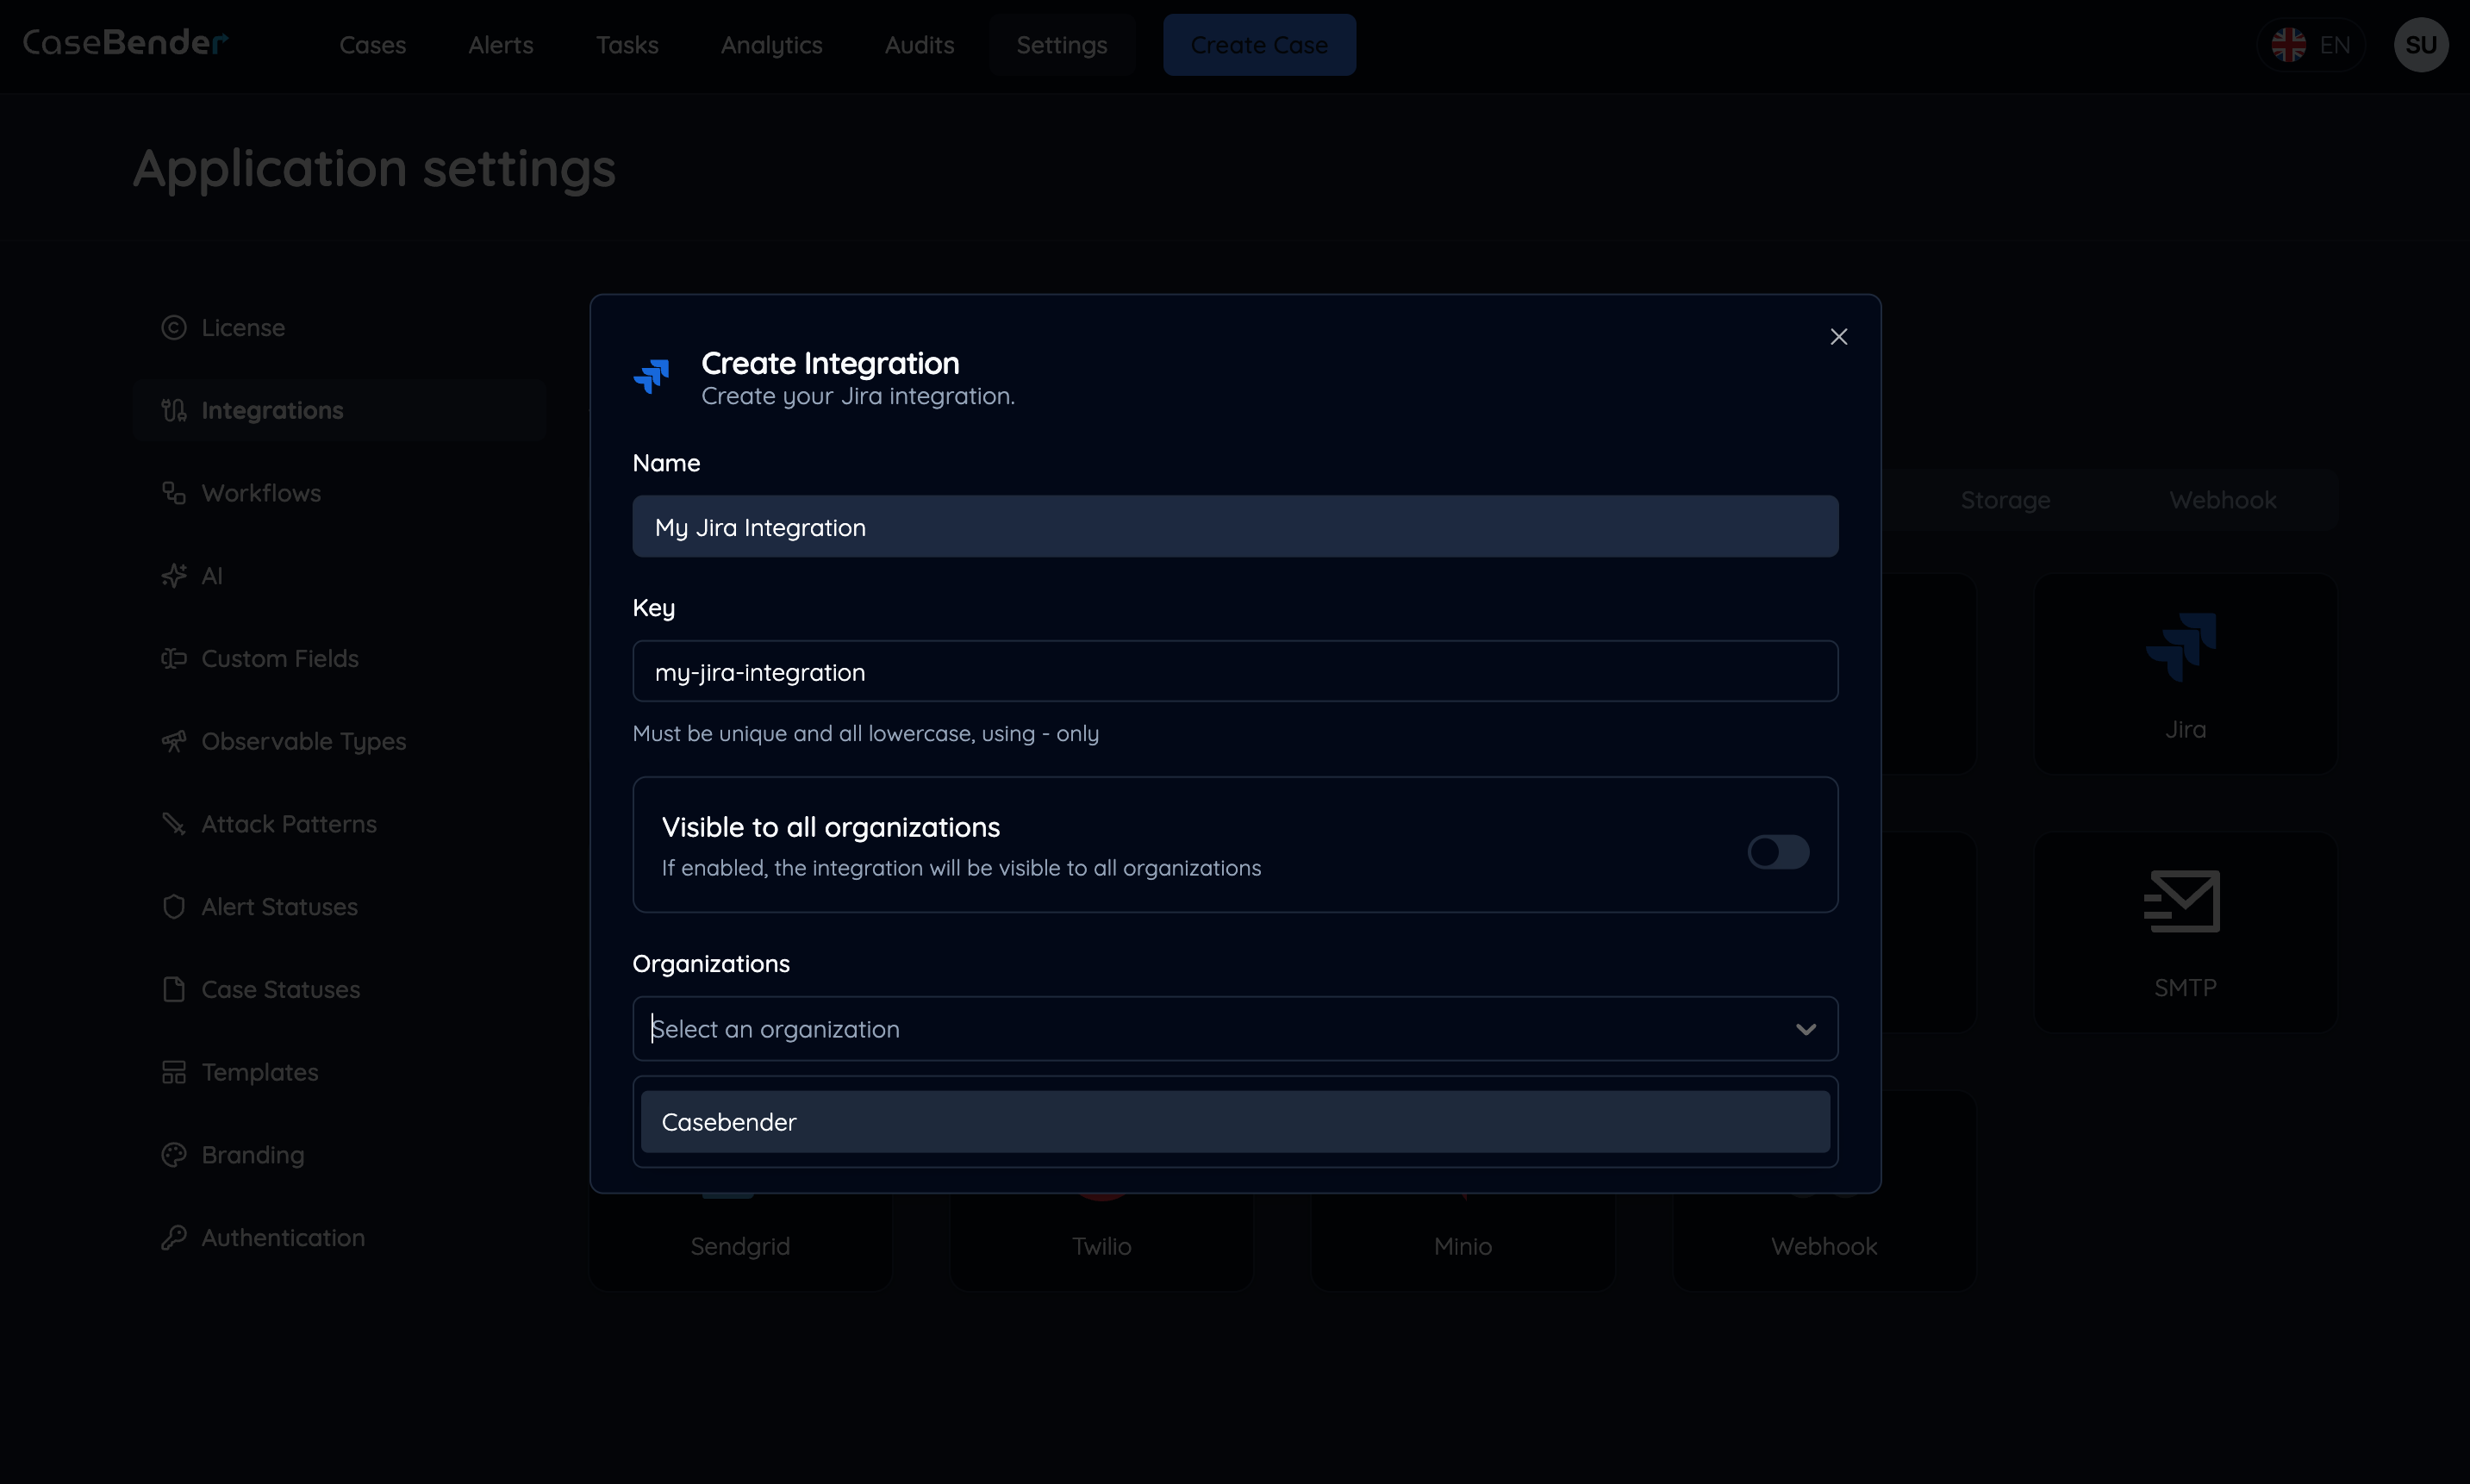
- Select applicable organizations
- Set organization-specific configurations
- Define access levels and permissions
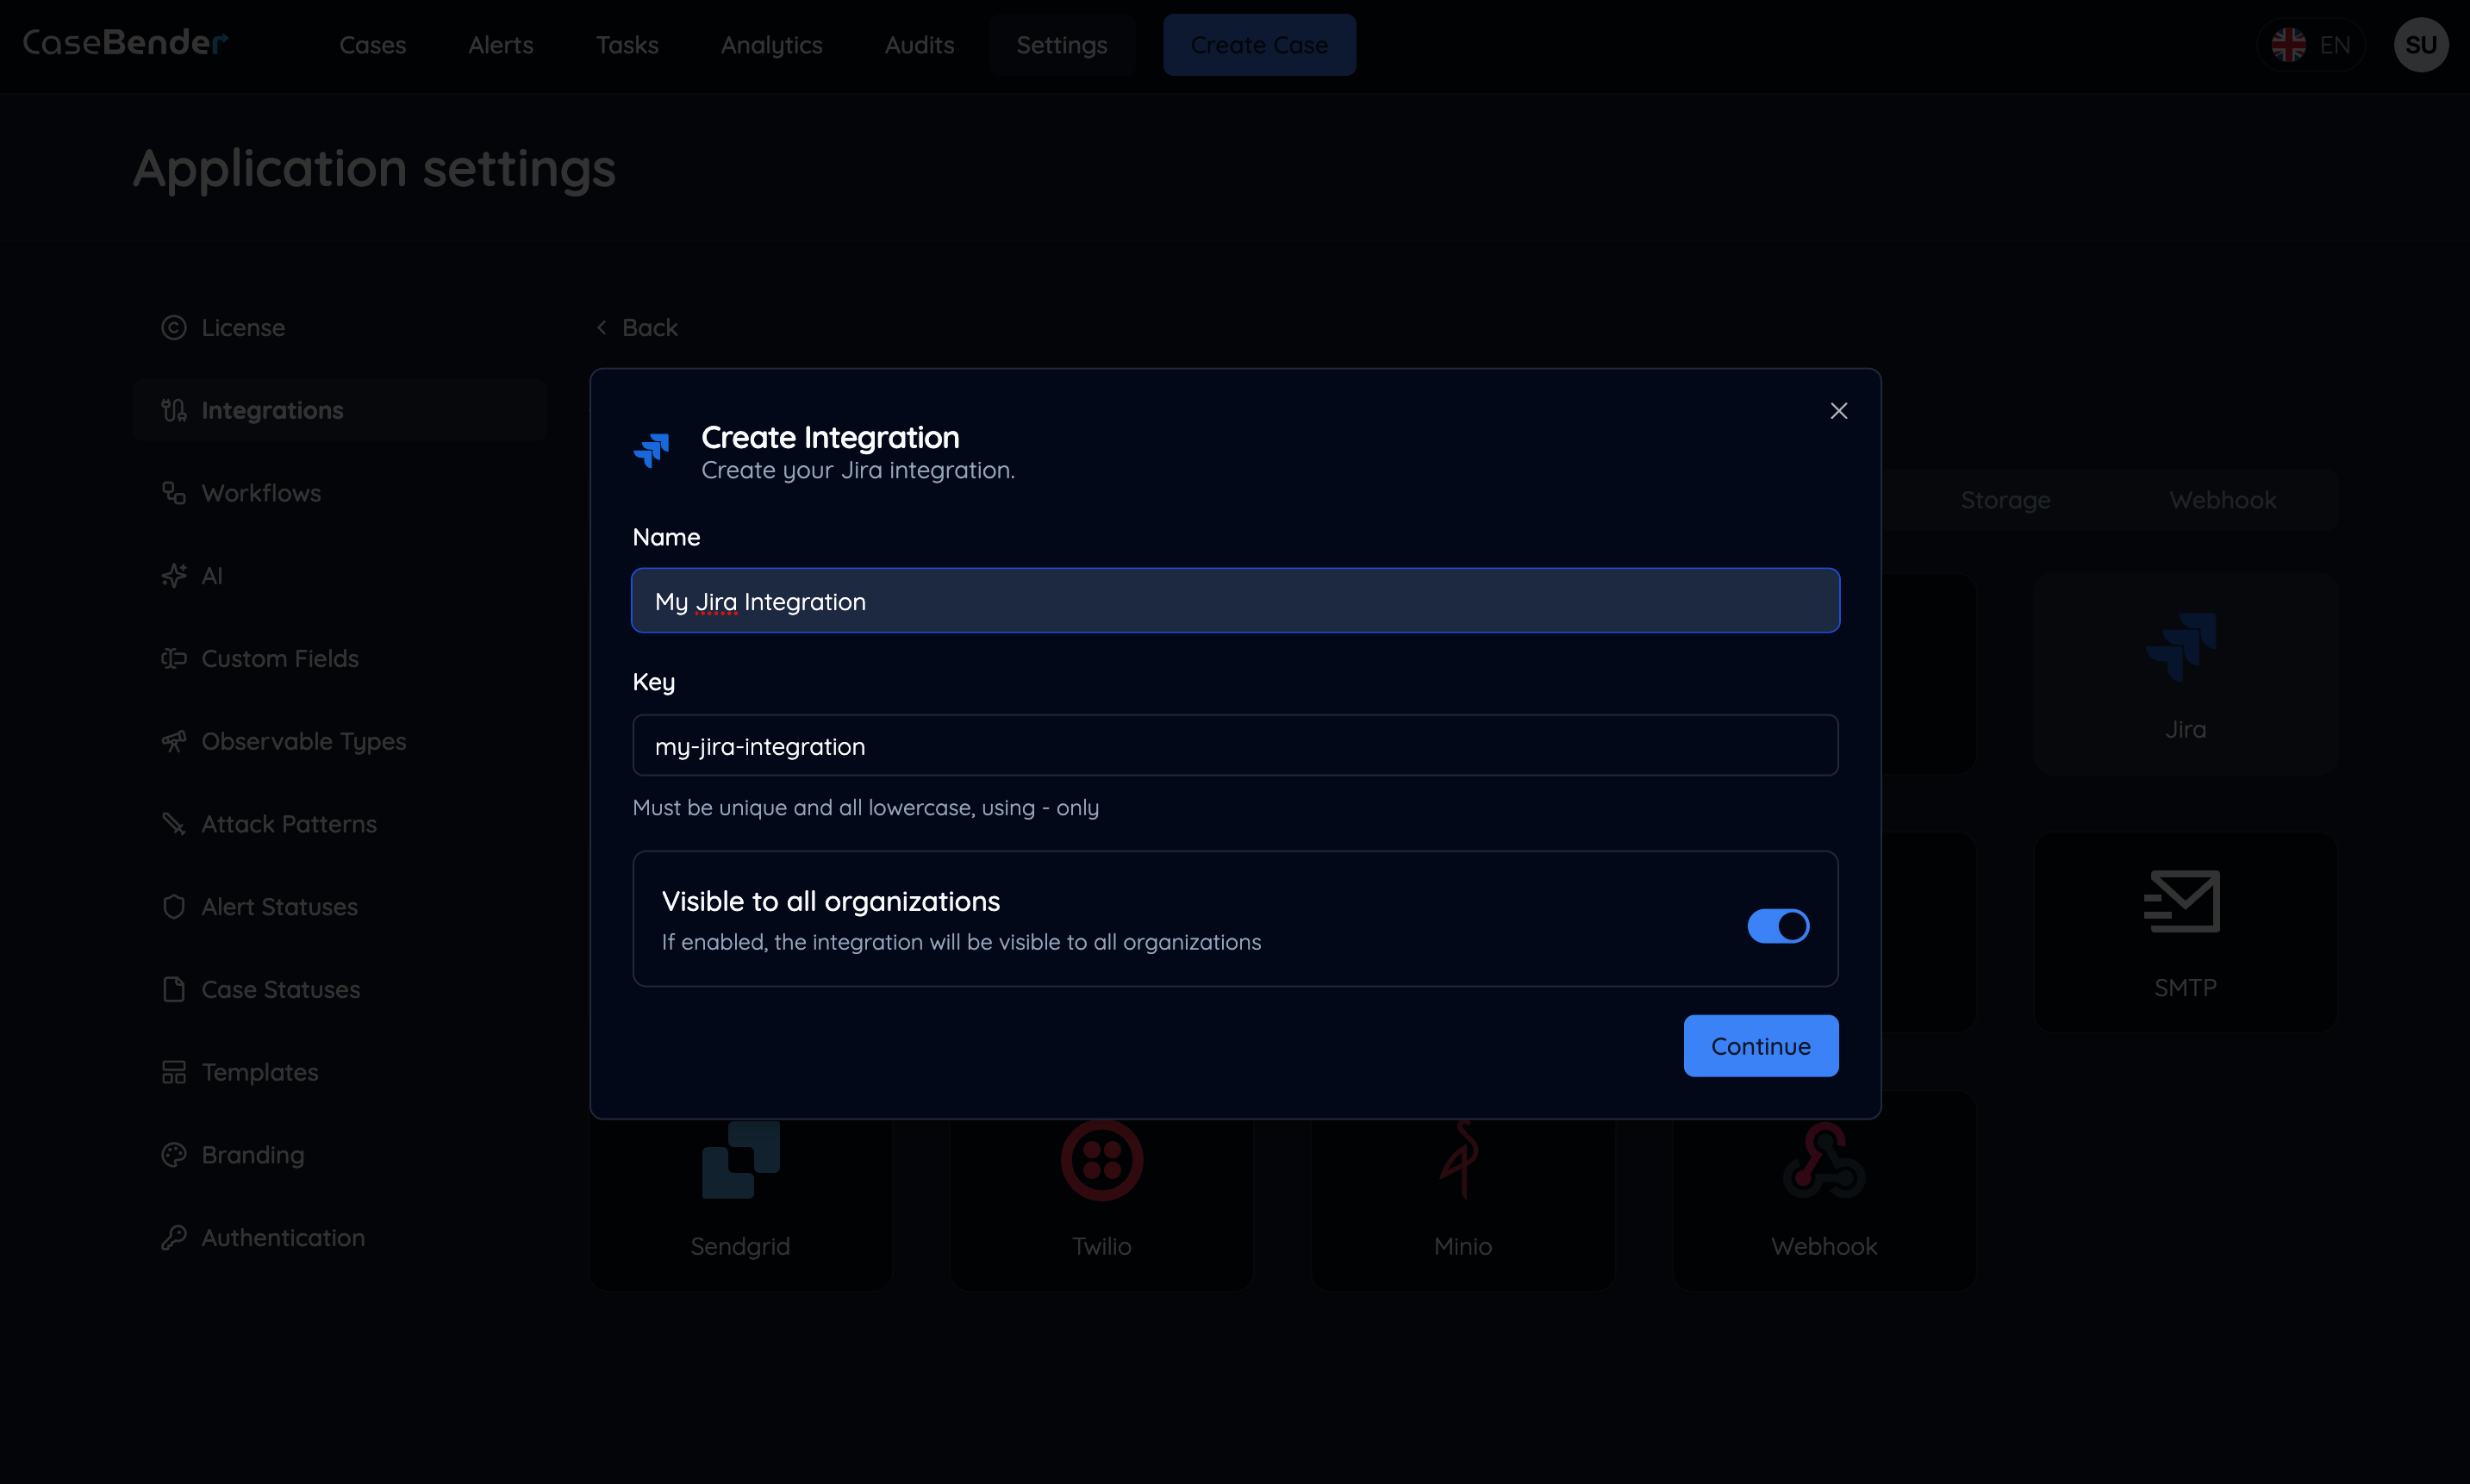
Step 5: Final Configuration
After clicking the Continue button, complete the final configuration steps: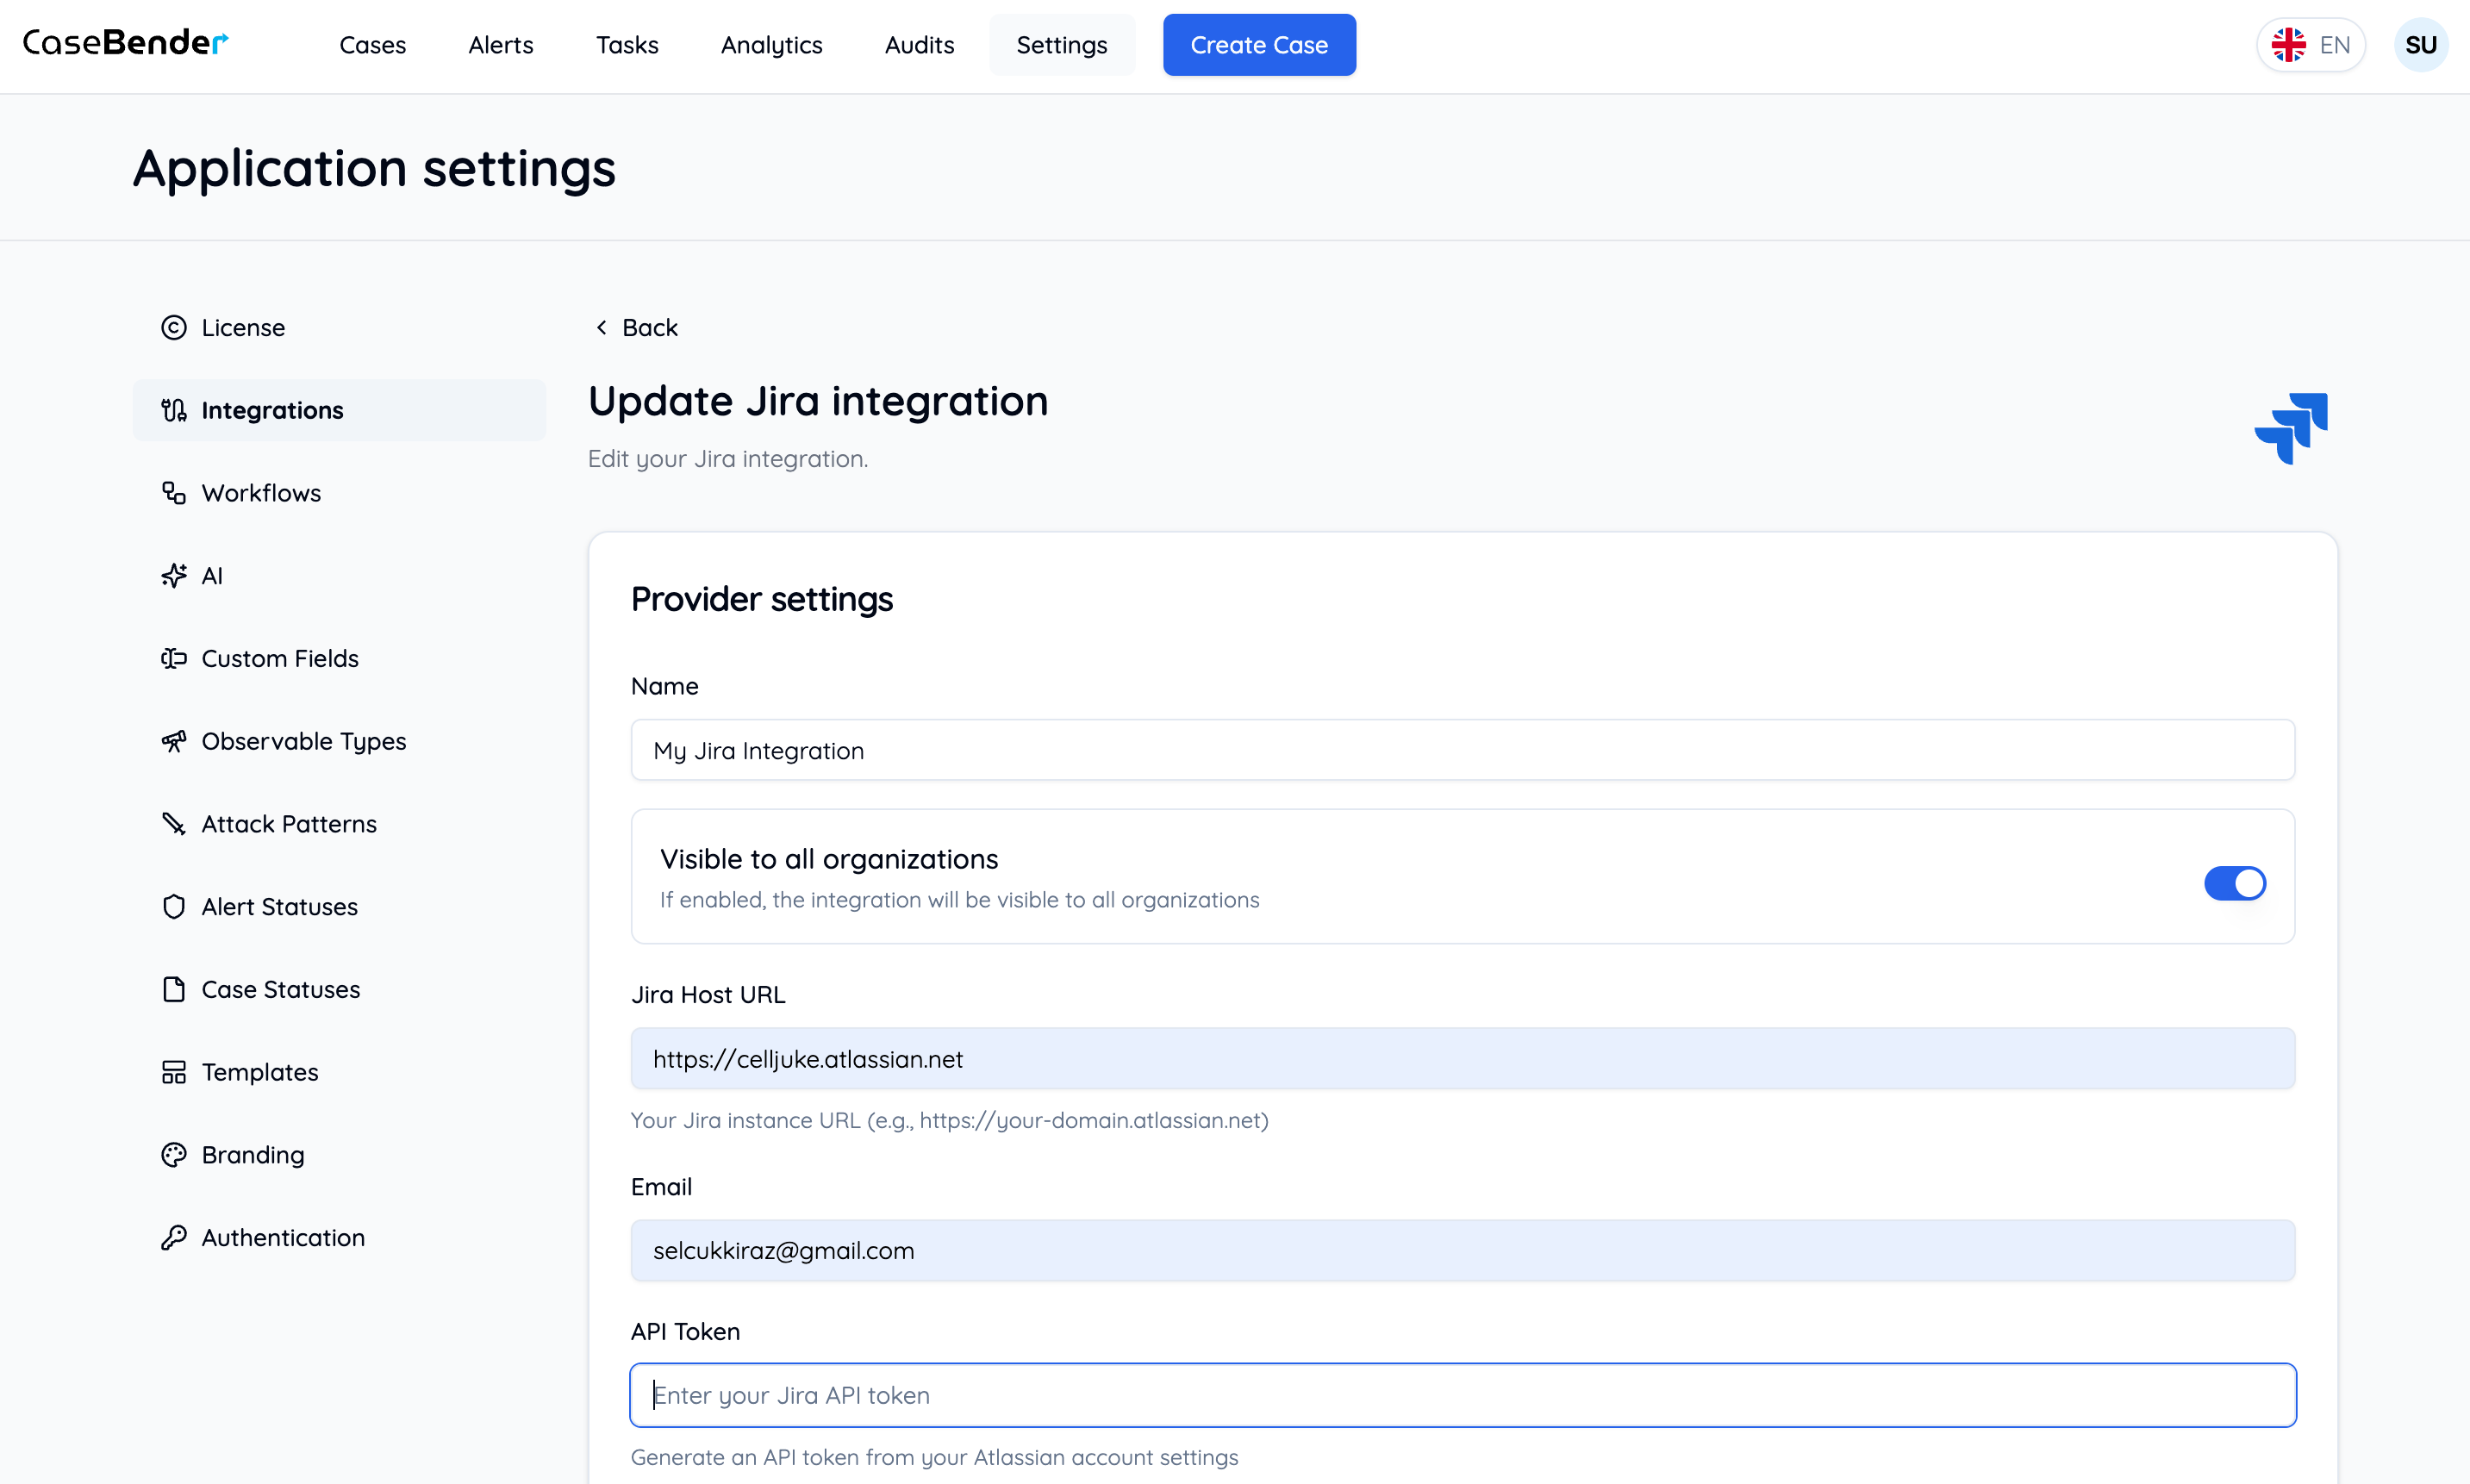

- Configure advanced features
- Set up authentication details
- Review and verify settings
- Test the connection
Best Practices
Setting Up Integrations
- Choose meaningful names for easy identification
- Provide detailed descriptions for future reference
- Test connections before finalizing
- Document custom configurations
Security Considerations
- Use secure credentials
- Implement proper access controls
- Regular security audits
- Monitor integration usage
Maintenance
- Regularly verify integration status
- Update configurations as needed
- Monitor performance metrics
- Keep documentation current