Overview
The Workflow Settings section allows you to create automated workflows that execute actions based on specific triggers in your CaseBender instance. This guide will walk you through the process of setting up and configuring workflows.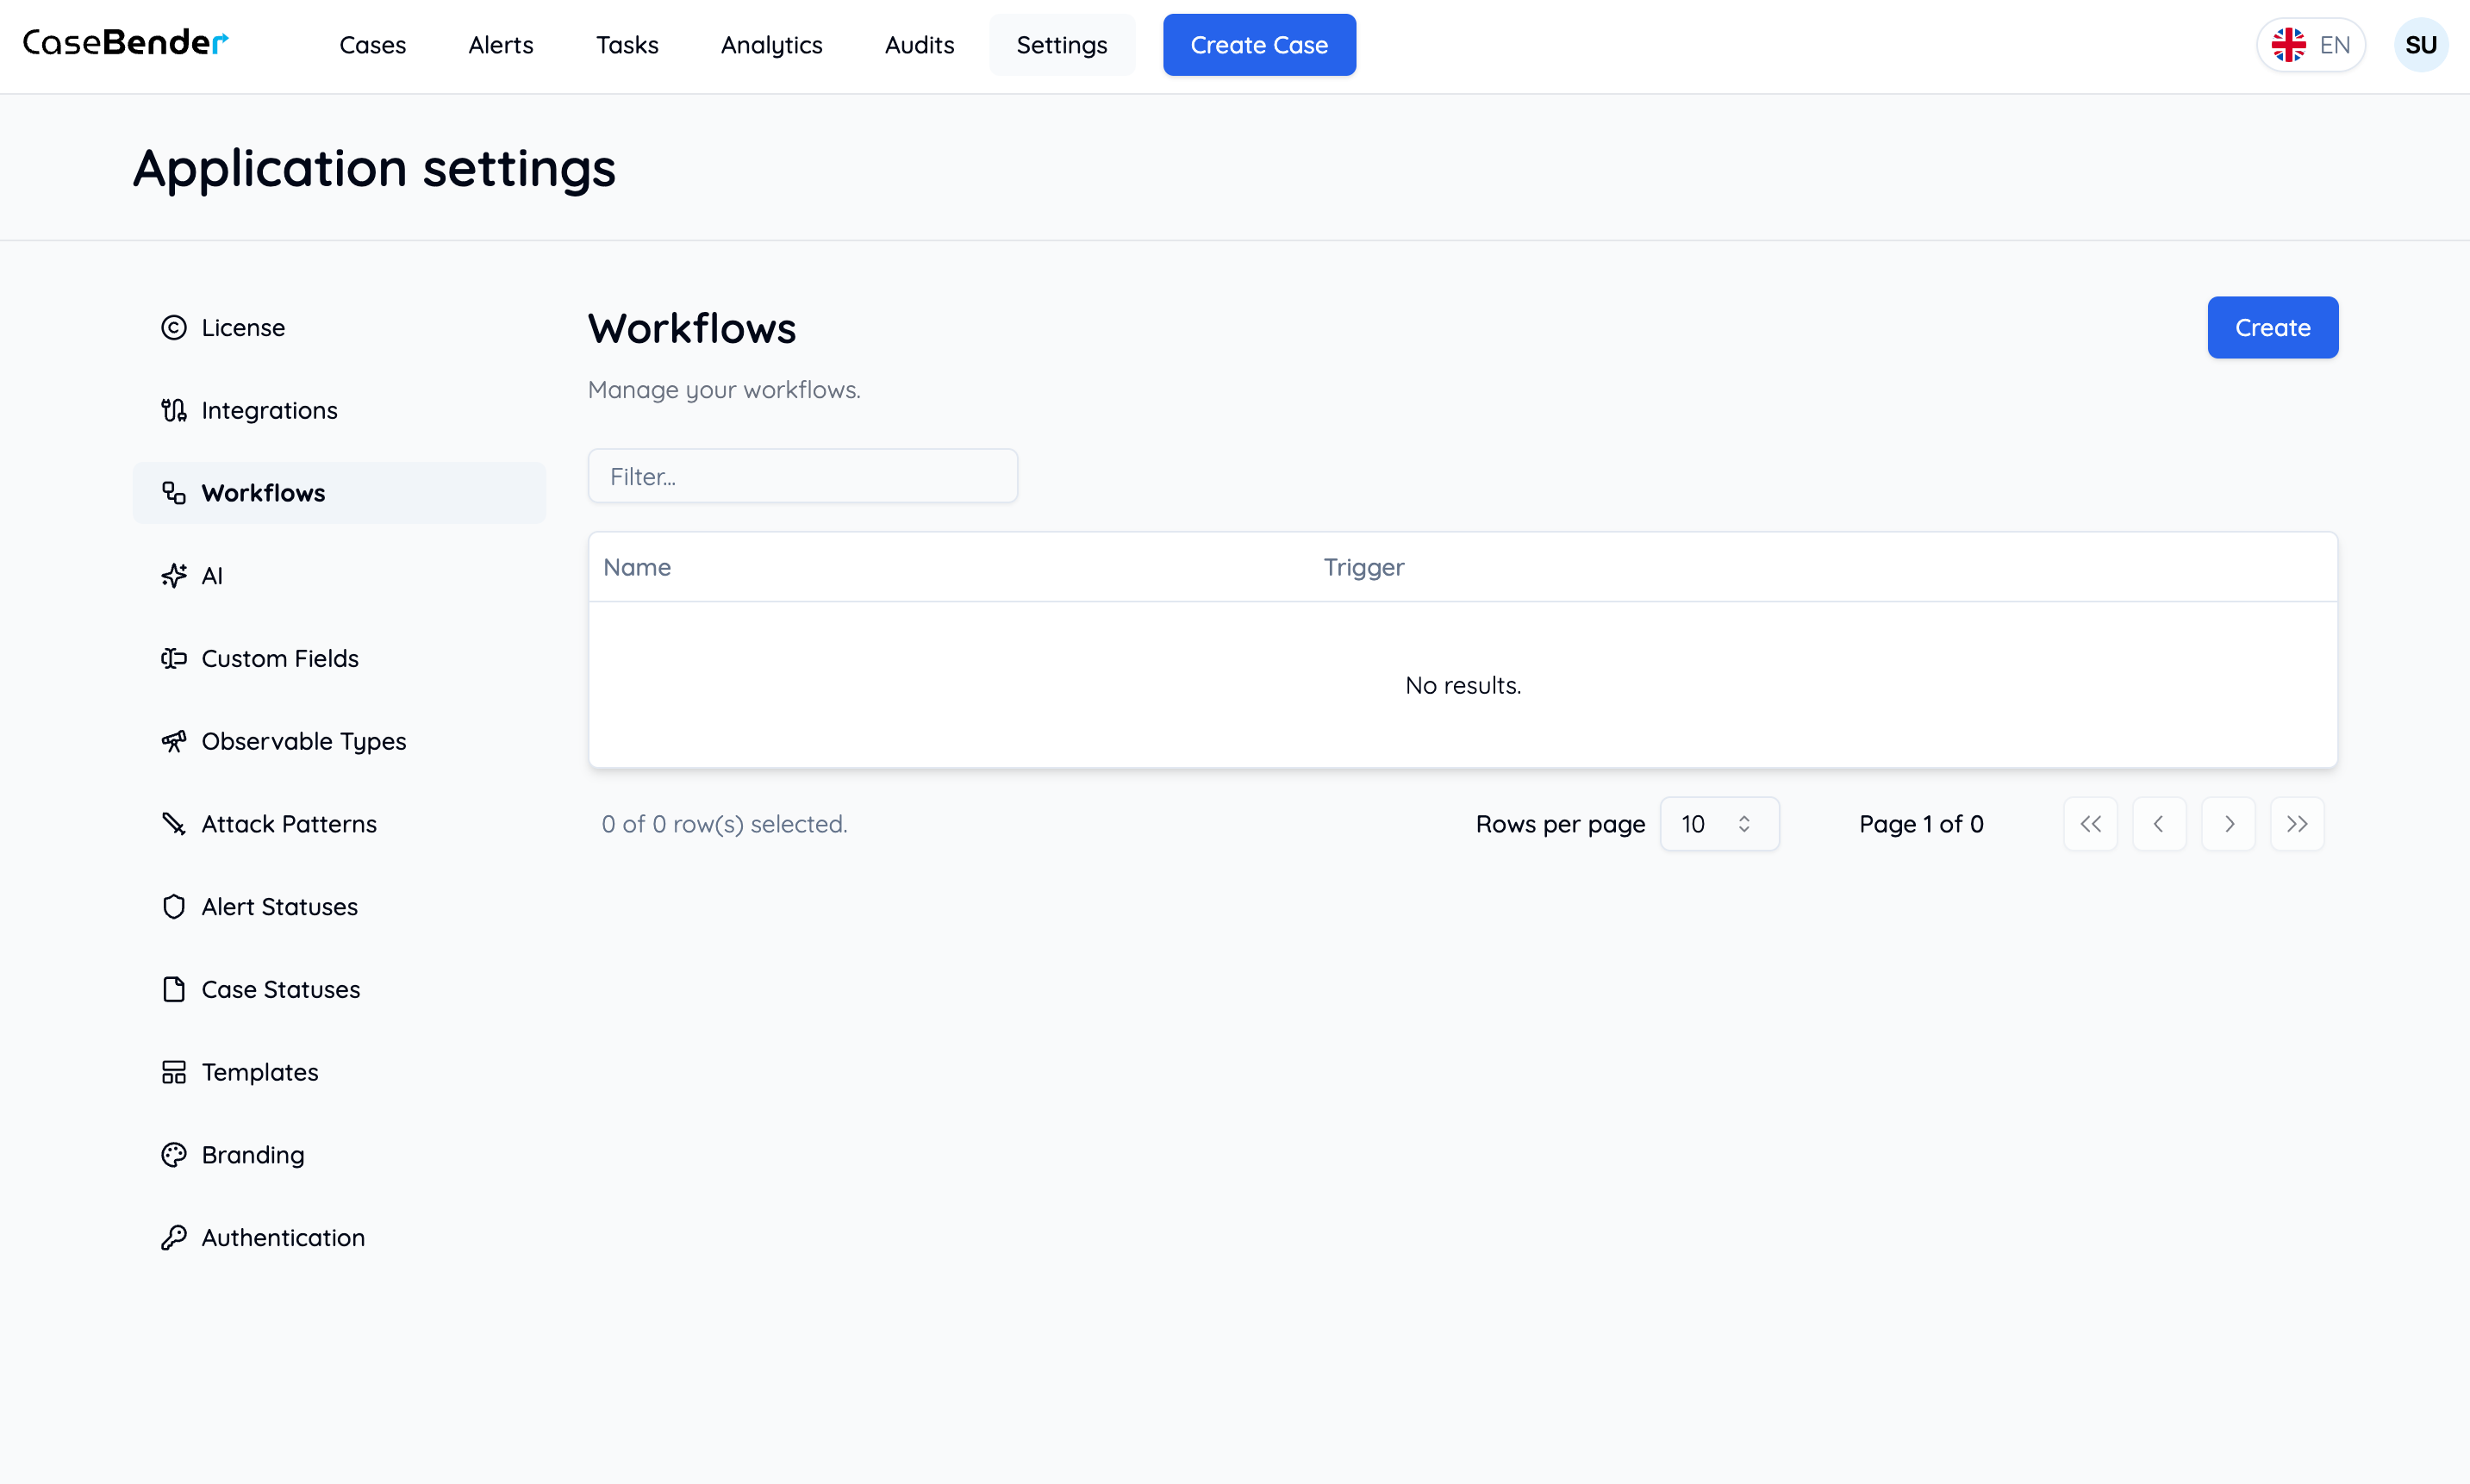
Creating a New Workflow
Step 1: Basic Configuration
Start by clicking the “Create” button and filling out the basic workflow information:

Step 2: Workflow Details
Configure the detailed settings for your workflow: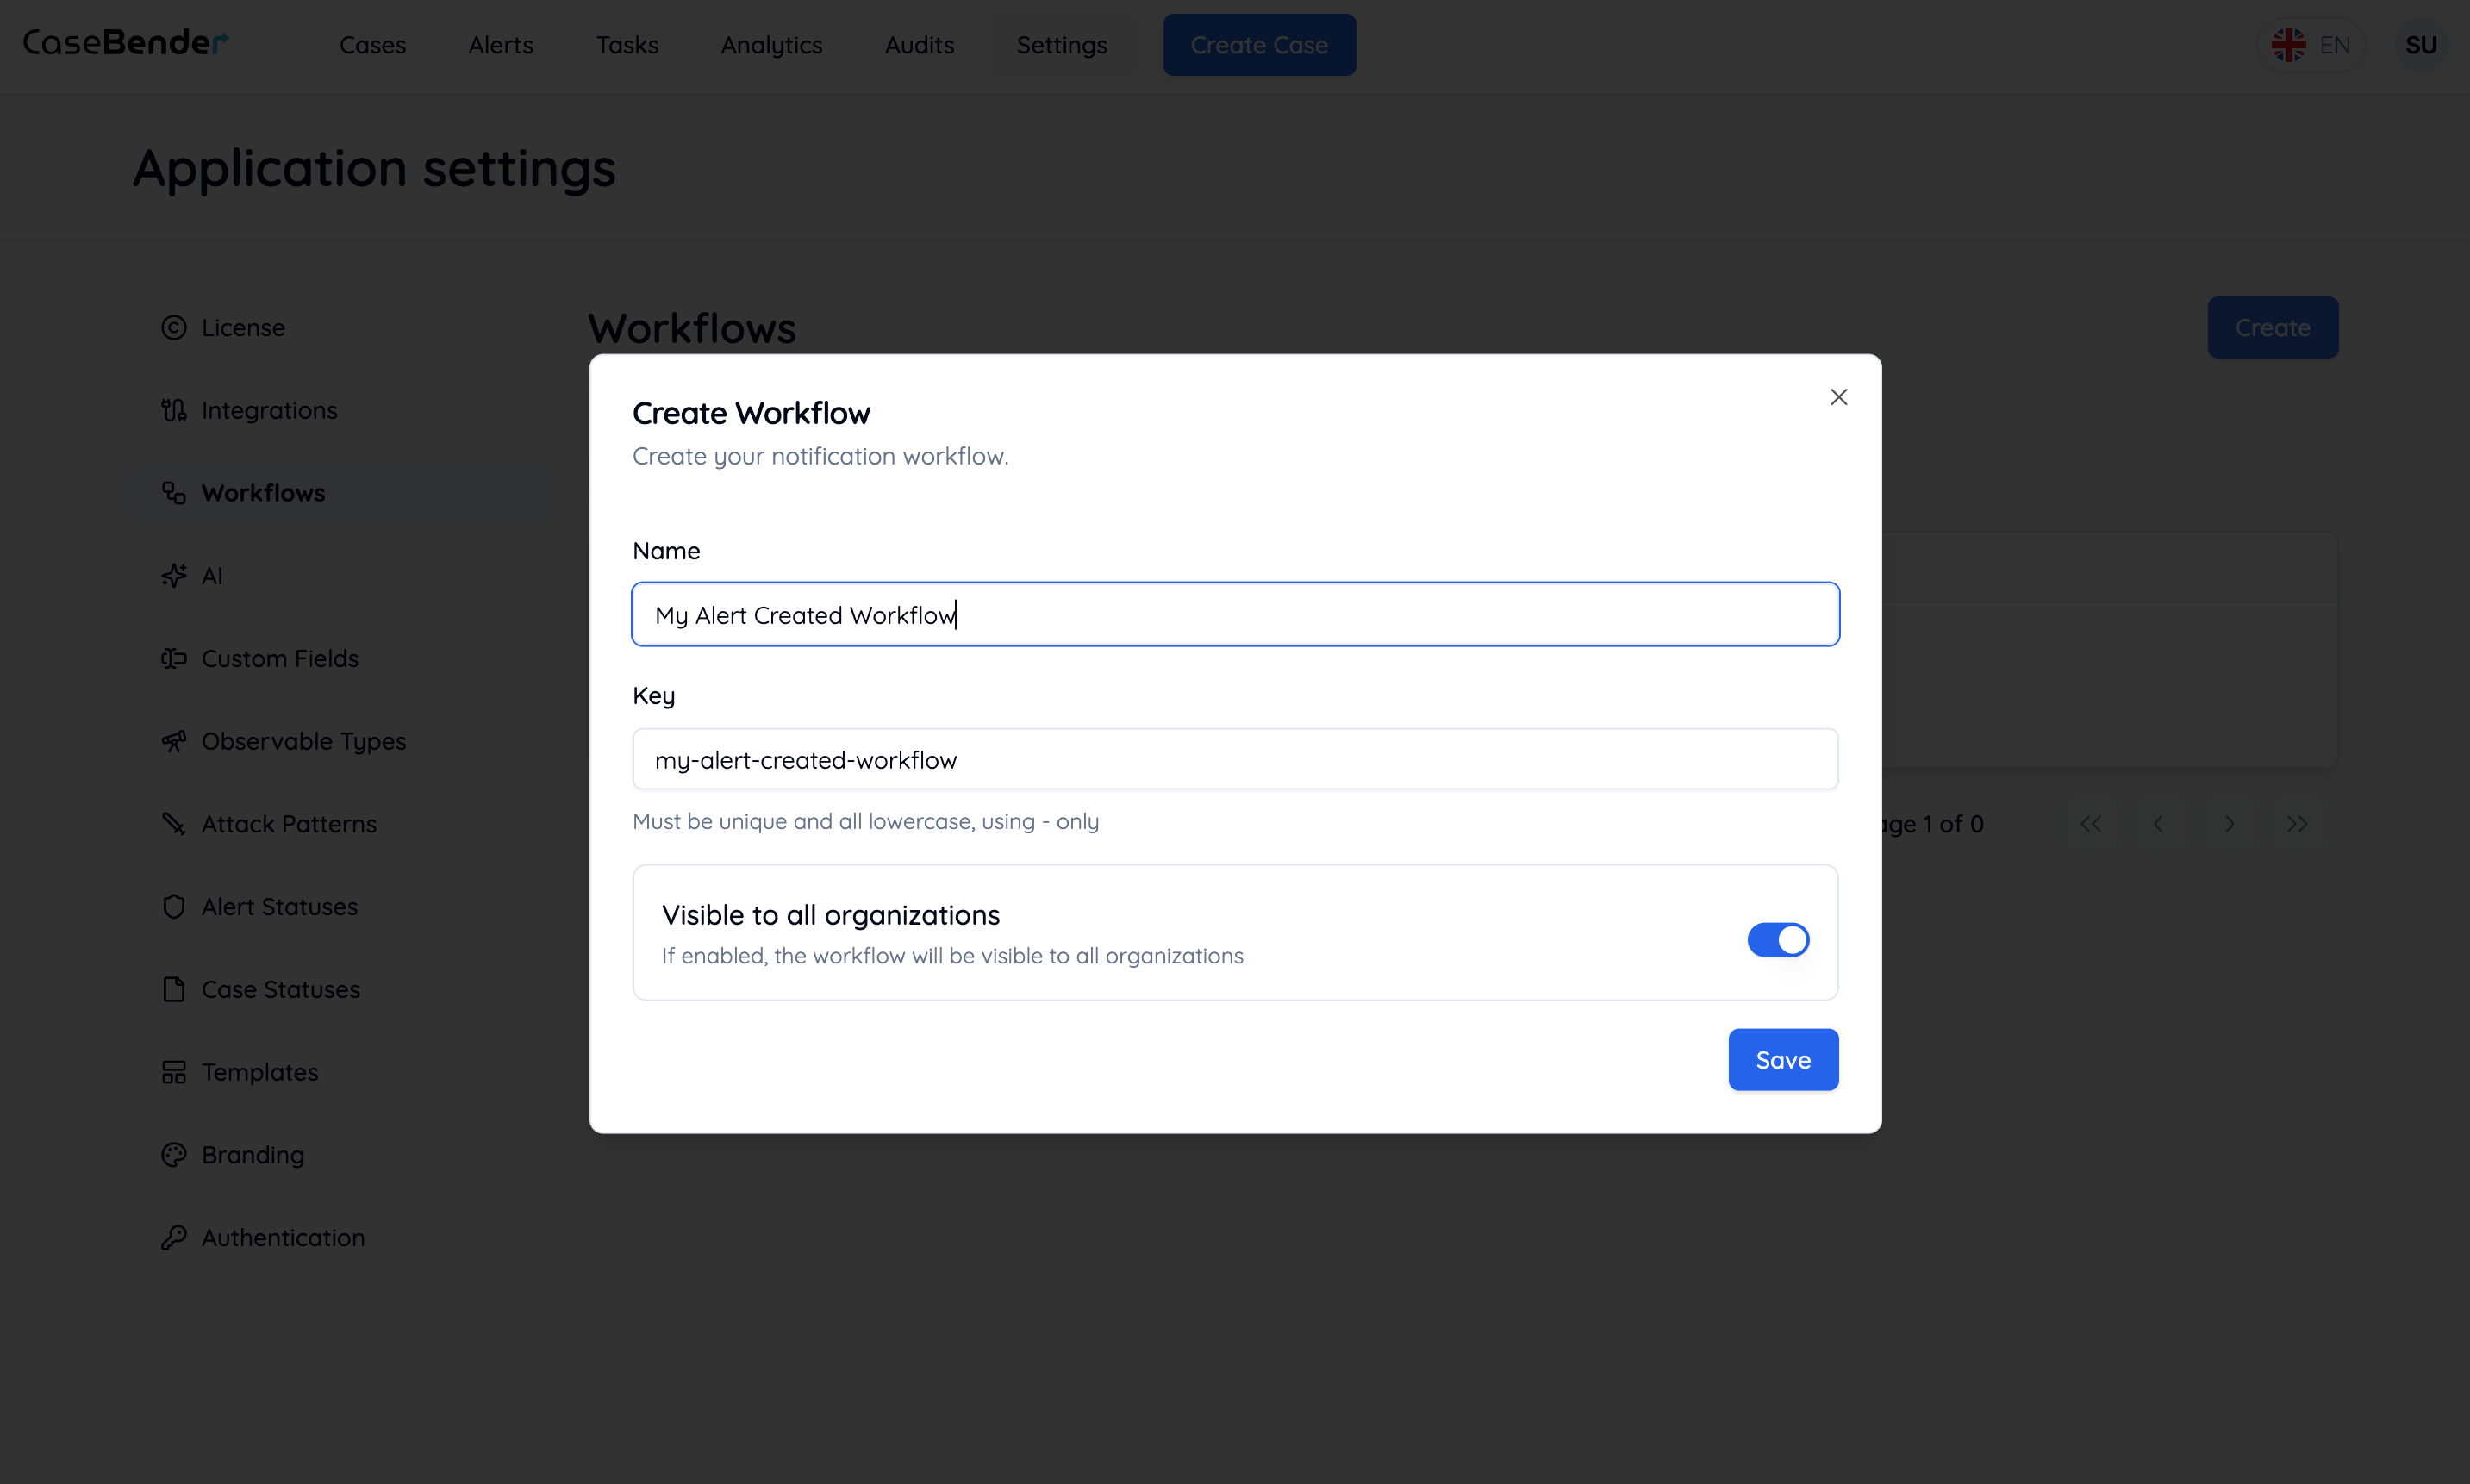
- Workflow name
- Description
- Priority level
- Execution settings
Step 3: Organization Settings
Specify which organizations can access and use this workflow: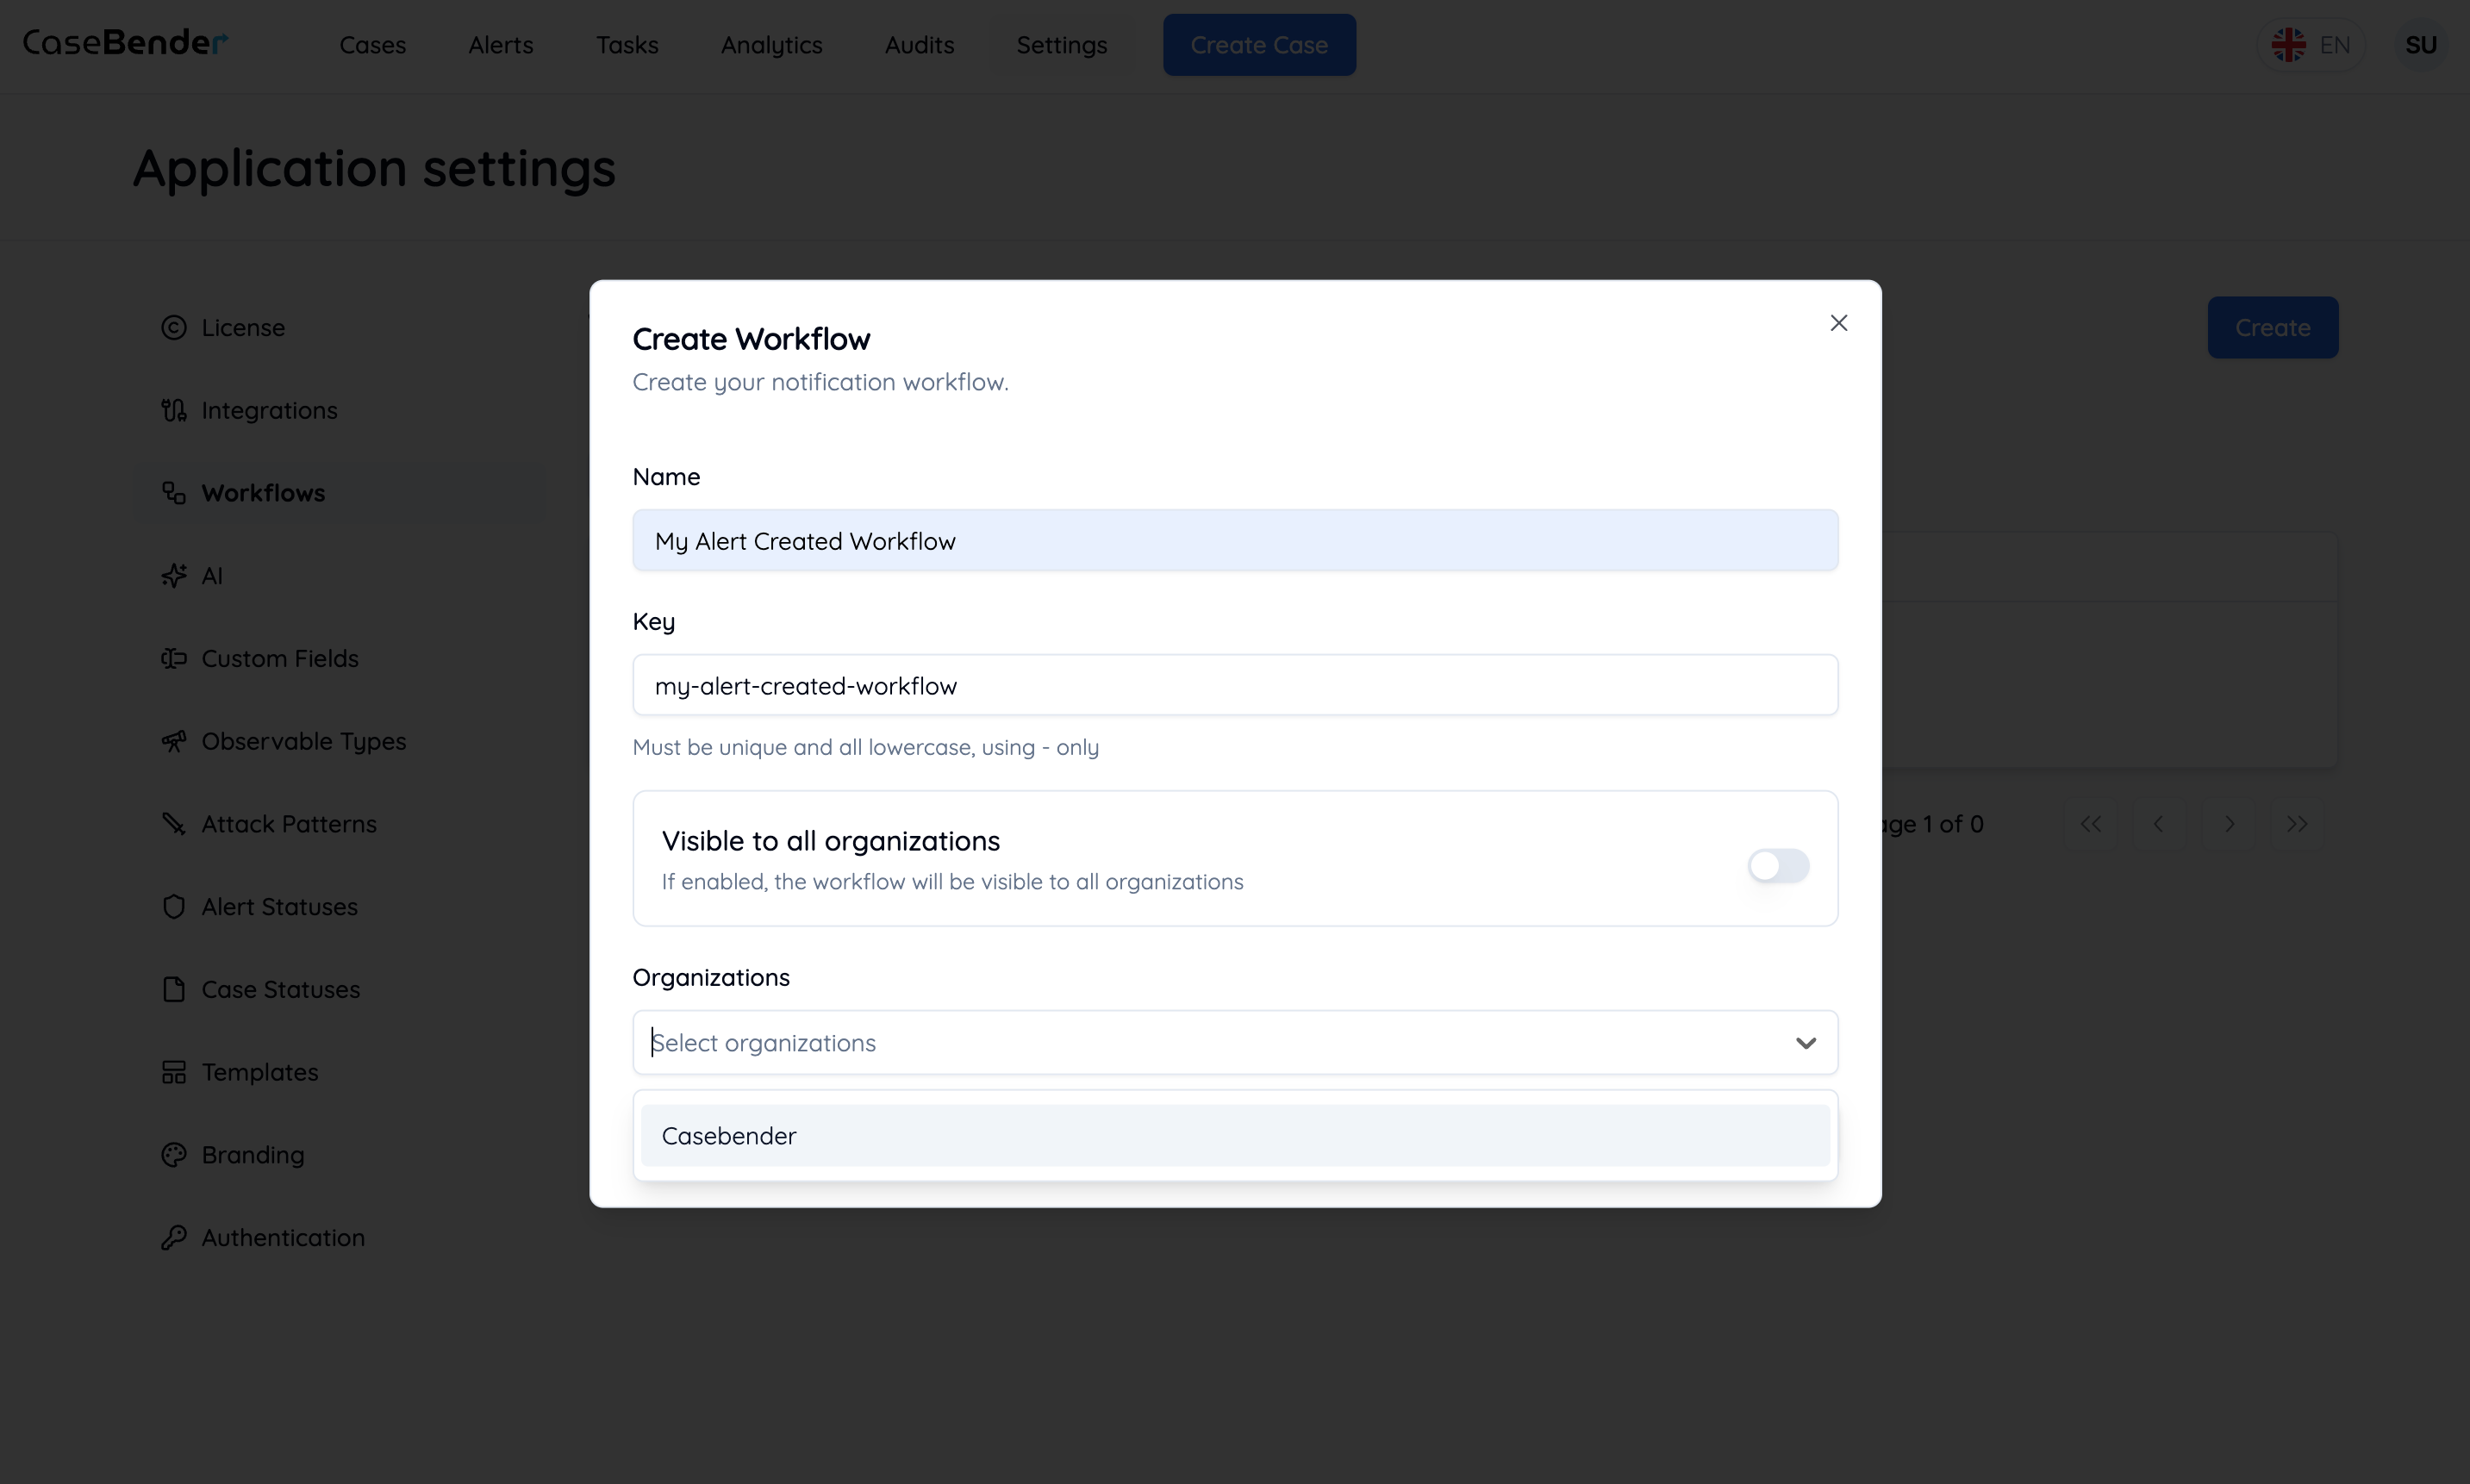
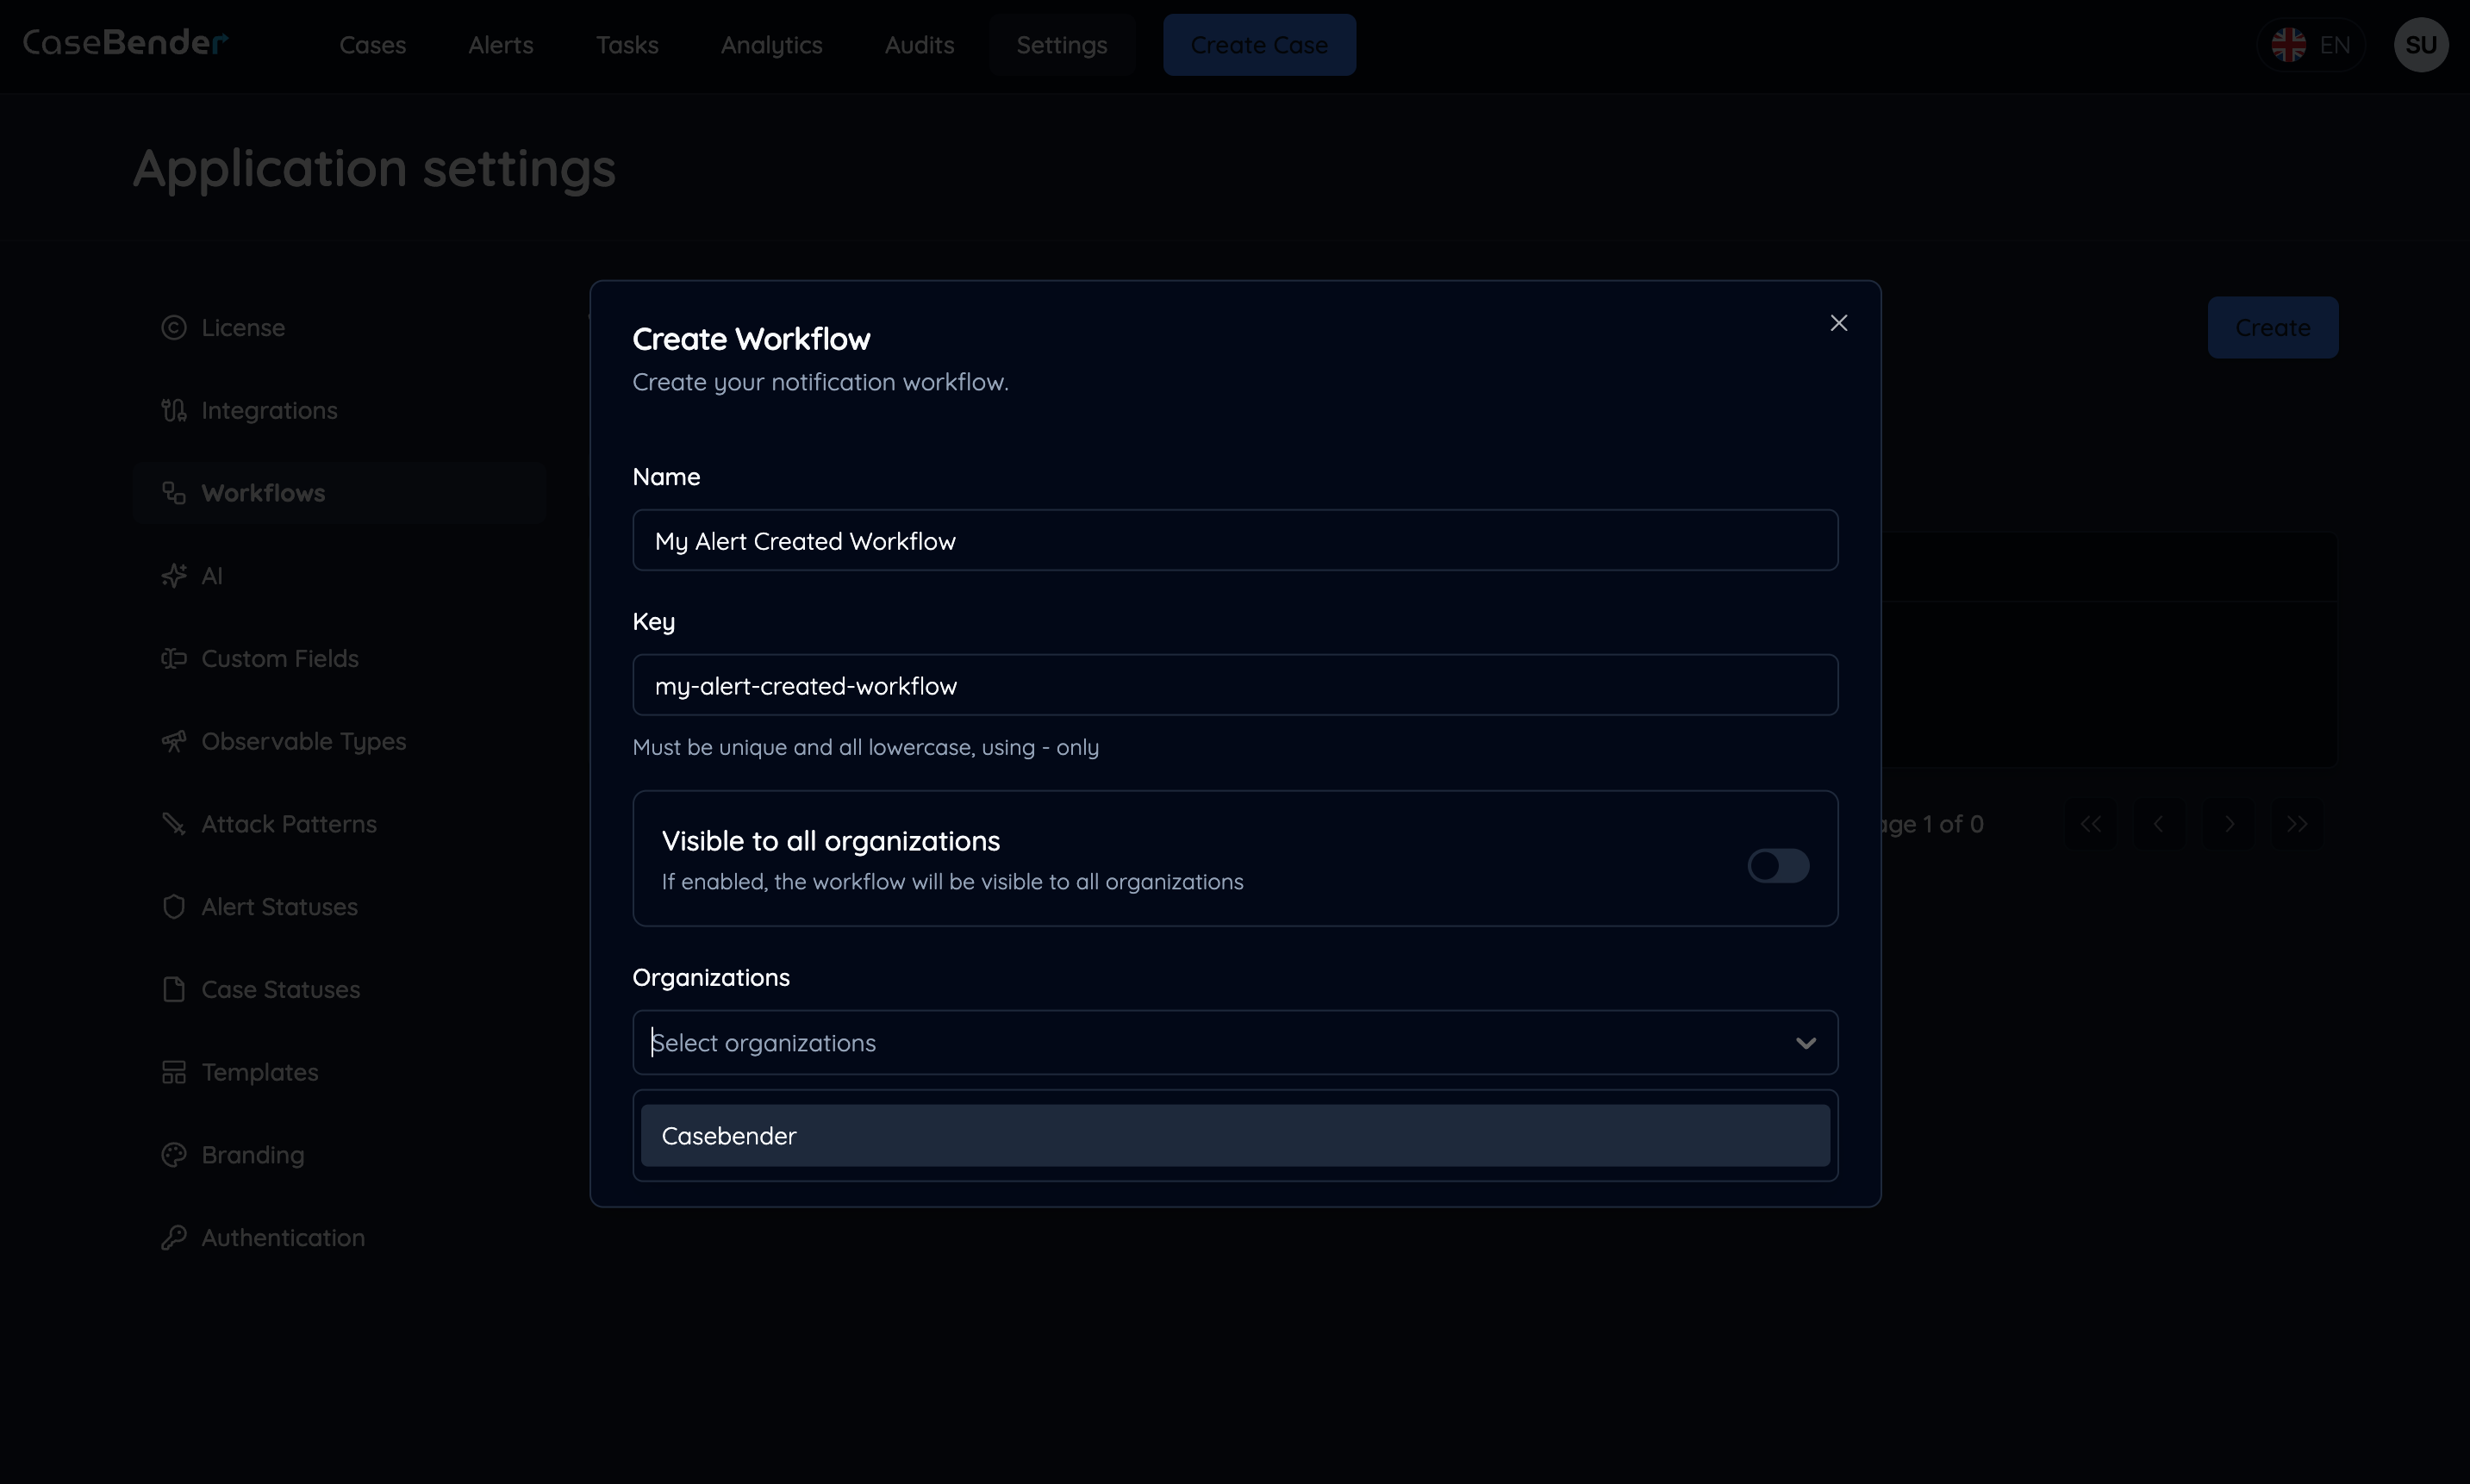
- Select applicable organizations
- Configure organization-specific settings
- Set access permissions
Configuring Workflow Logic
Step 1: Select Trigger
Choose the event that will initiate your workflow: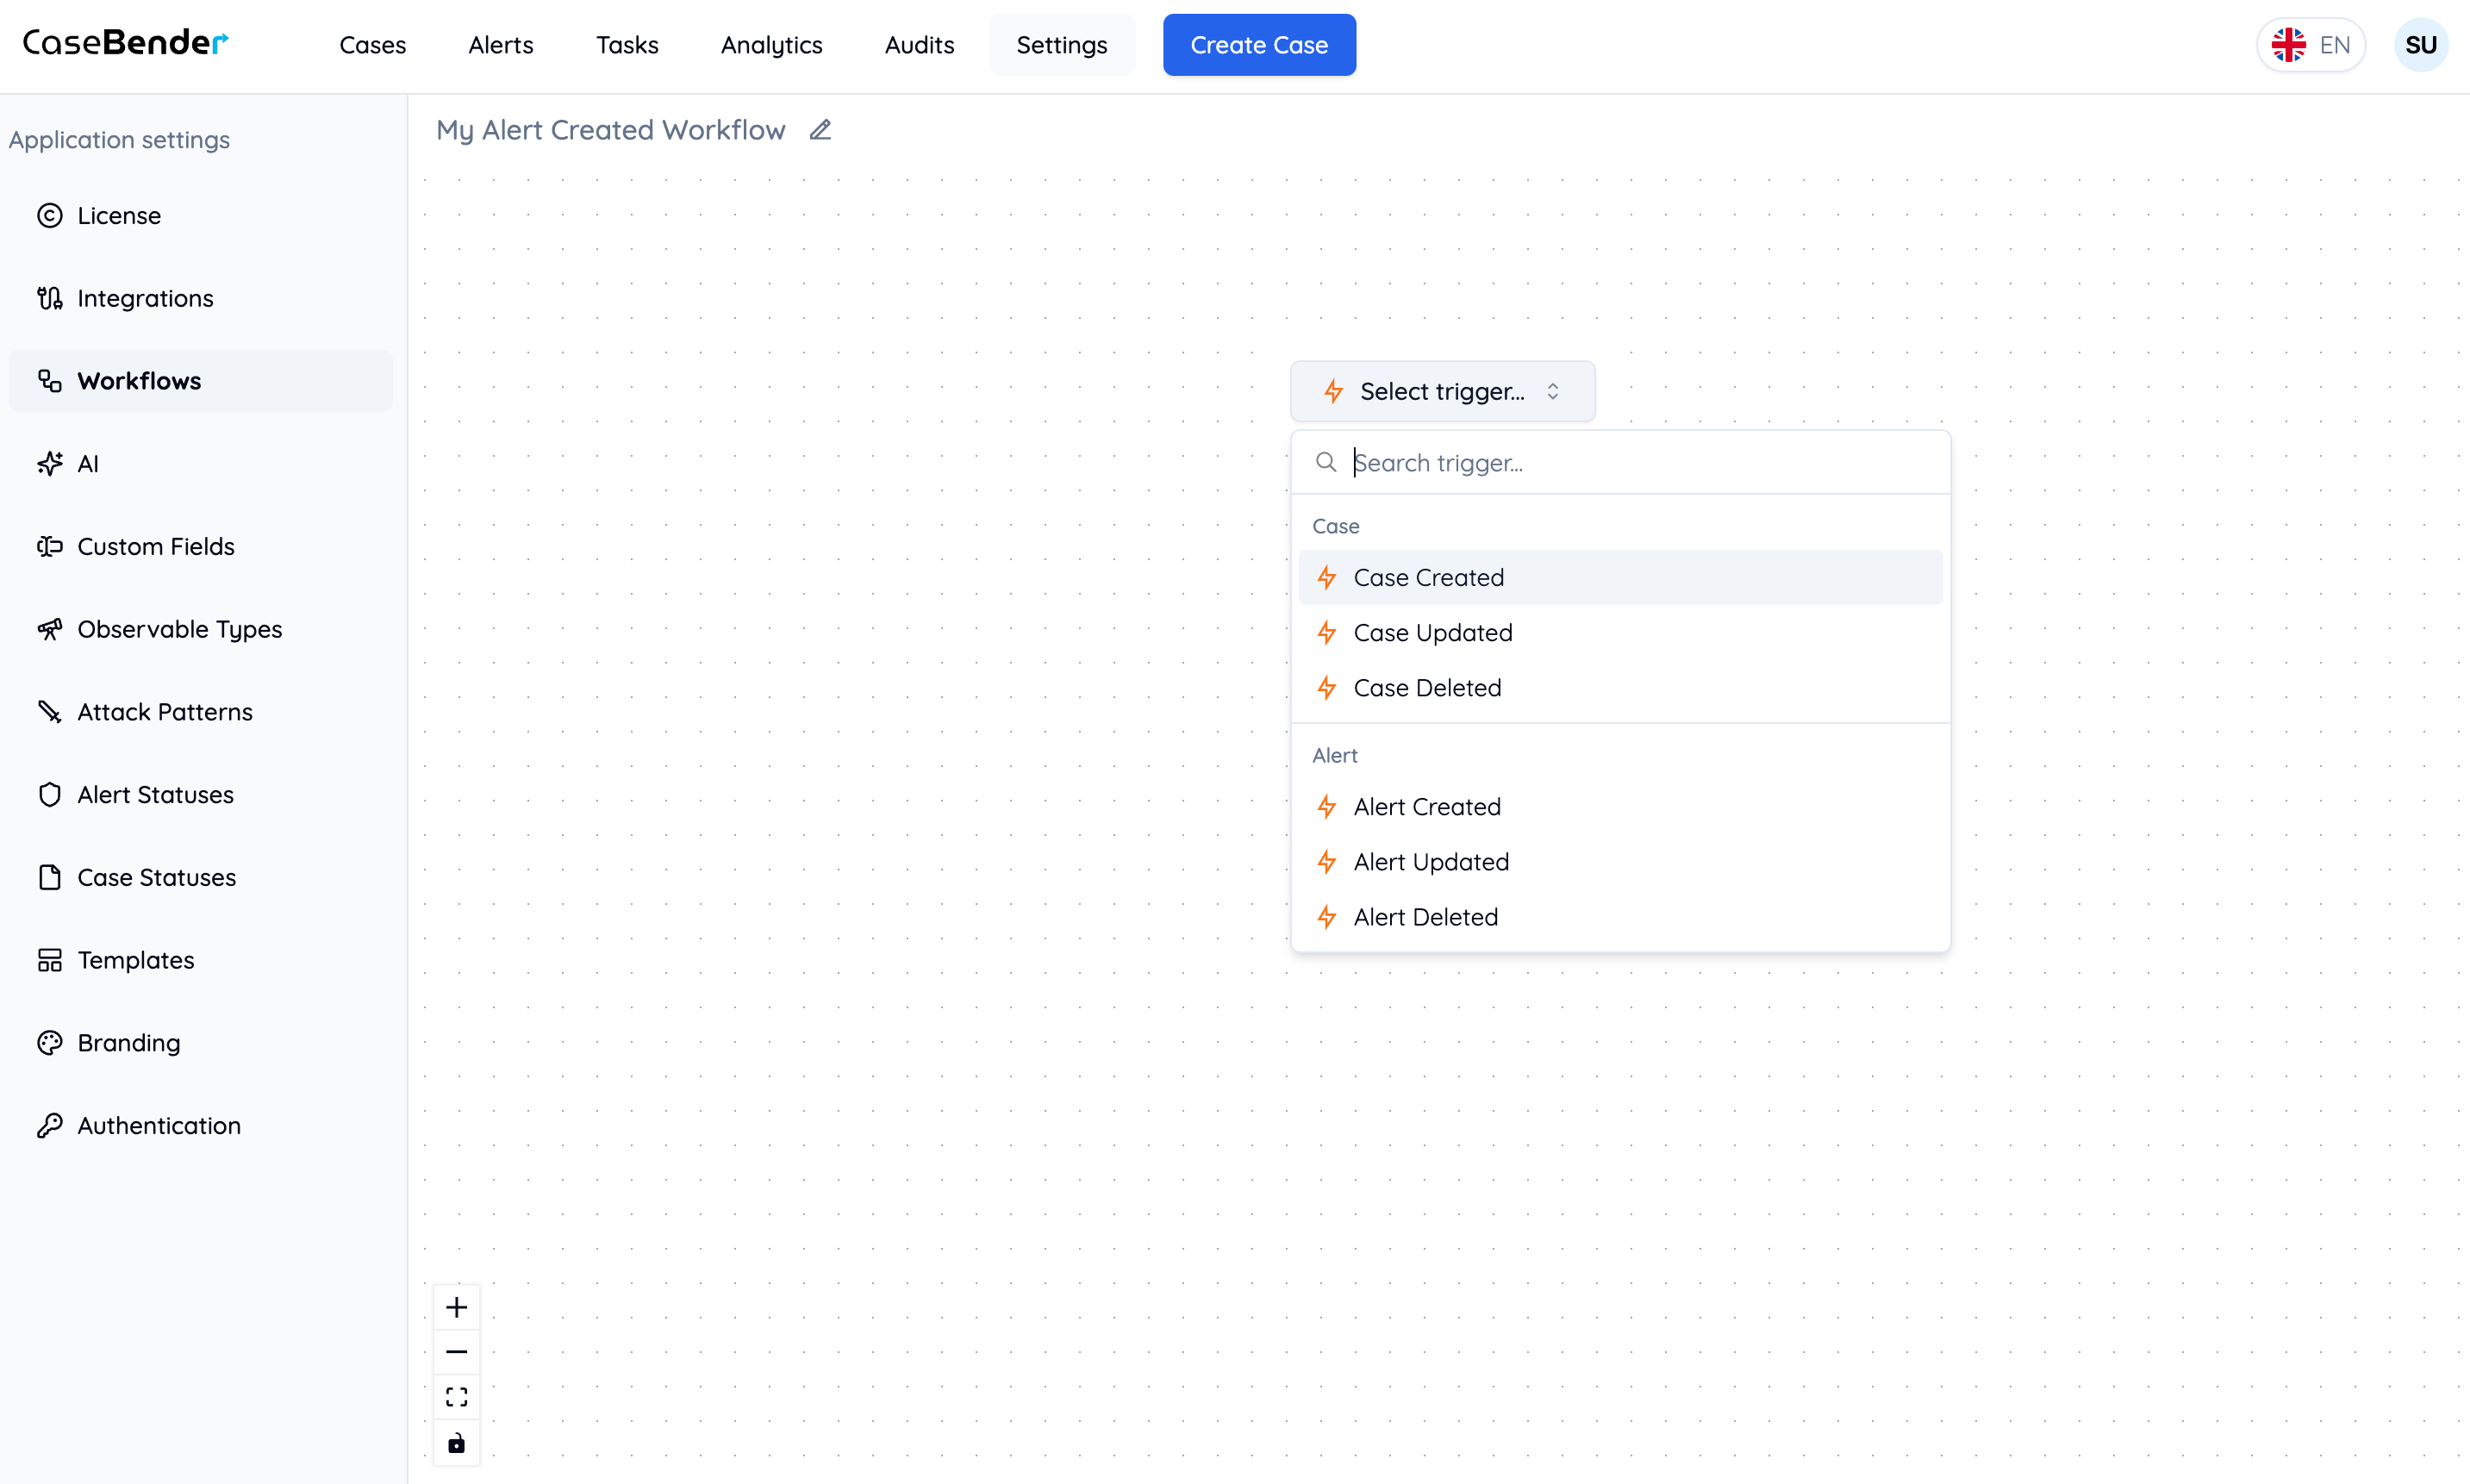
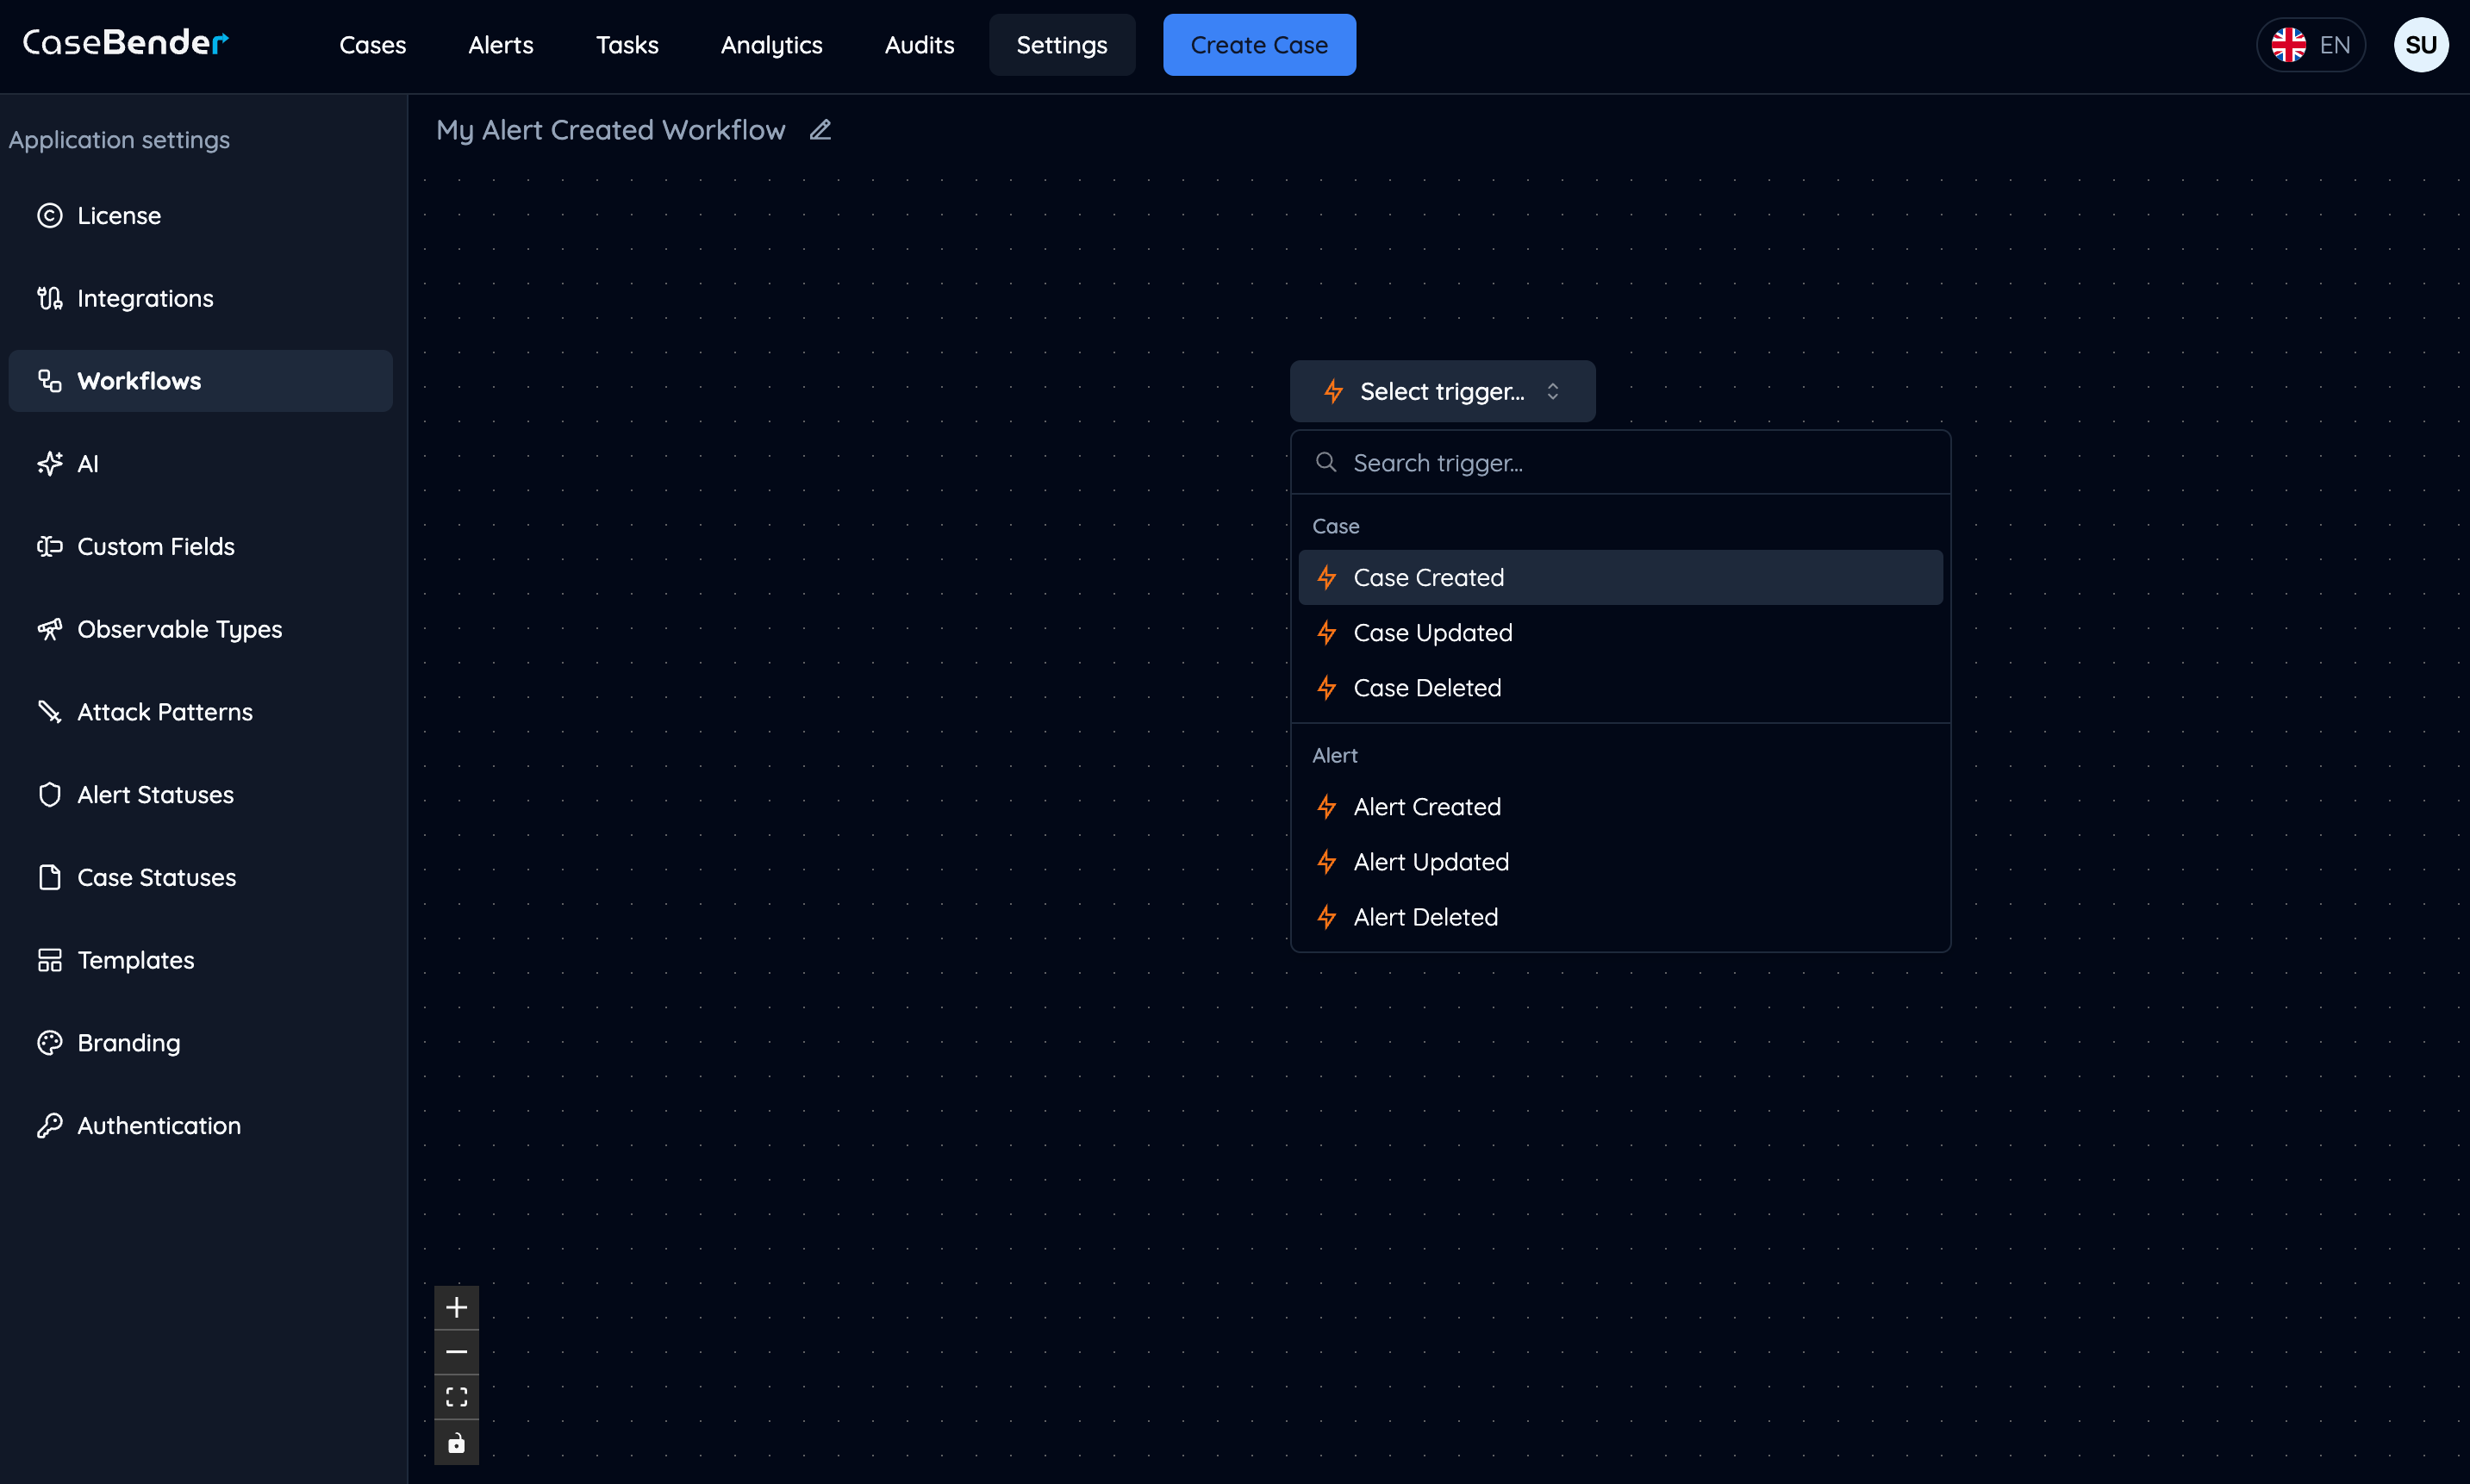
- Case creation or updates
- Task assignments
- Status changes
- Custom events
Step 2: Add Actions
Click the plus button on flow edges to add actions to your workflow: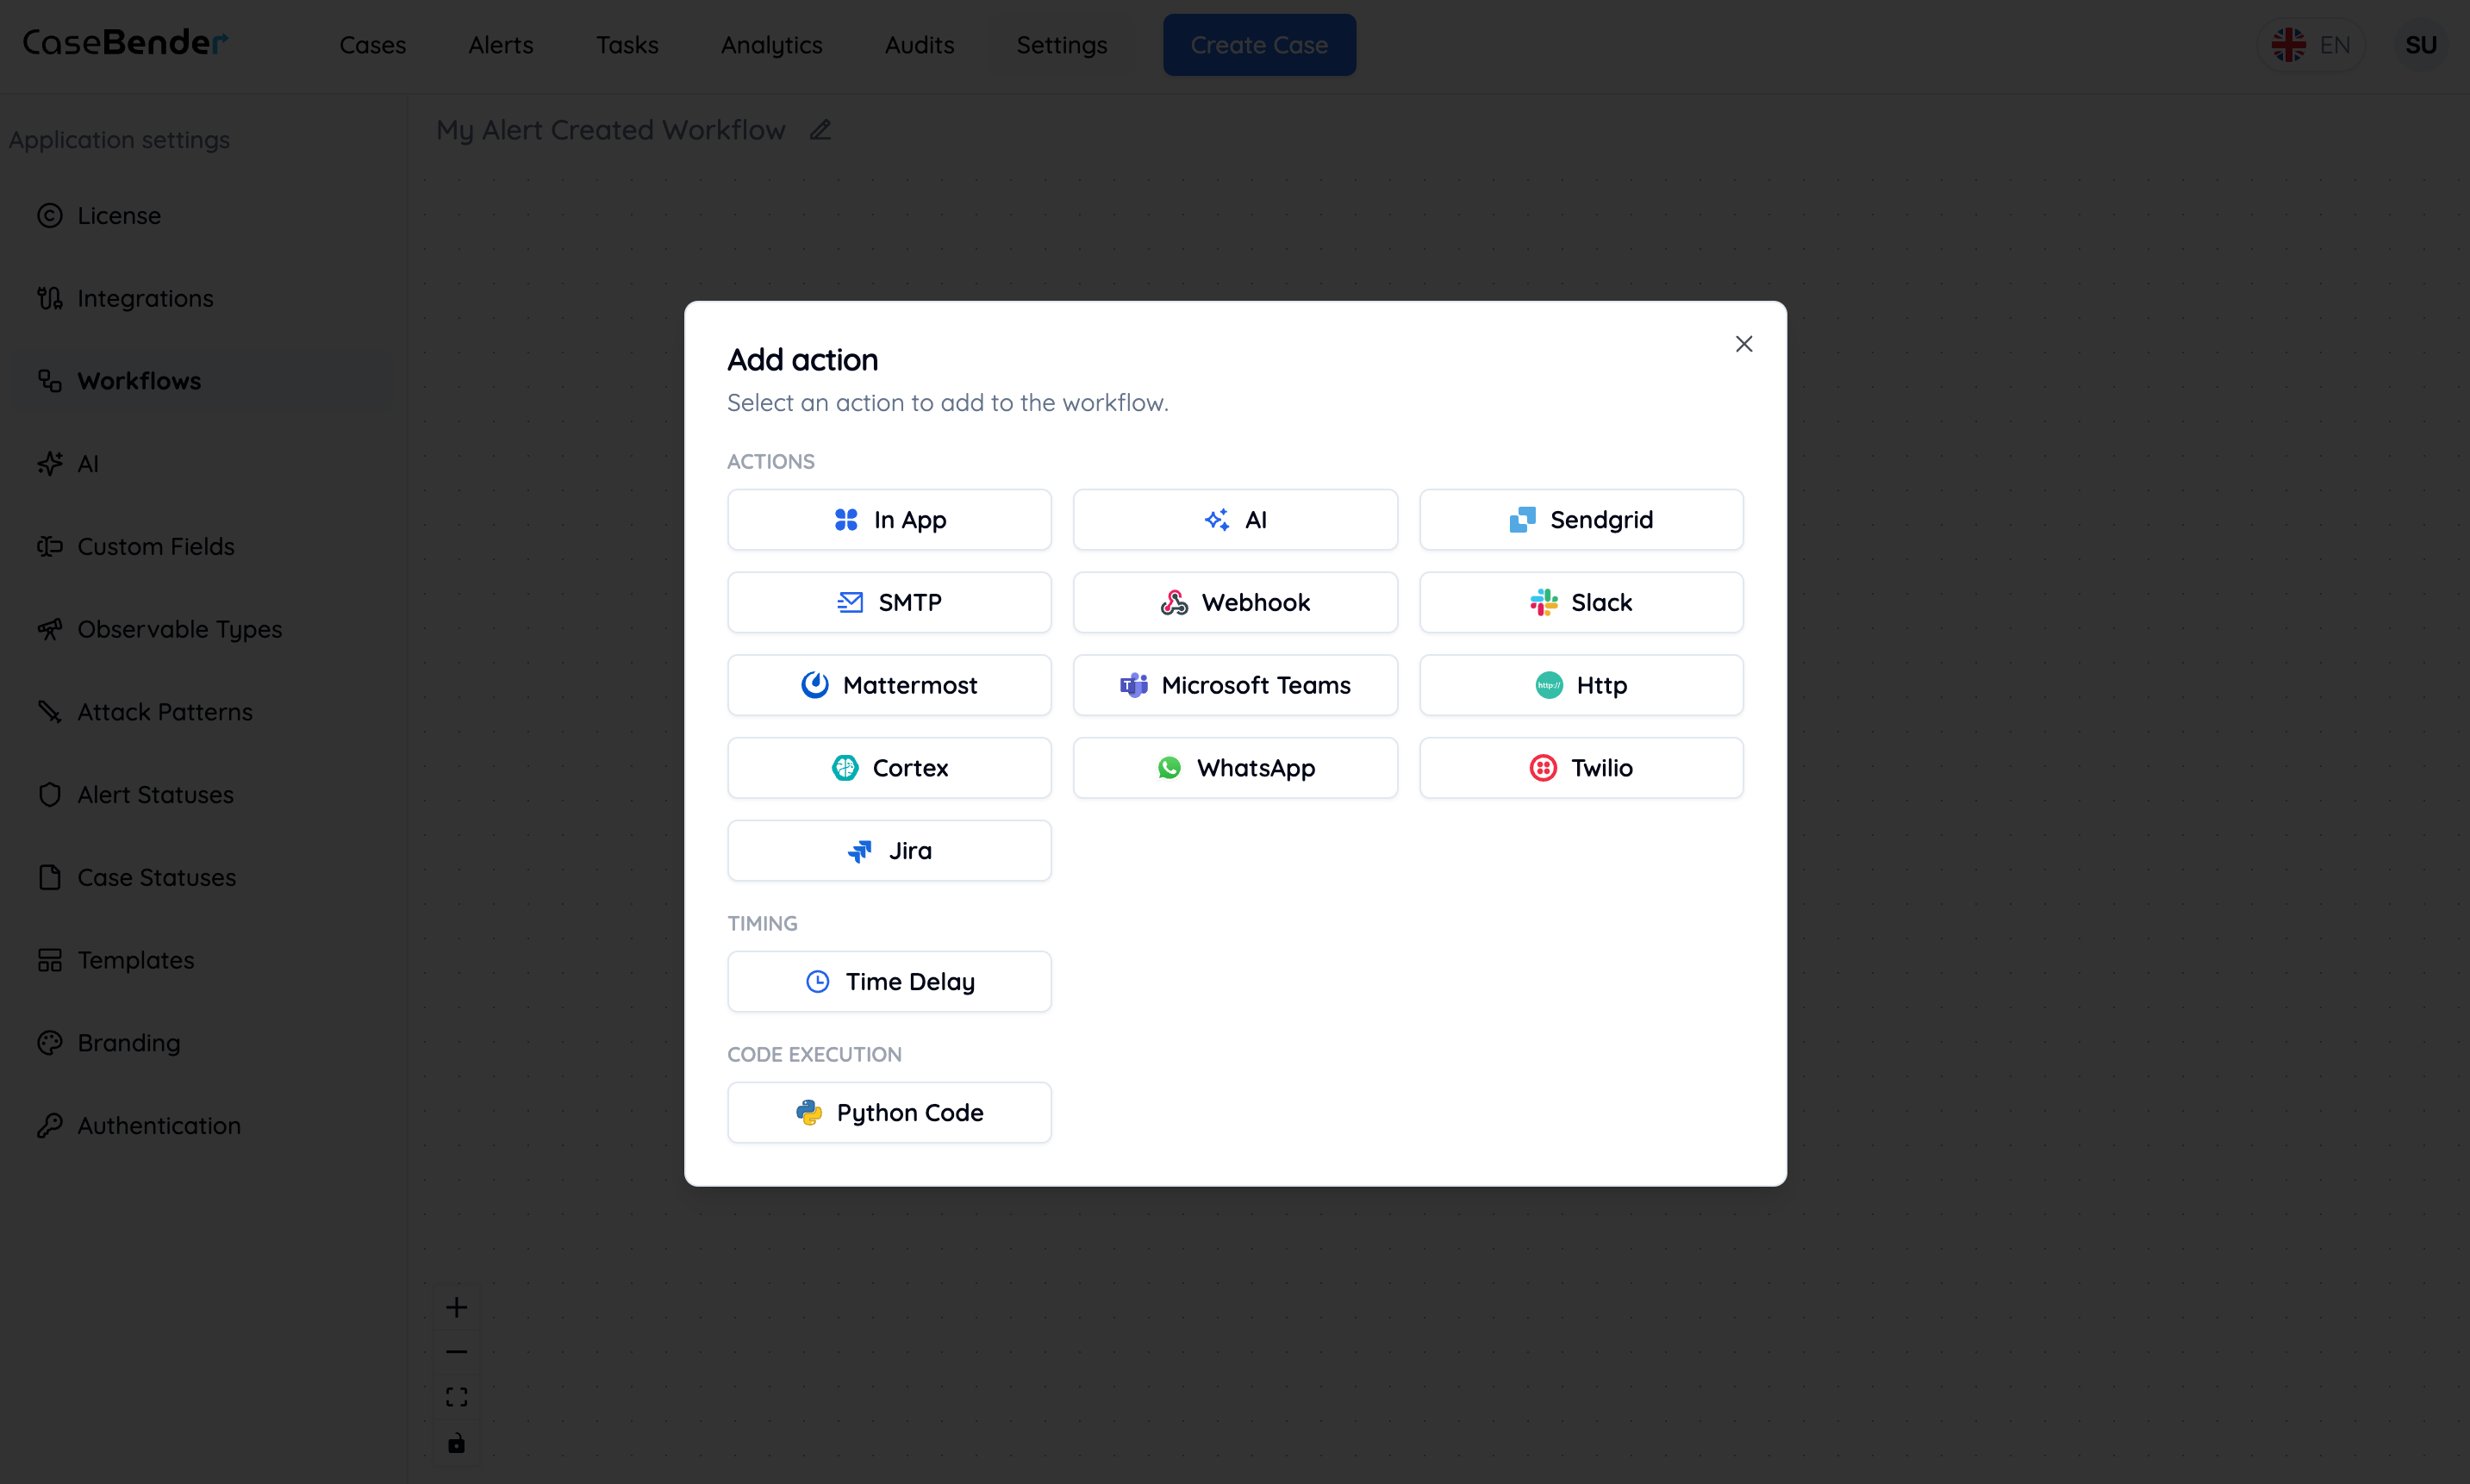
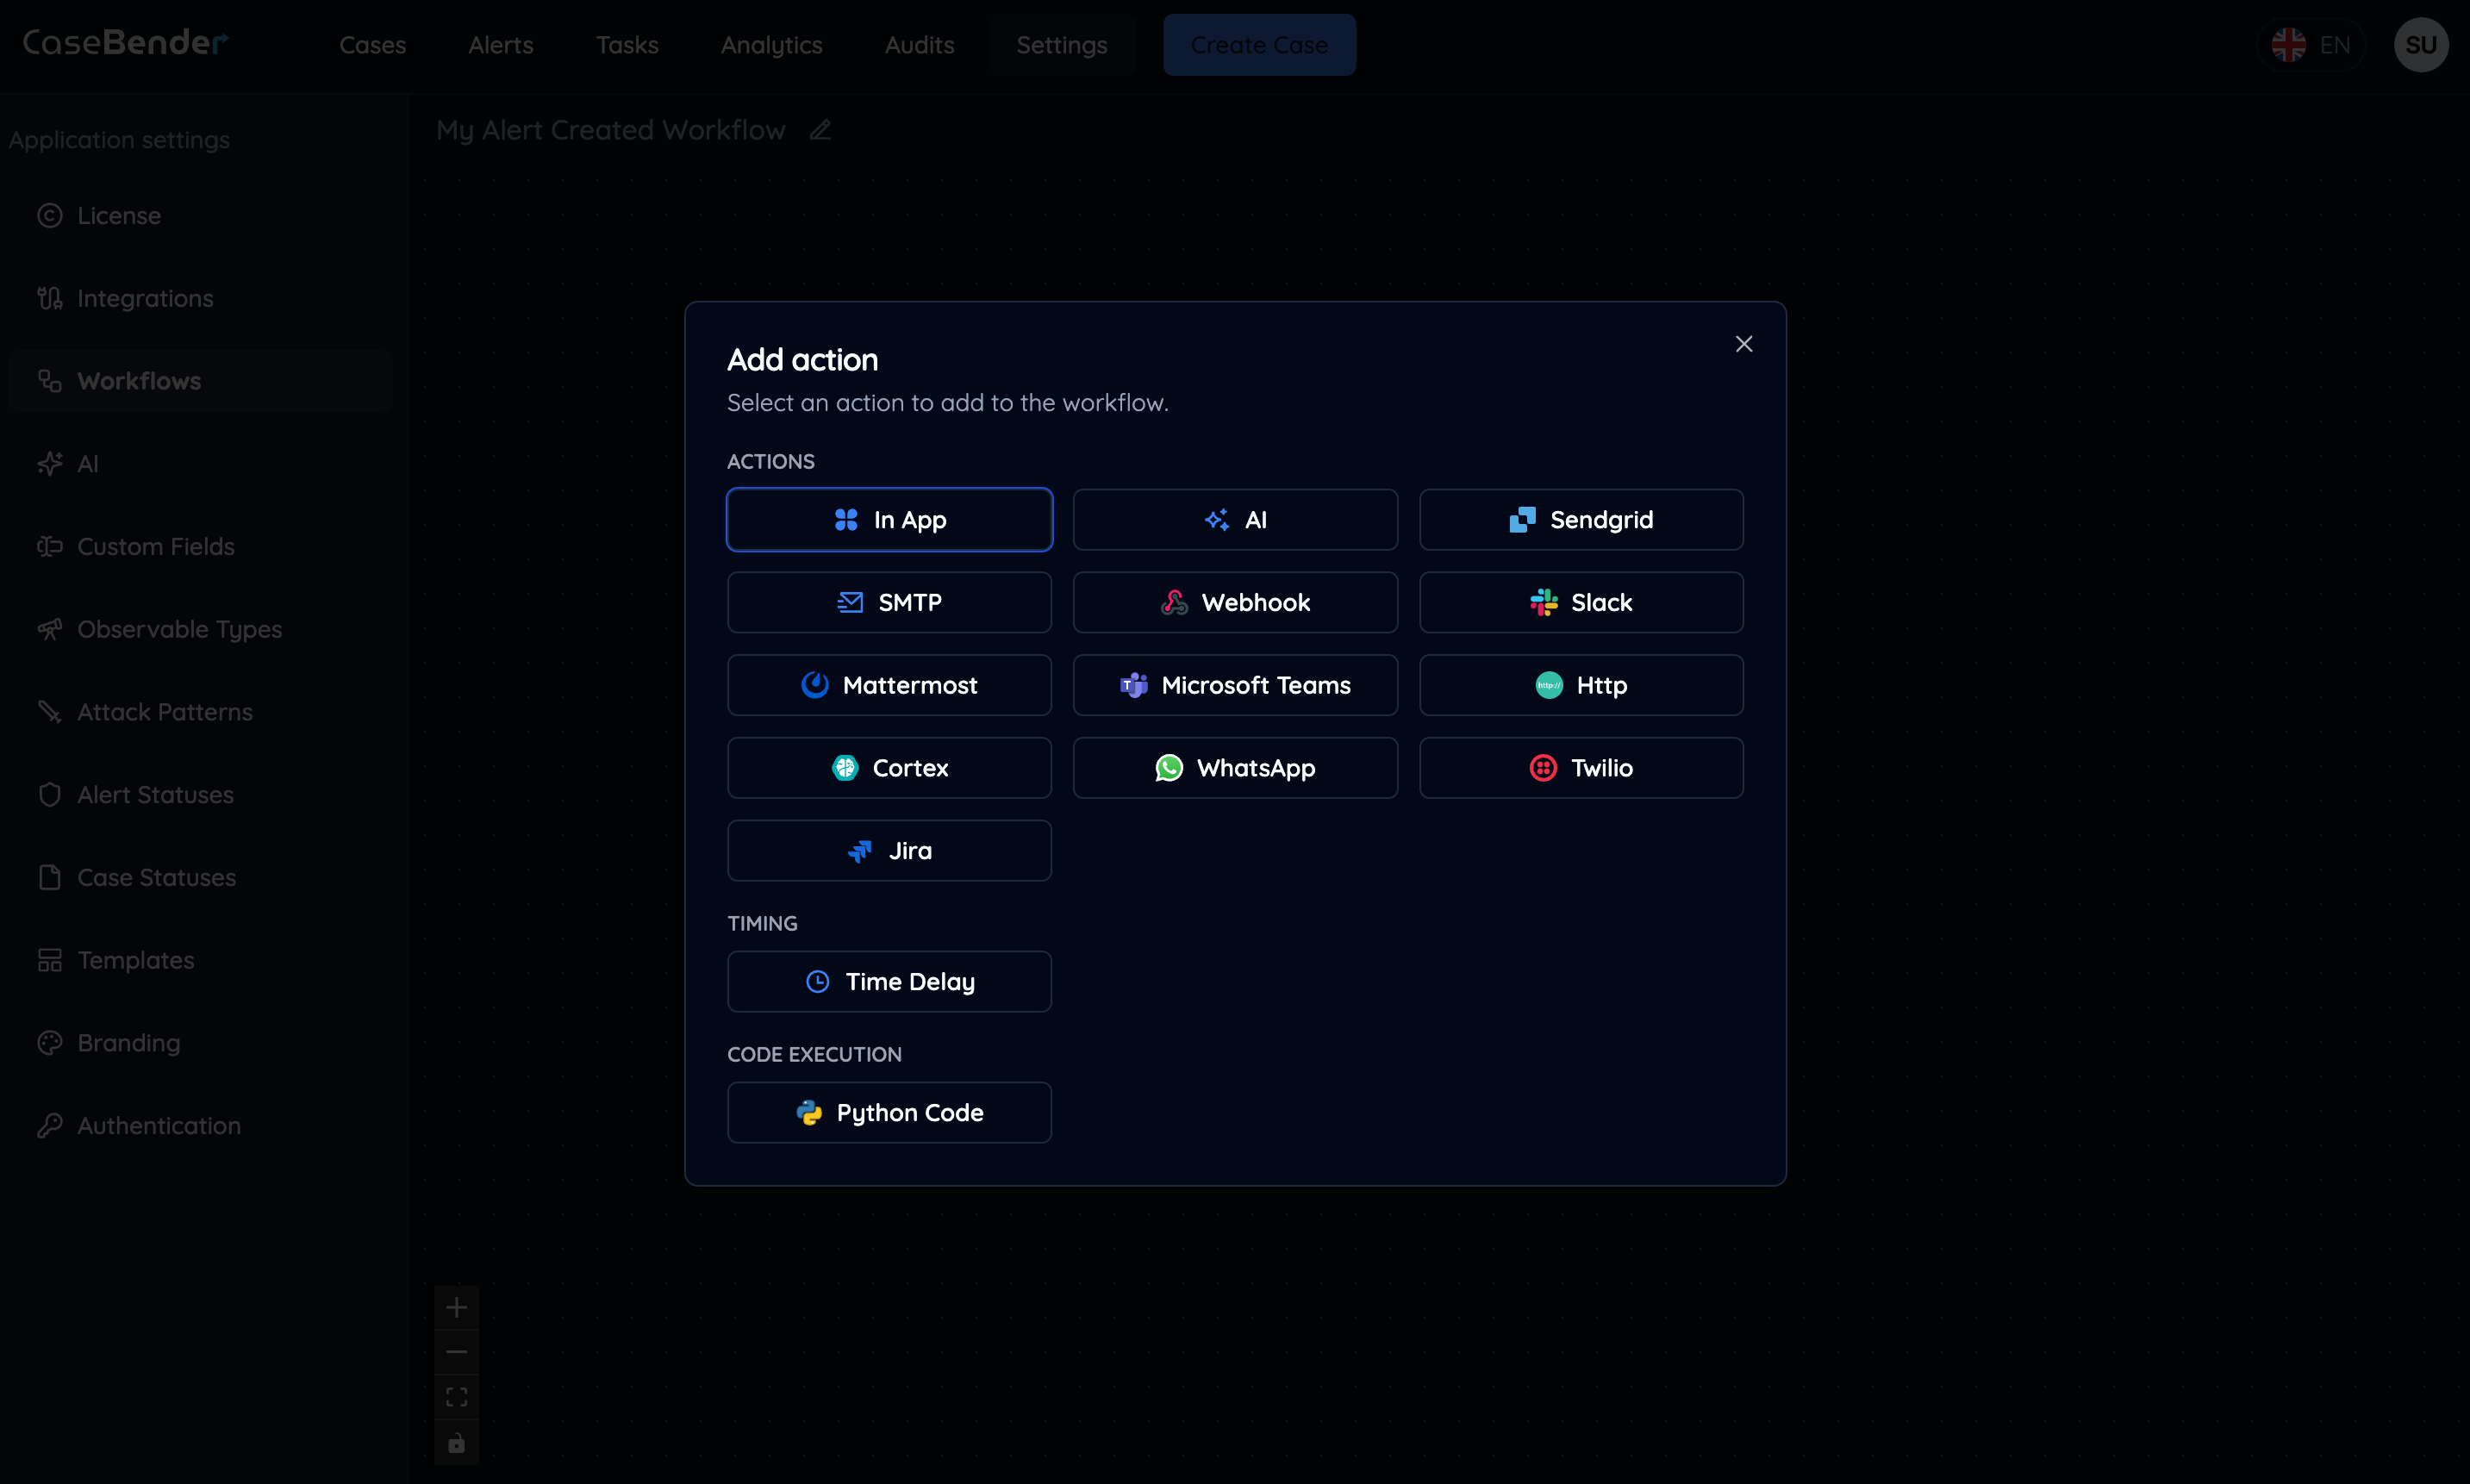
Step 3: Configure Action
Select and configure each action in your workflow: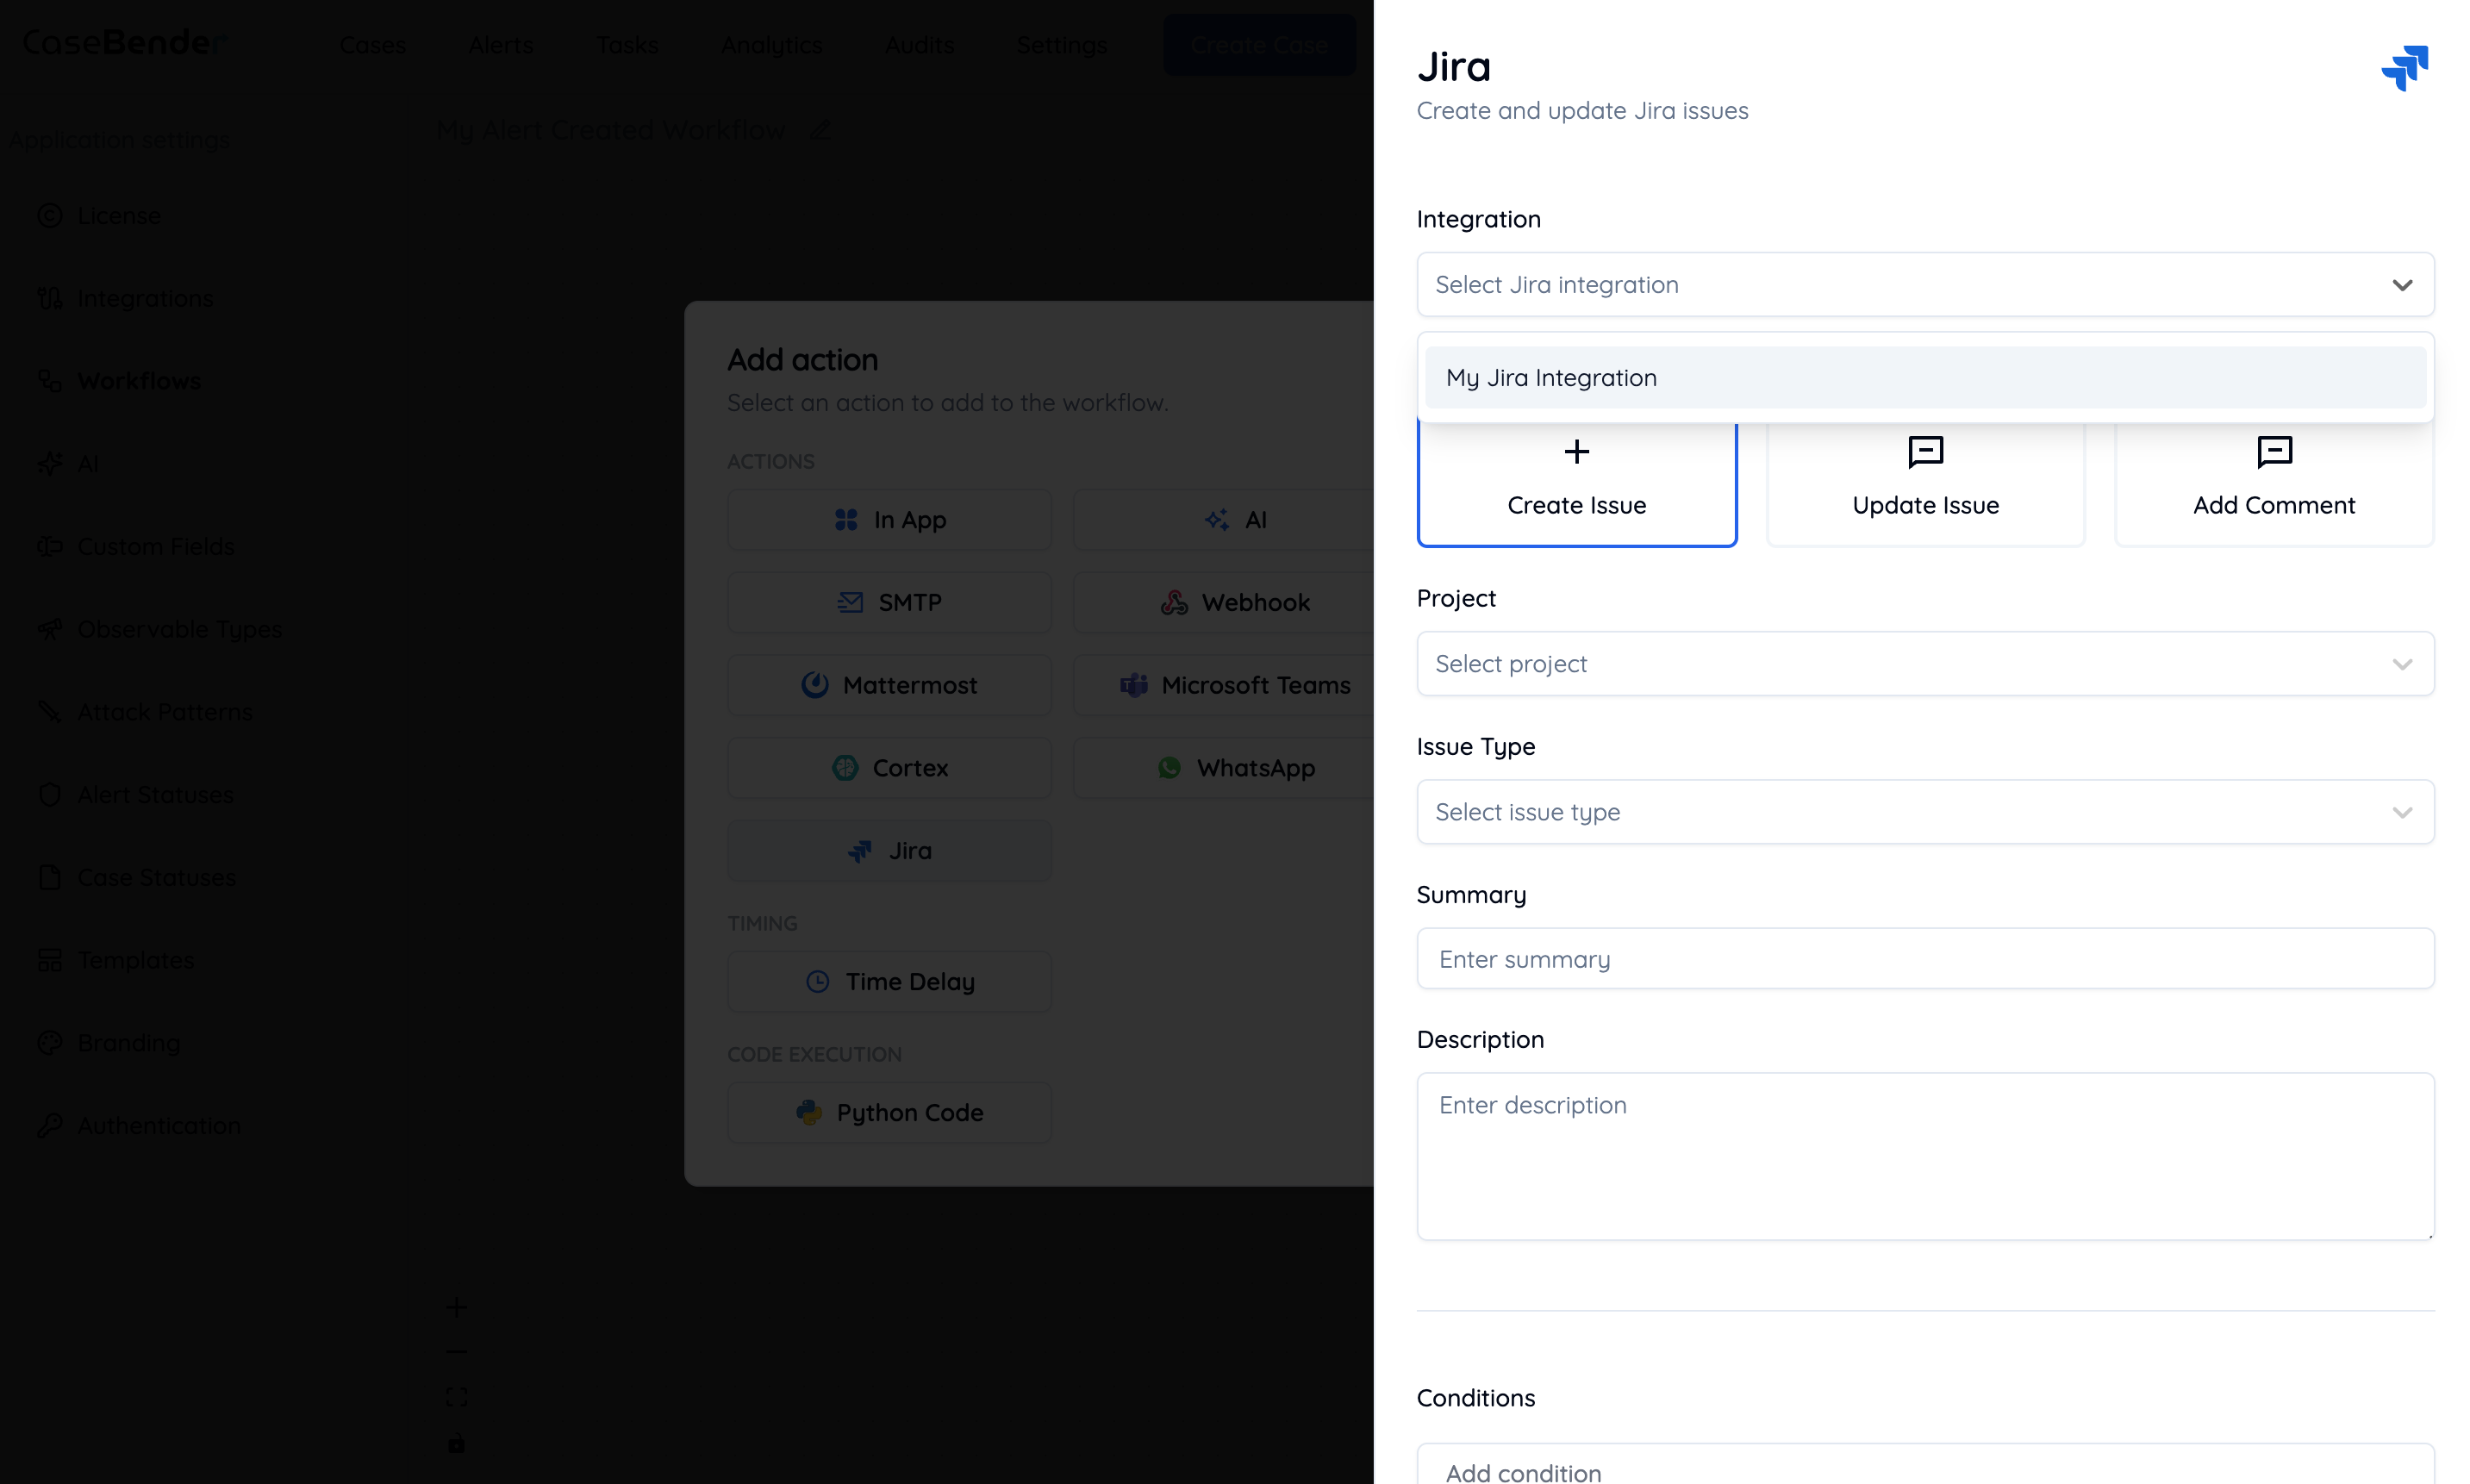
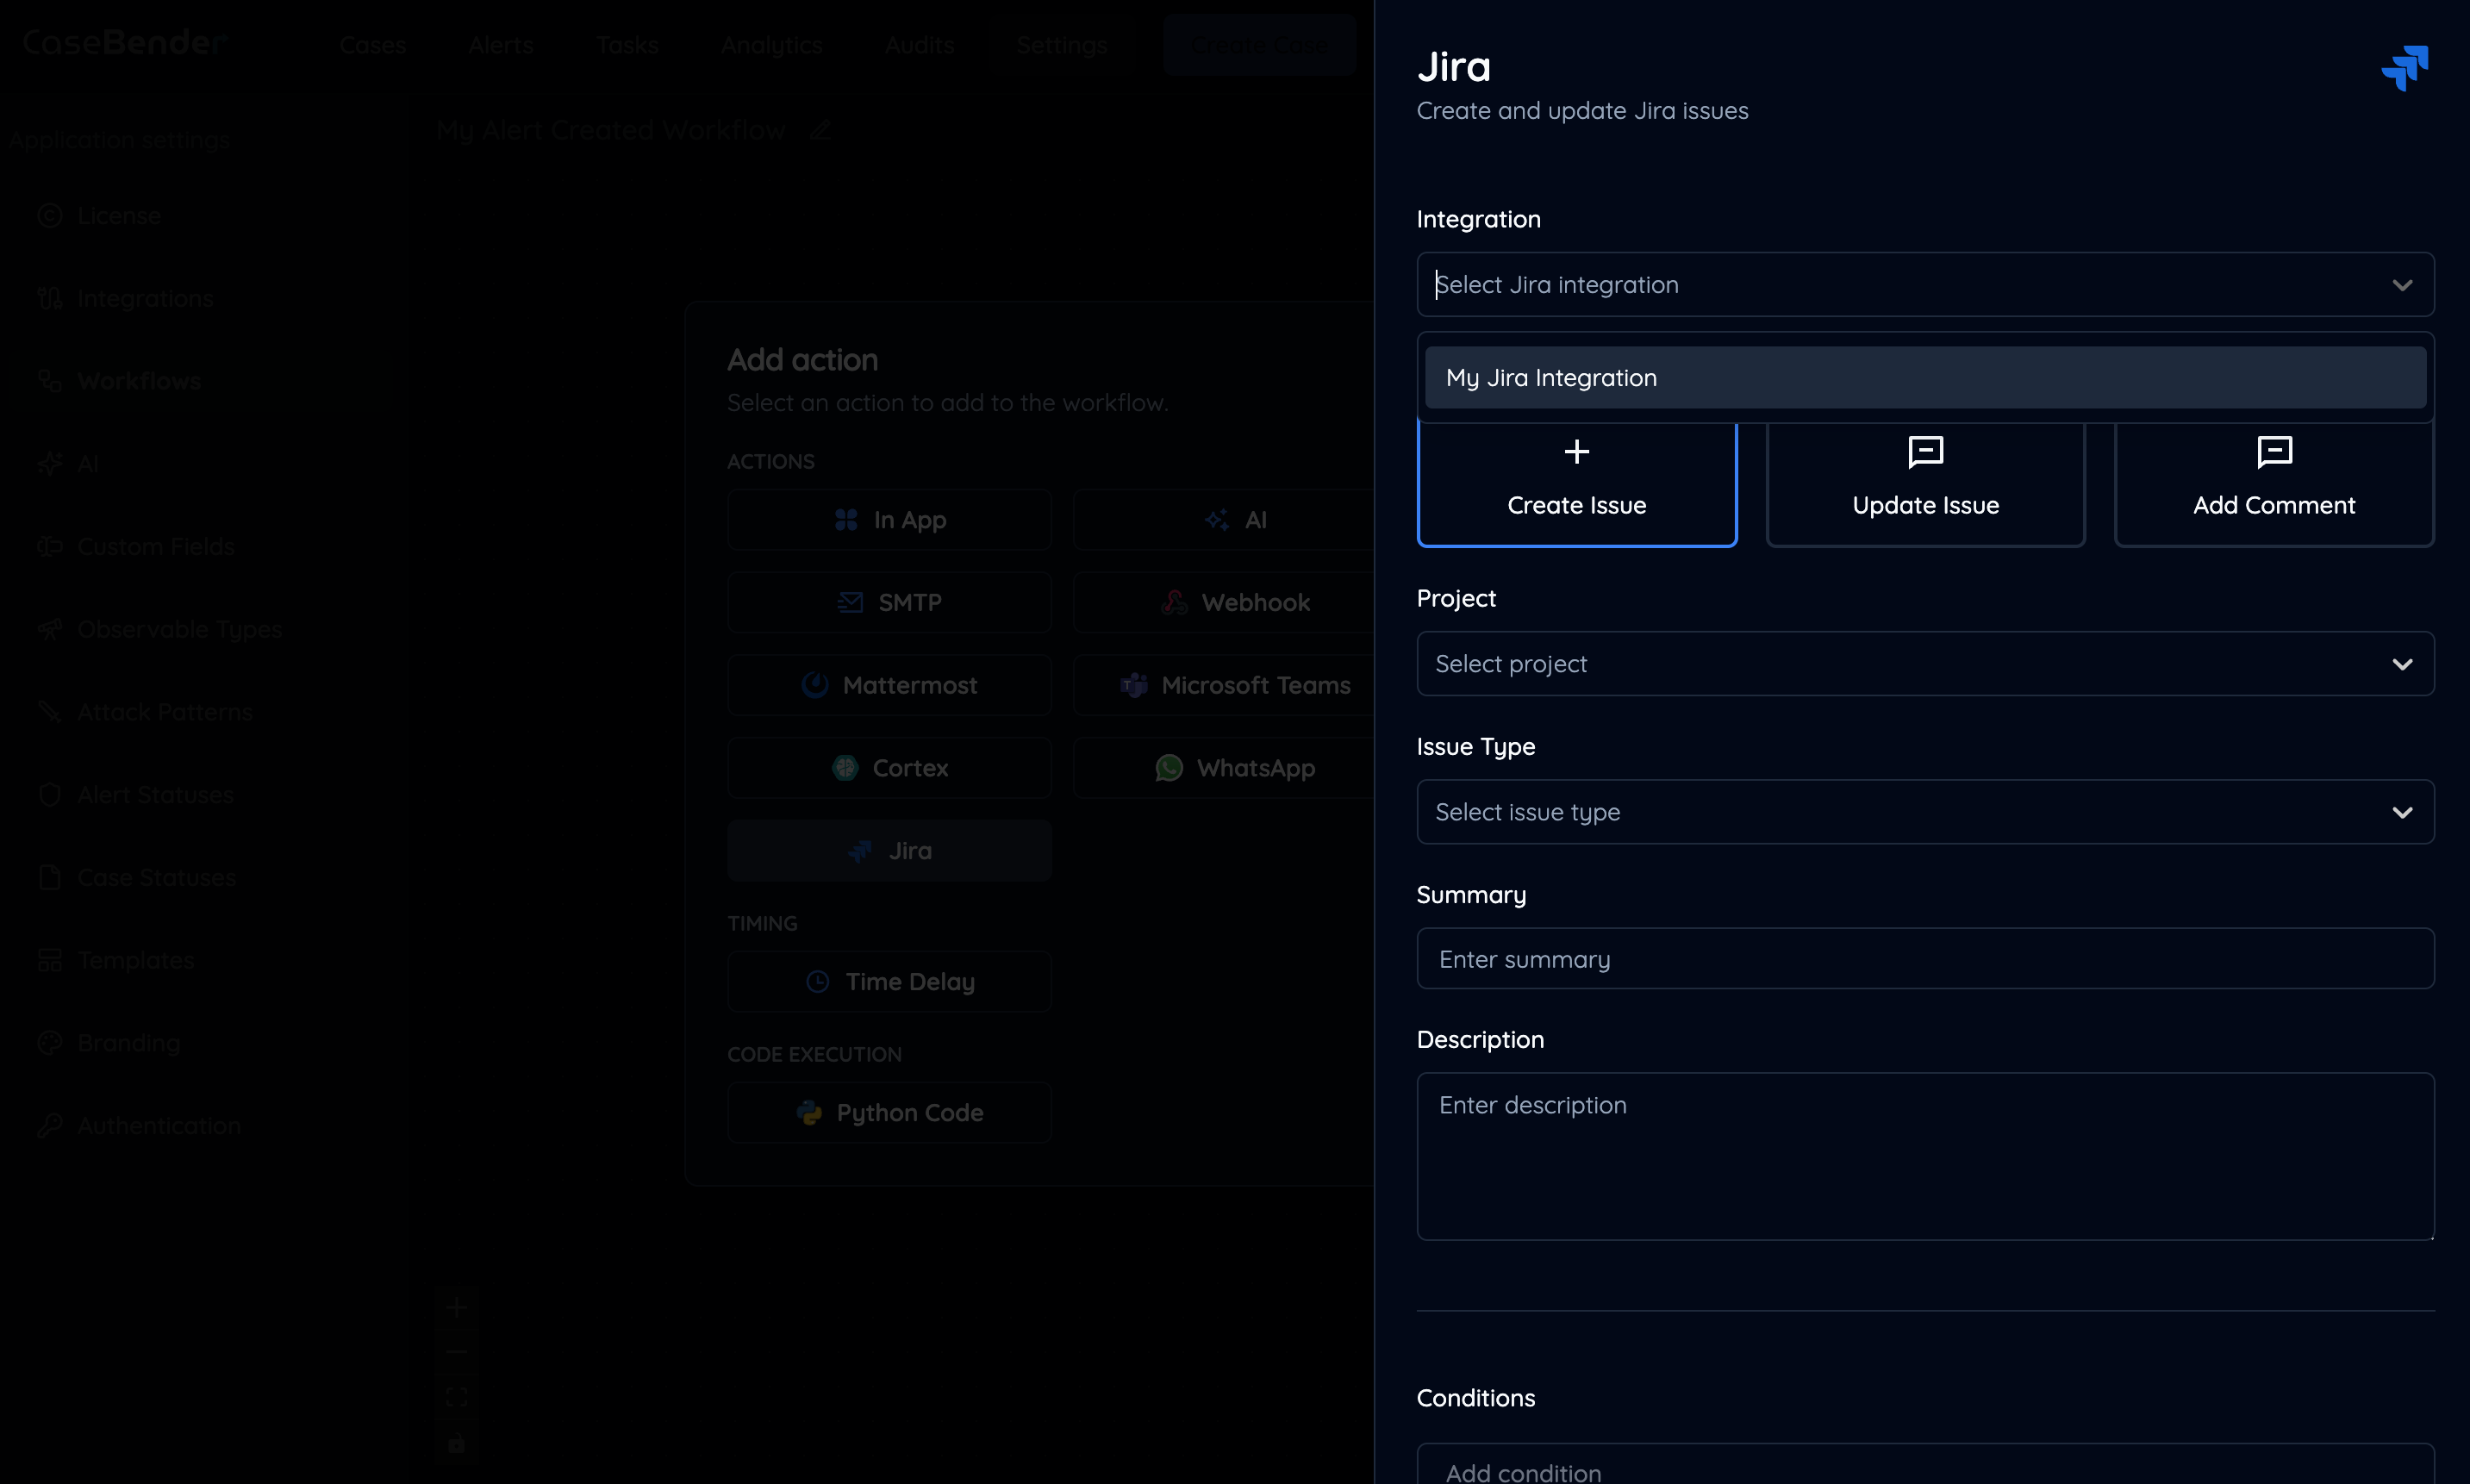
Step 4: Action Details
Provide detailed configuration for each action: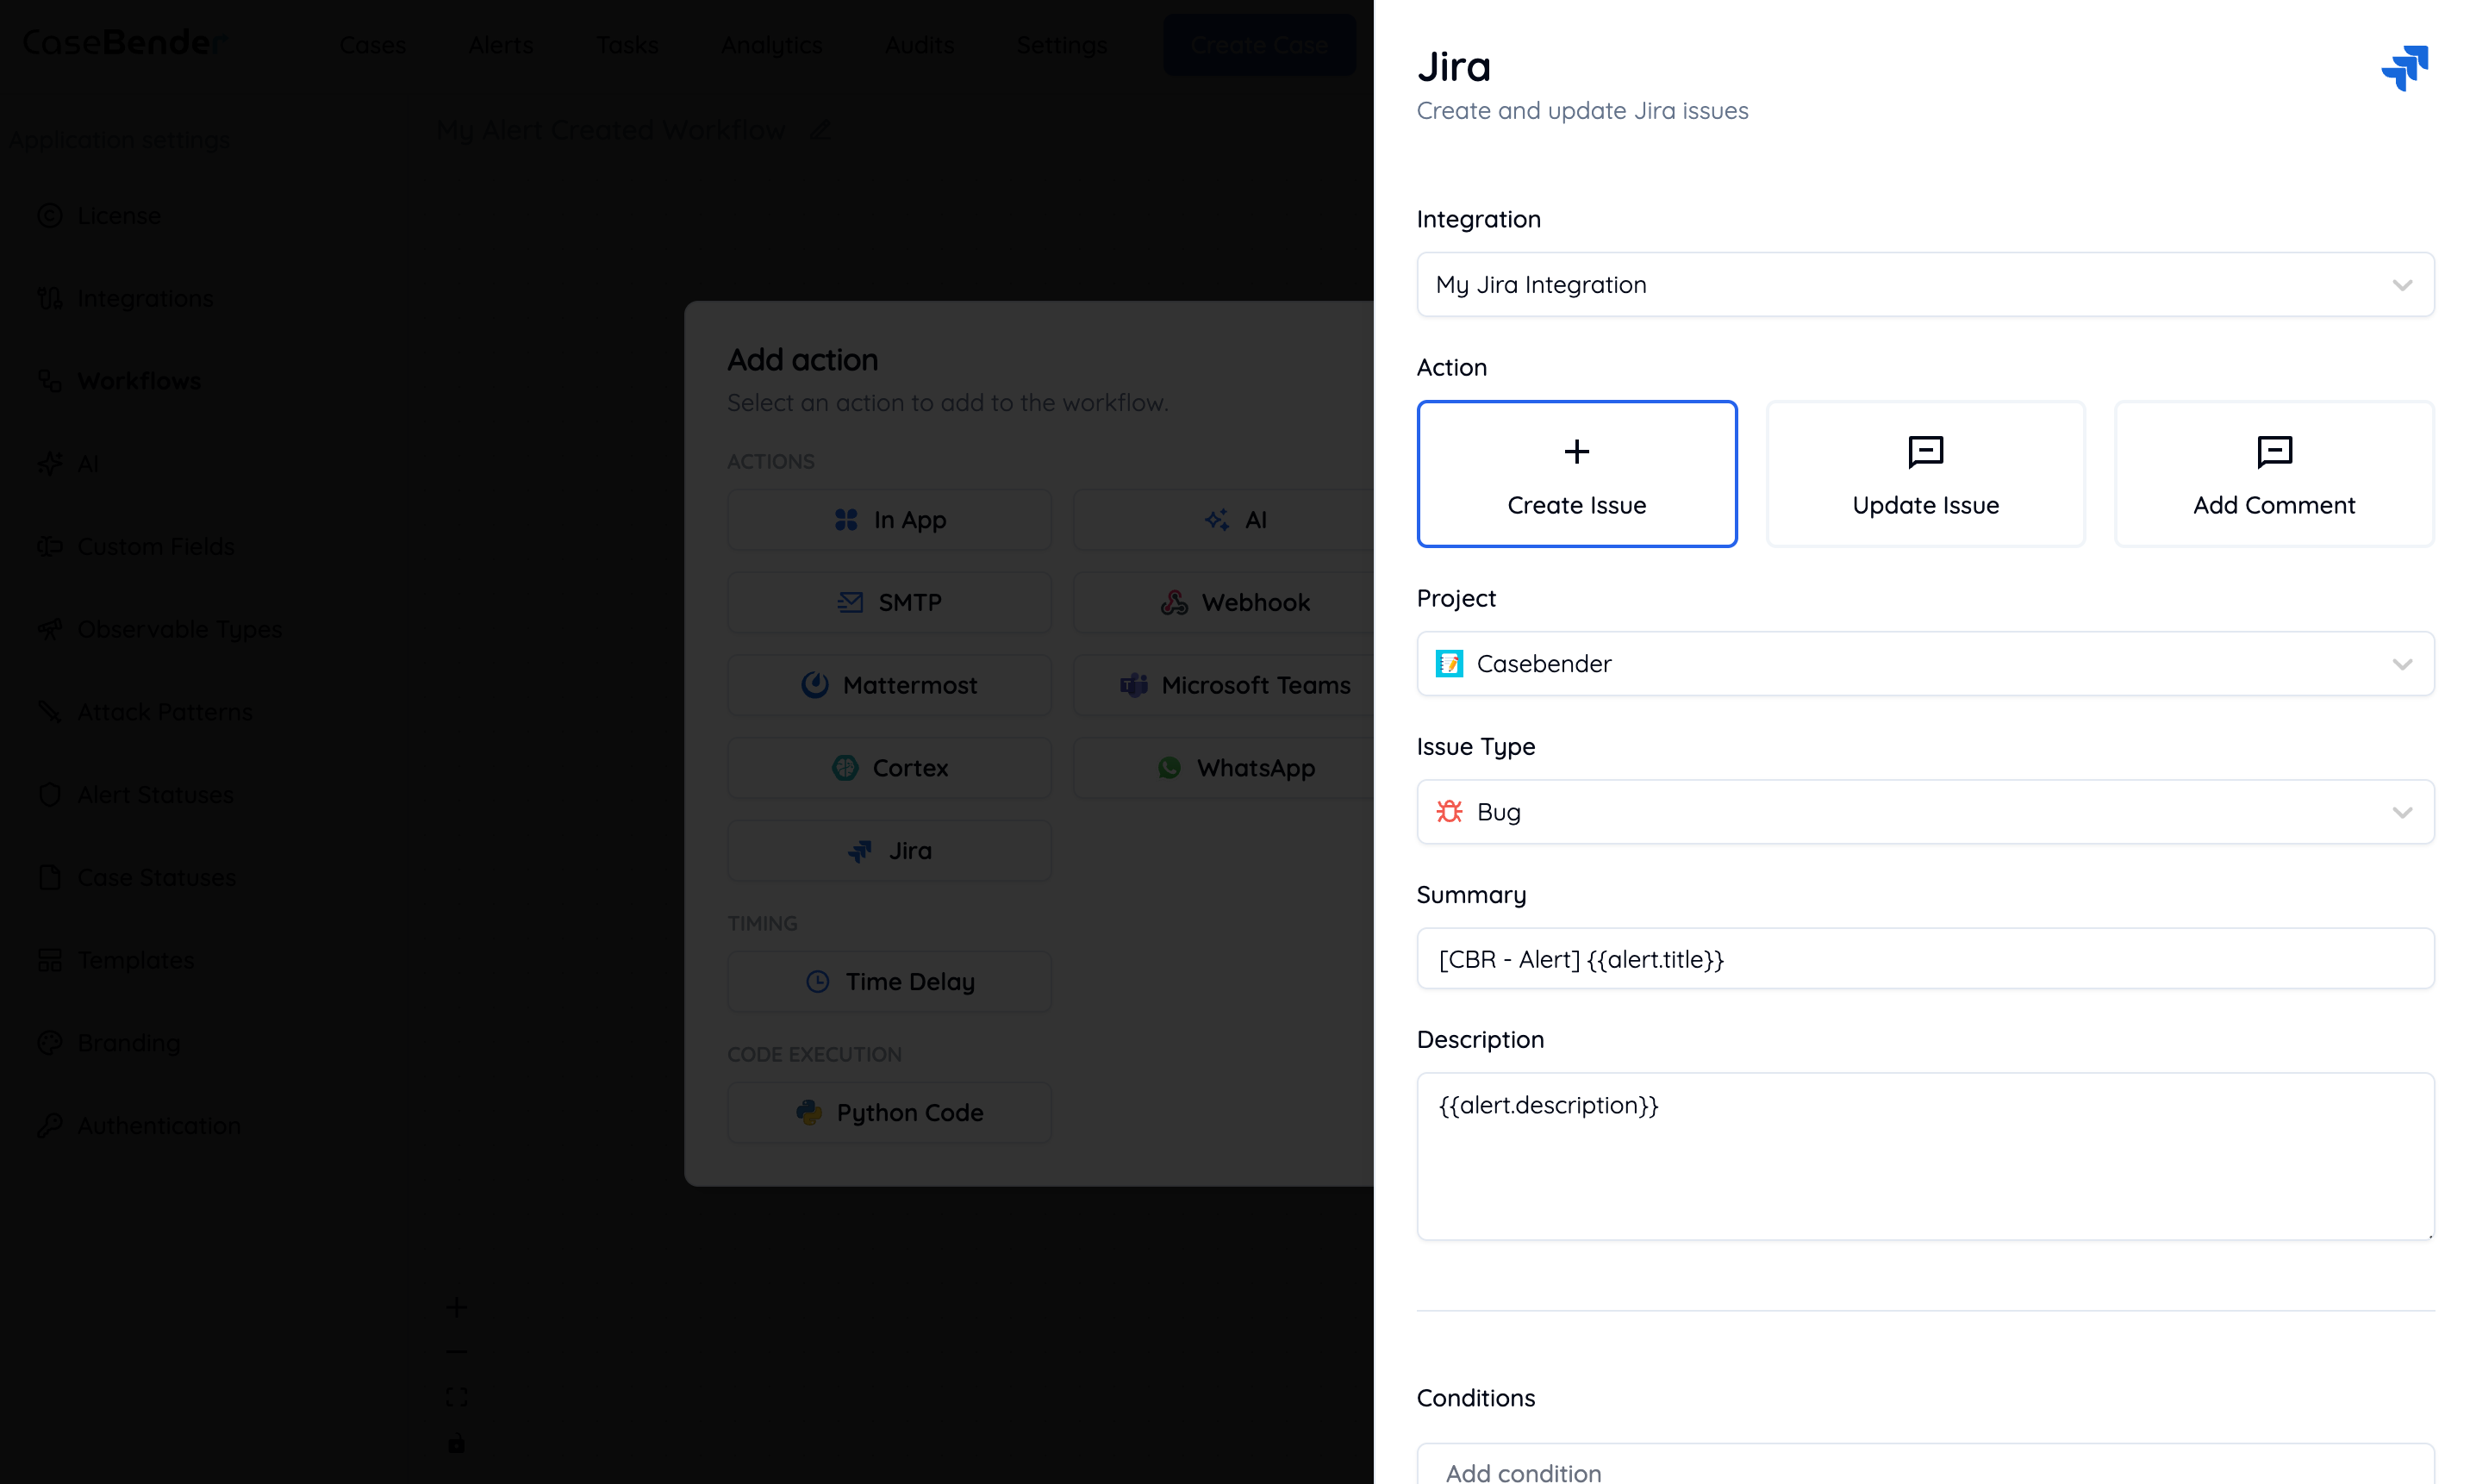
- Action type specific parameters
- Conditional logic
- Input/output mapping
- Error handling
Step 5: Review Workflow
Review your complete workflow with all configured actions: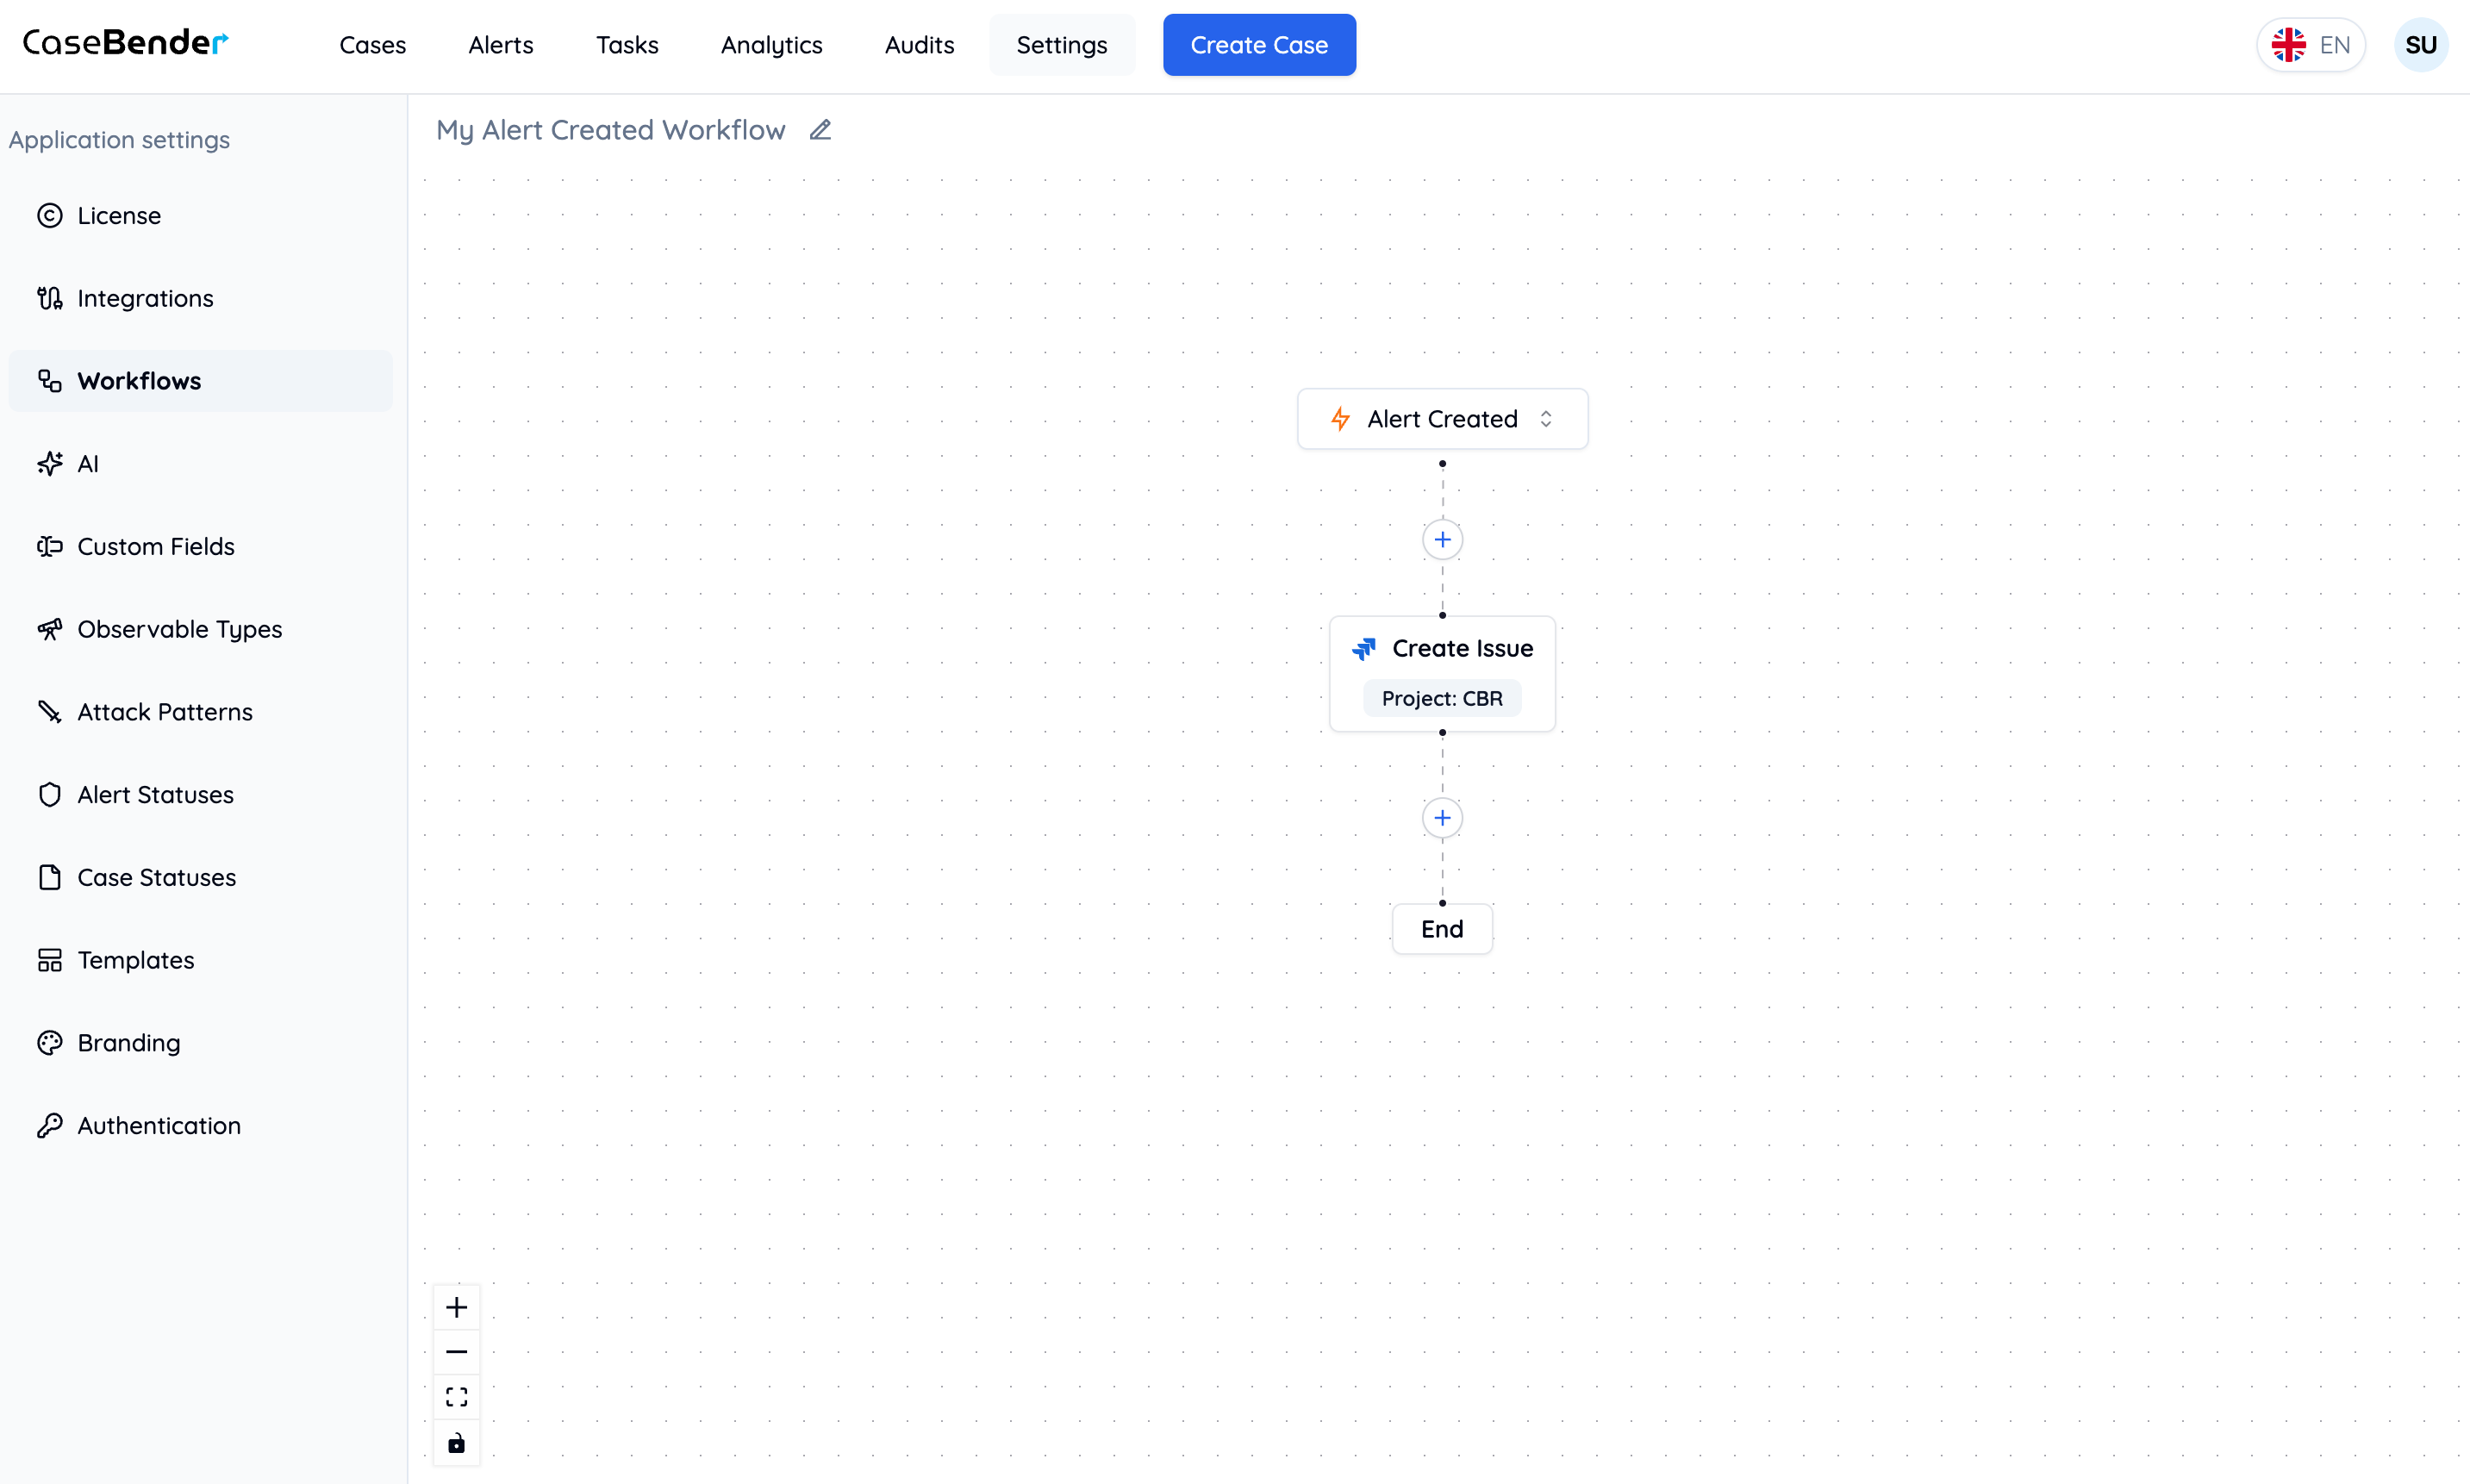
Best Practices
Workflow Design
- Keep workflows focused and specific
- Use clear, descriptive names
- Document the purpose and expected outcomes
- Test workflows thoroughly before activation
Performance Considerations
- Optimize action sequences
- Consider execution time and resources
- Monitor workflow performance
- Handle errors appropriately
Maintenance
- Regularly review and update workflows
- Monitor execution logs
- Keep documentation current
- Validate triggers and actions periodically